


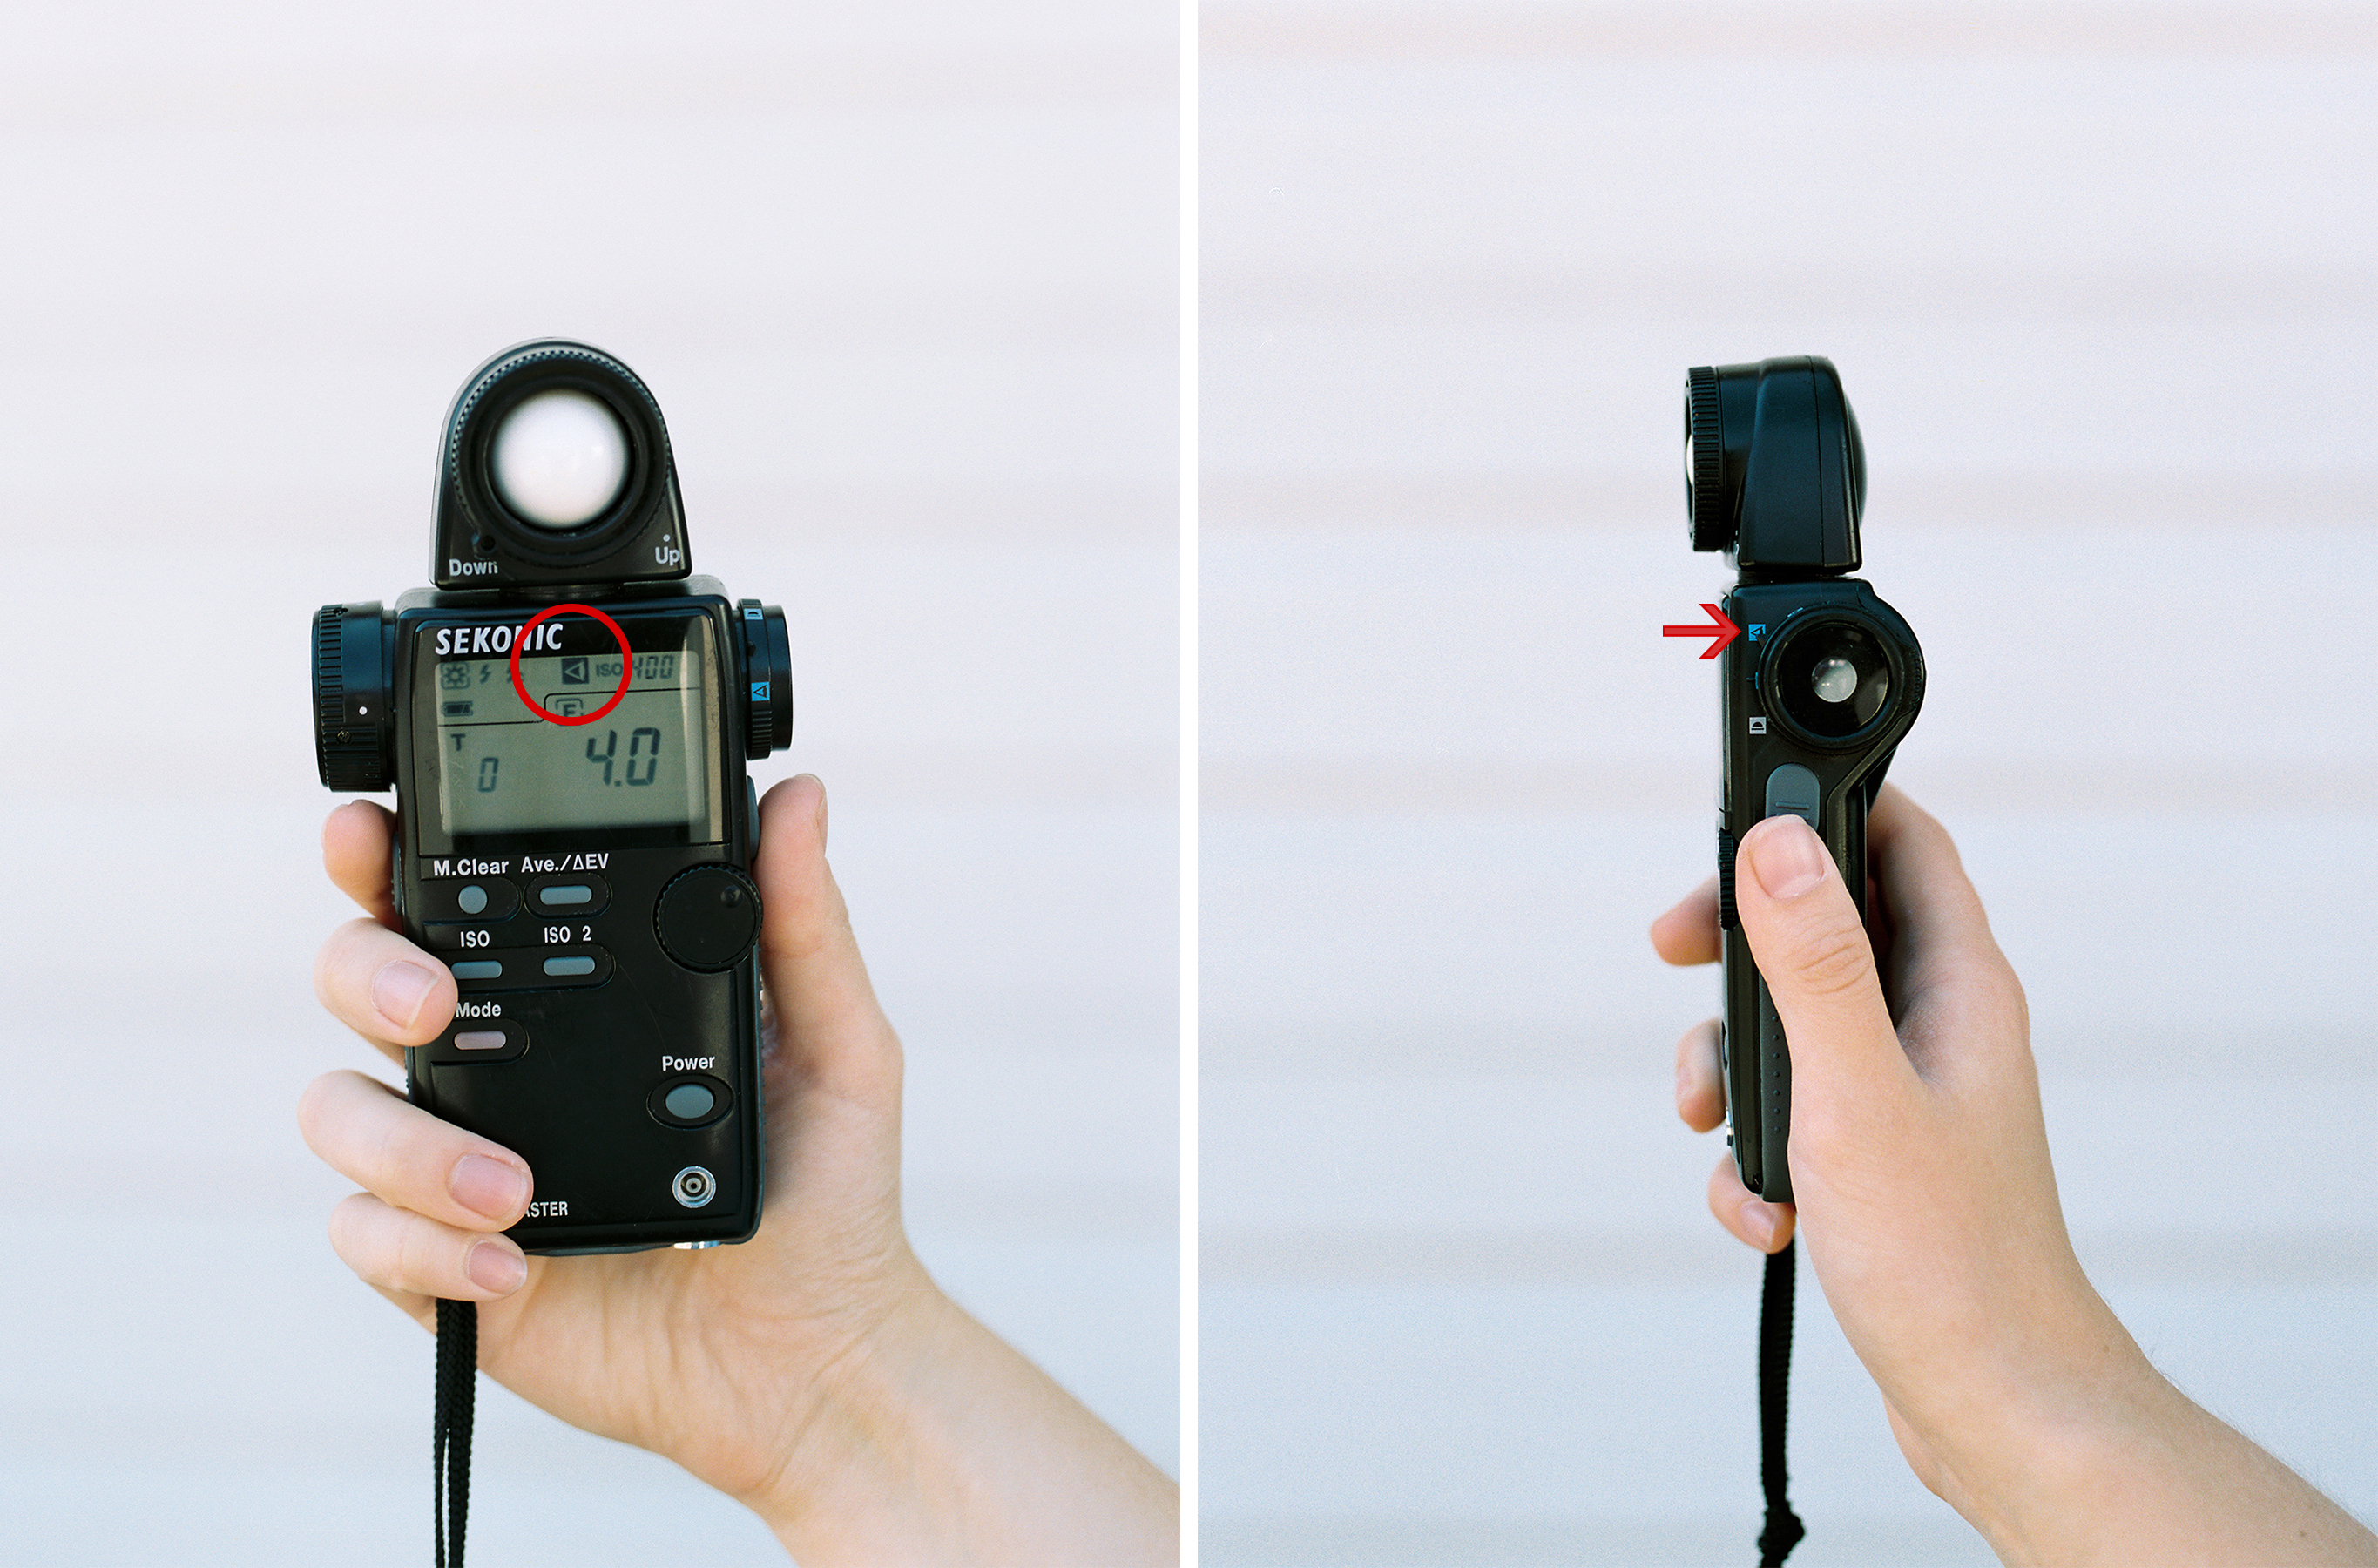
Throughout this post we’ll be talking about metering in daylight balanced light (not studio or flash), so if you’re following along with your own light meter, make sure to set your mode to ambient (the sunny symbol) and not cordless or cord flash (the lightning bolt symbols). If you’re looking into buying a hand held light meter, we recommend buying one that has both bulb and spot metering capabilities. You’ll also want to look for one that has both bulb out and bulb in functions, like the one found here.
What is incident metering?
Incident metering measures the amount of light falling onto your subject by averaging the whole scene and giving you a reading for middle gray (in other words, your meter finds a neutral ground between the whites and the blacks of your scene, giving you a reading for the middle tone). Another term for incident metering is bulb metering.
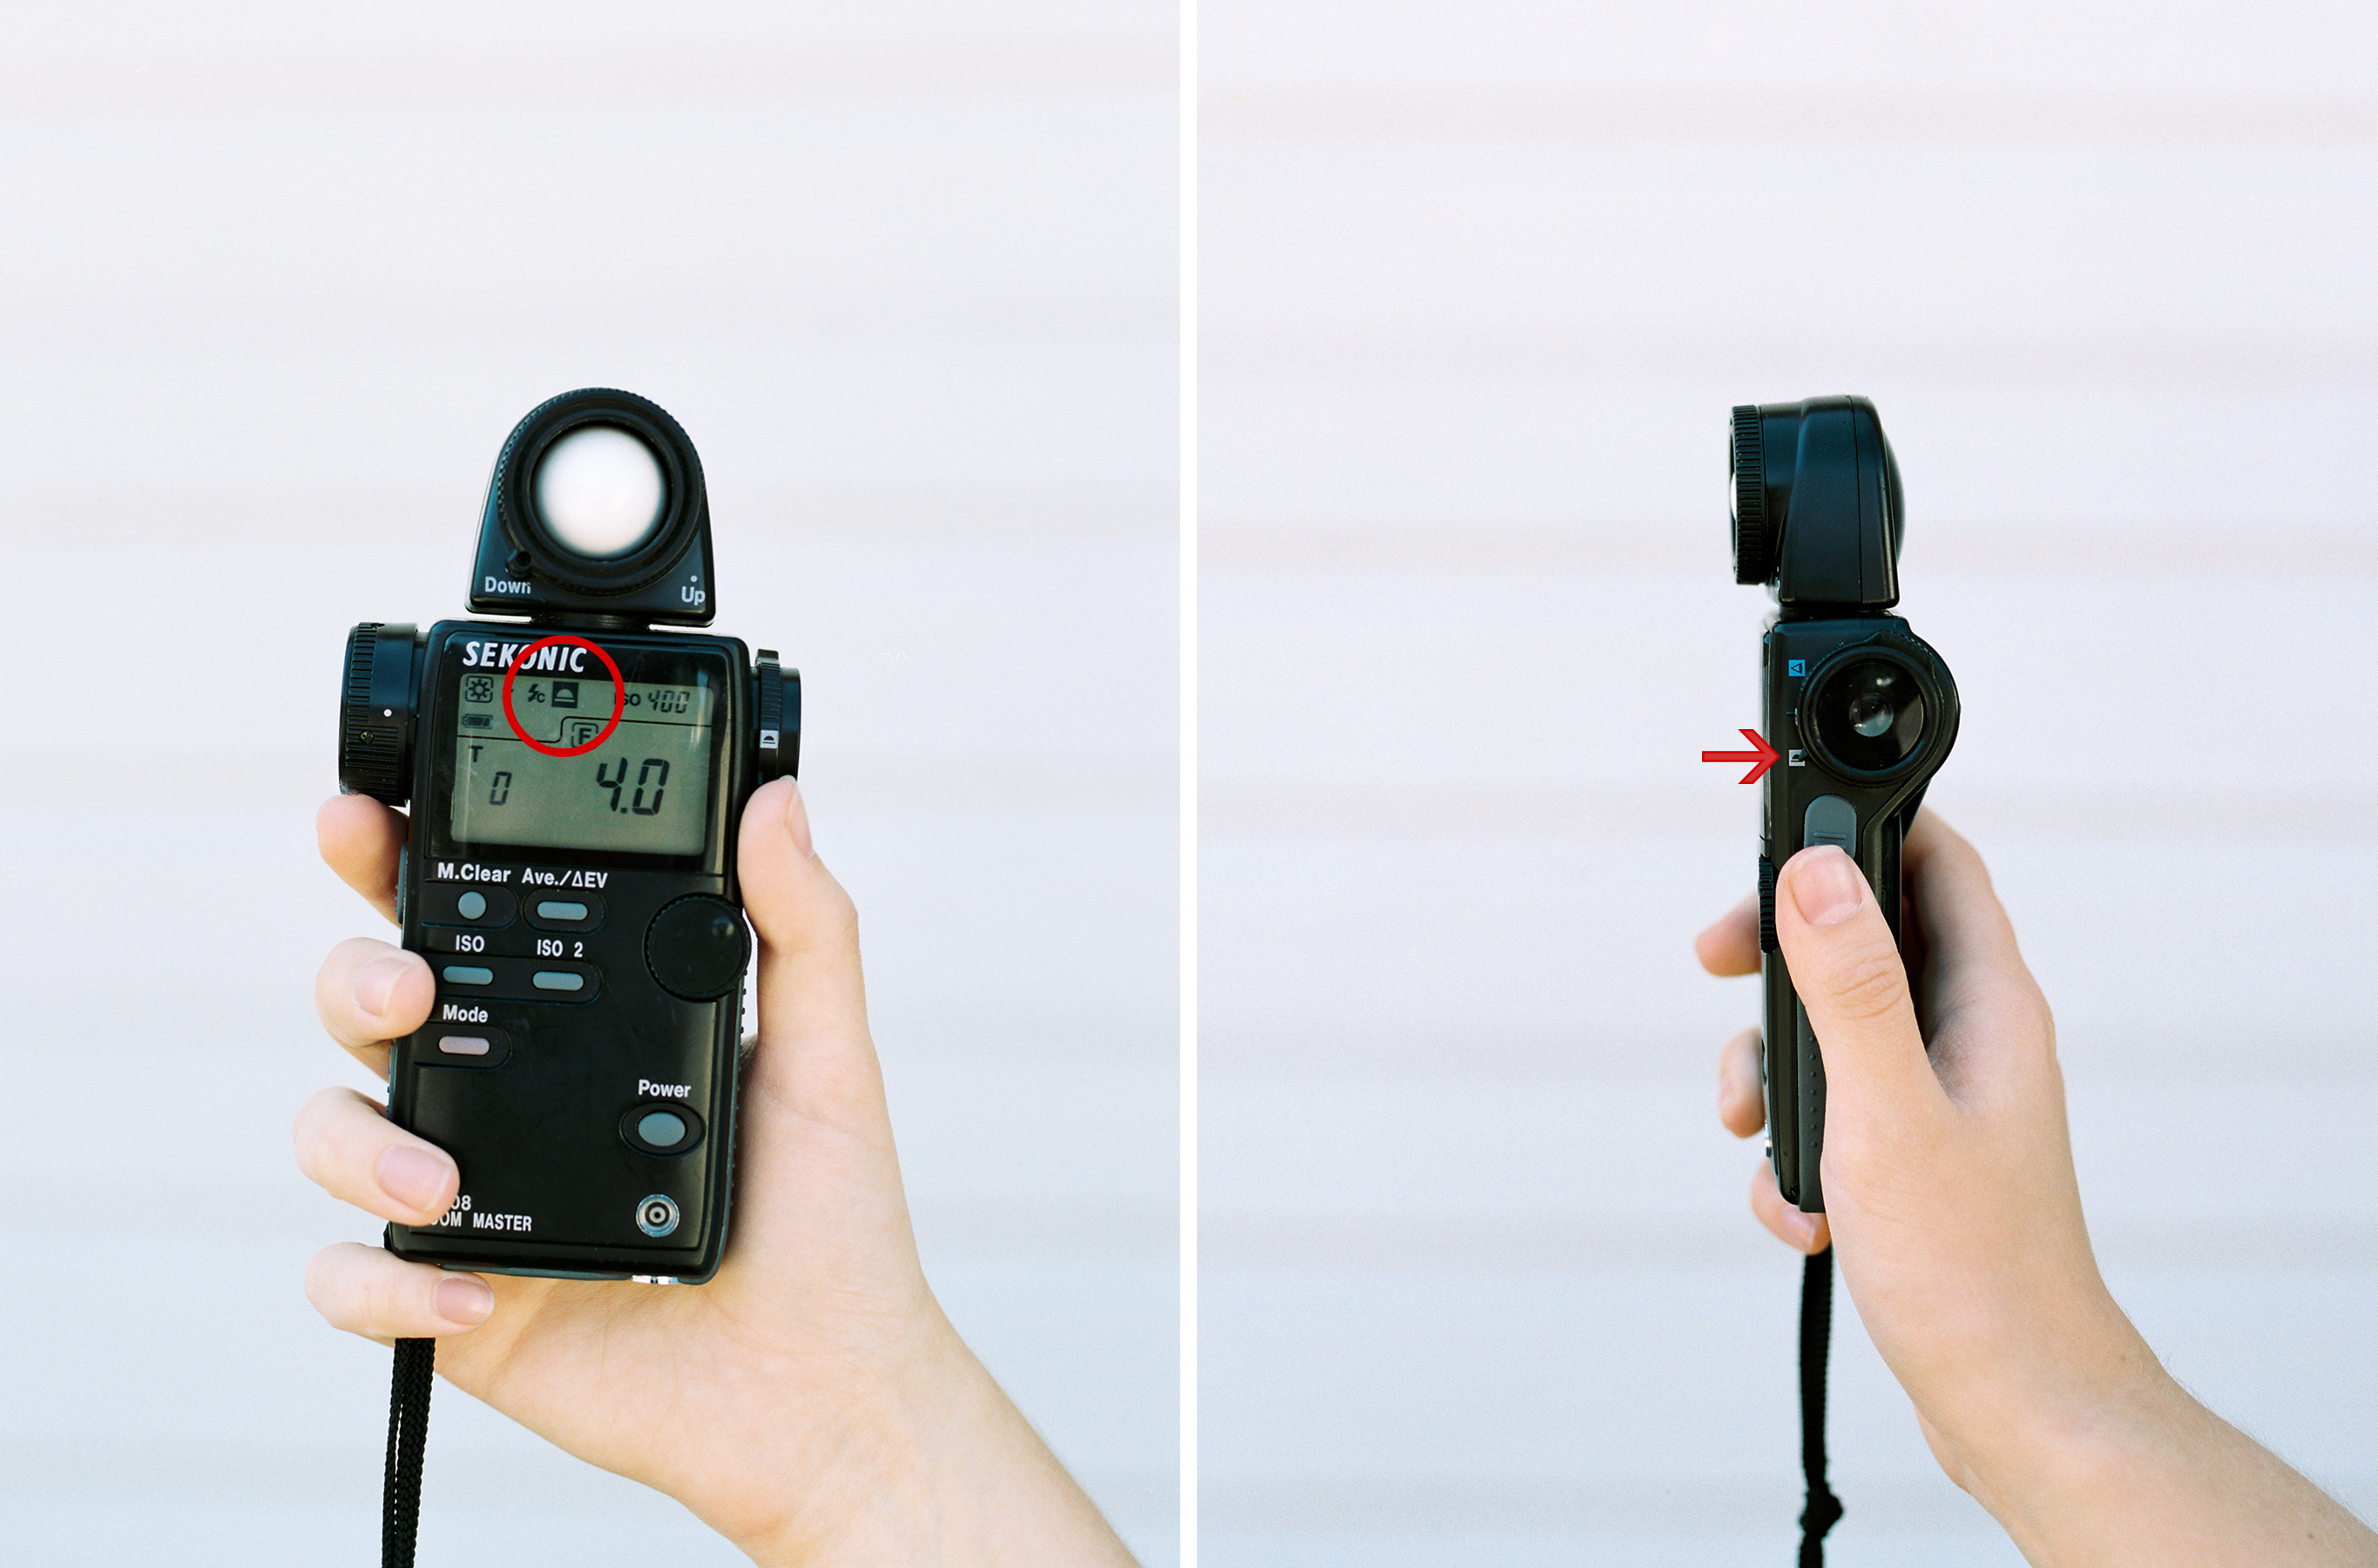
Bulb Out- This mode takes in more light than bulb in. You’ll get a light reading on 180 degrees surrounding the bulb (including ambient light), so you may catch unwanted light reflections in this mode:
Bulb In- This mode gives you a consistent light reading without catching anything reflective. It also adds a half stop of overexposure. Because film retains detail in the highlights, it’s generally best to err on the side of overexposure with film, so adding an extra half stop of light is a good thing:
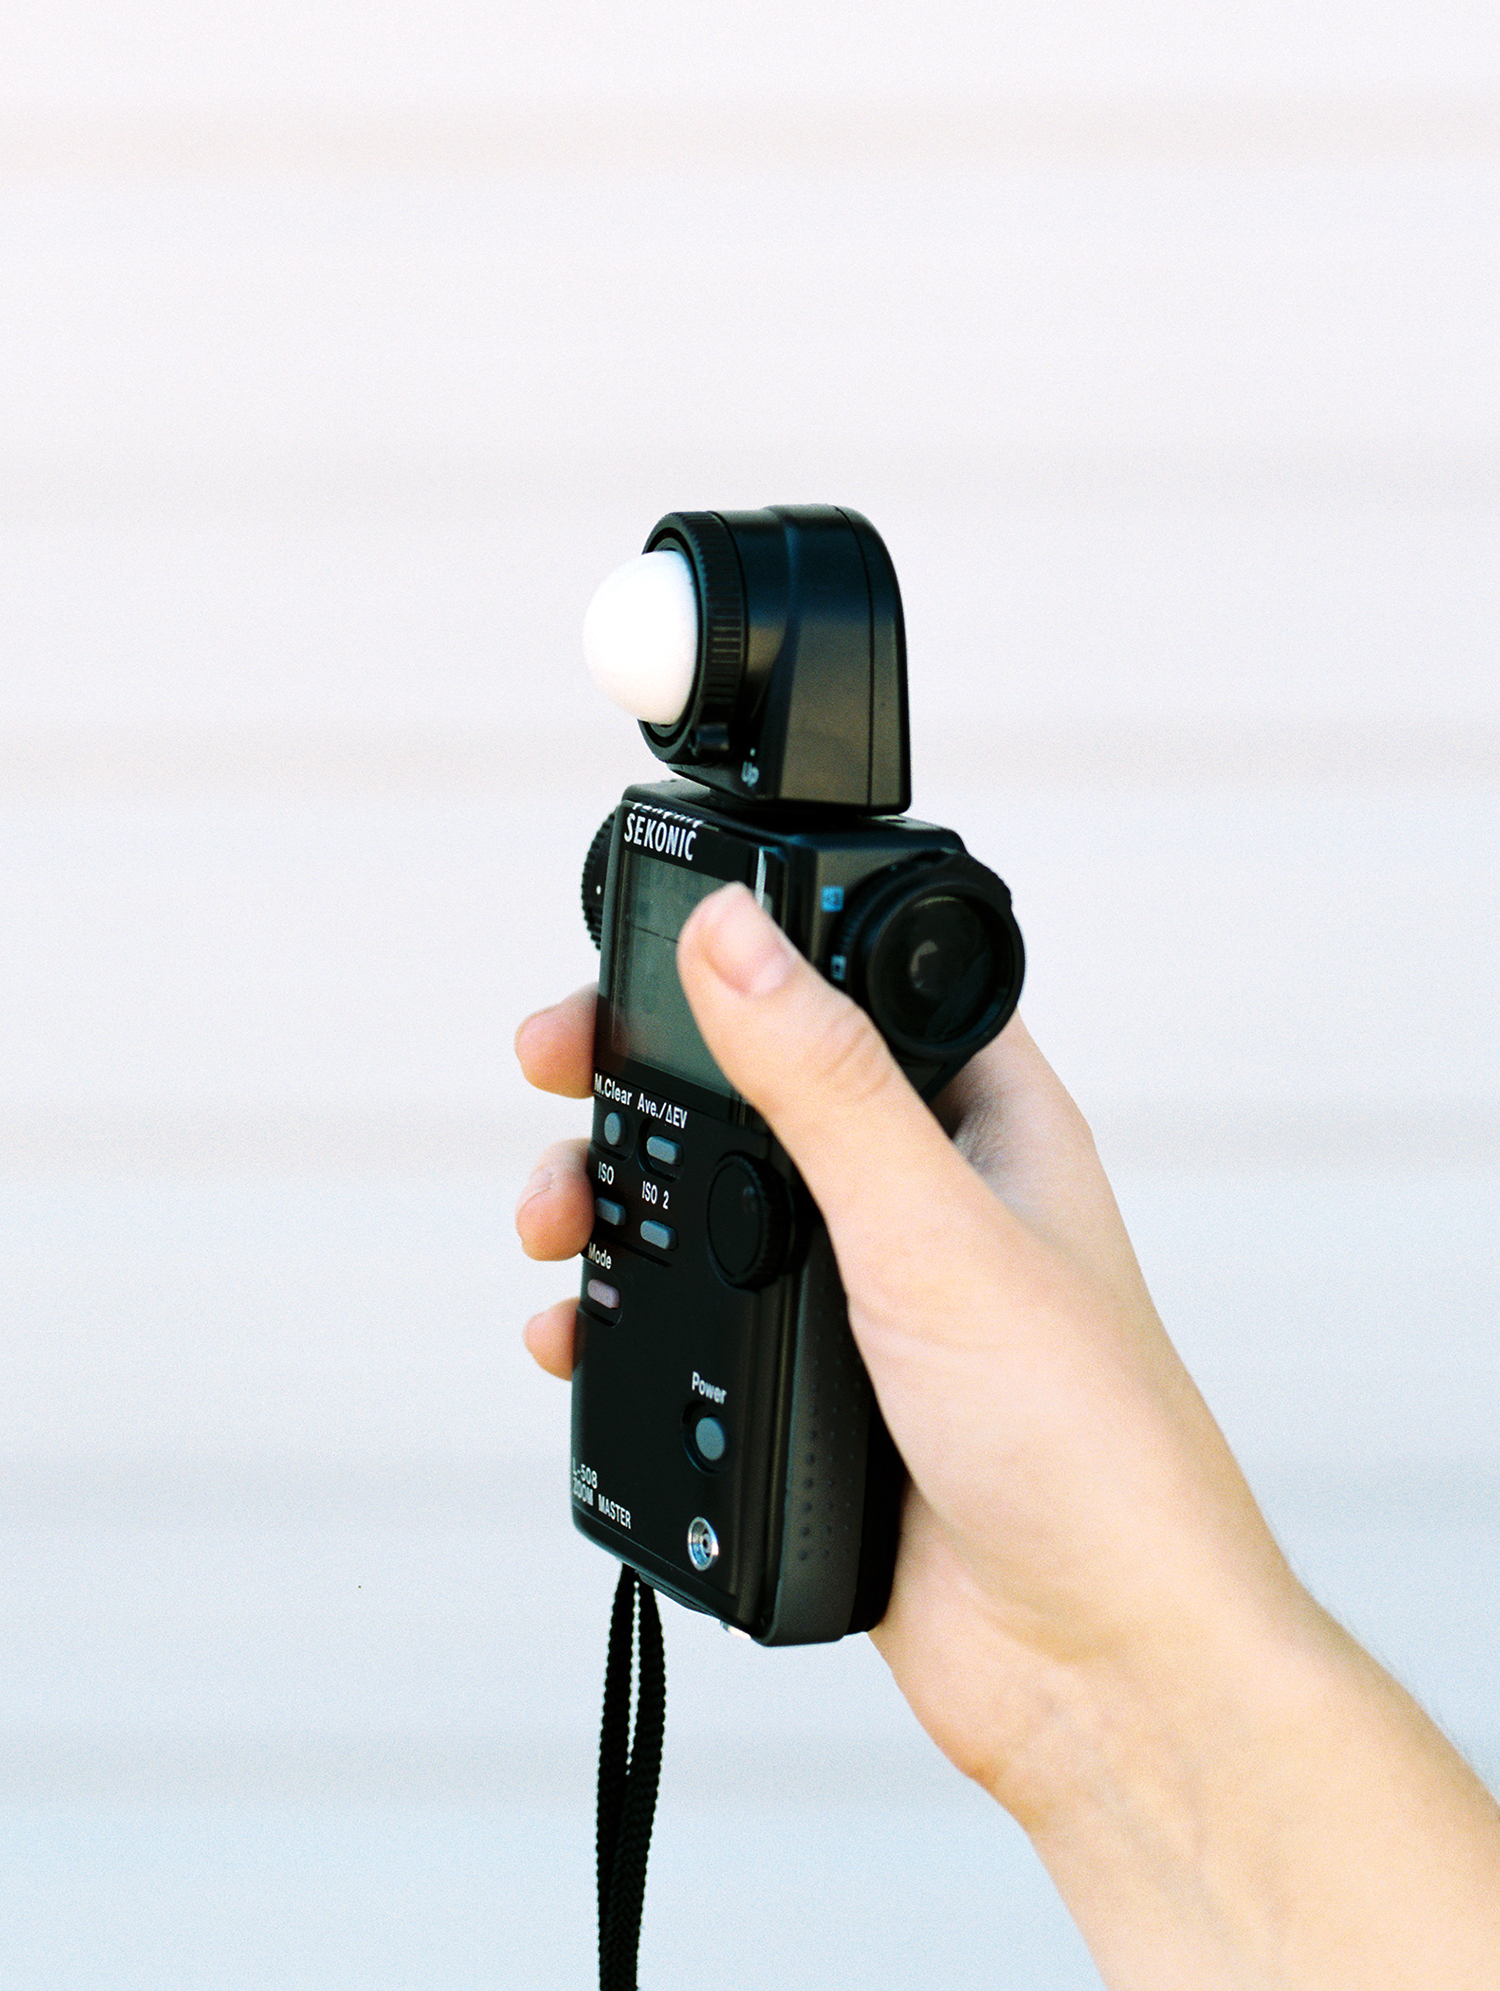
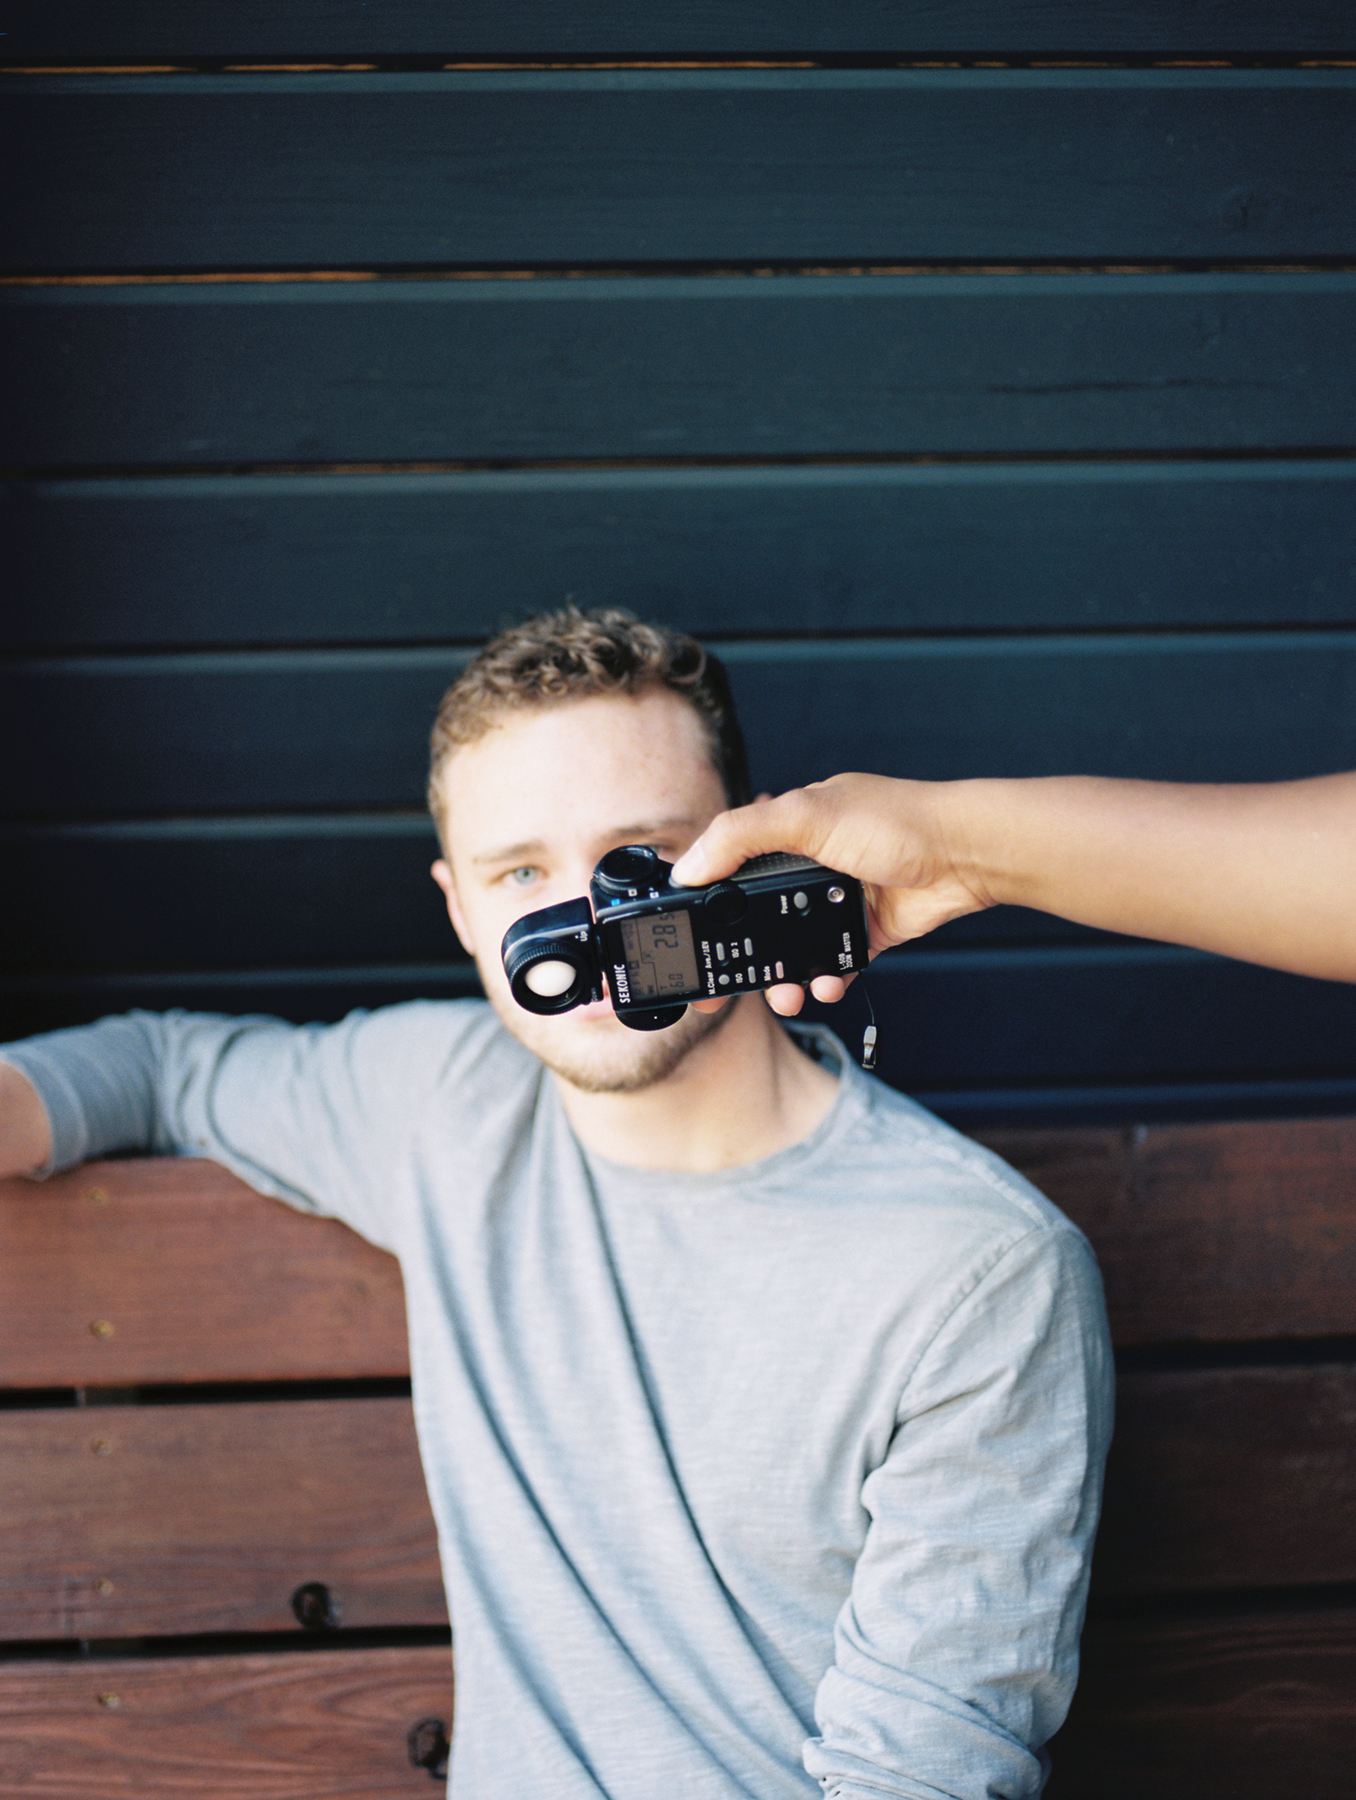
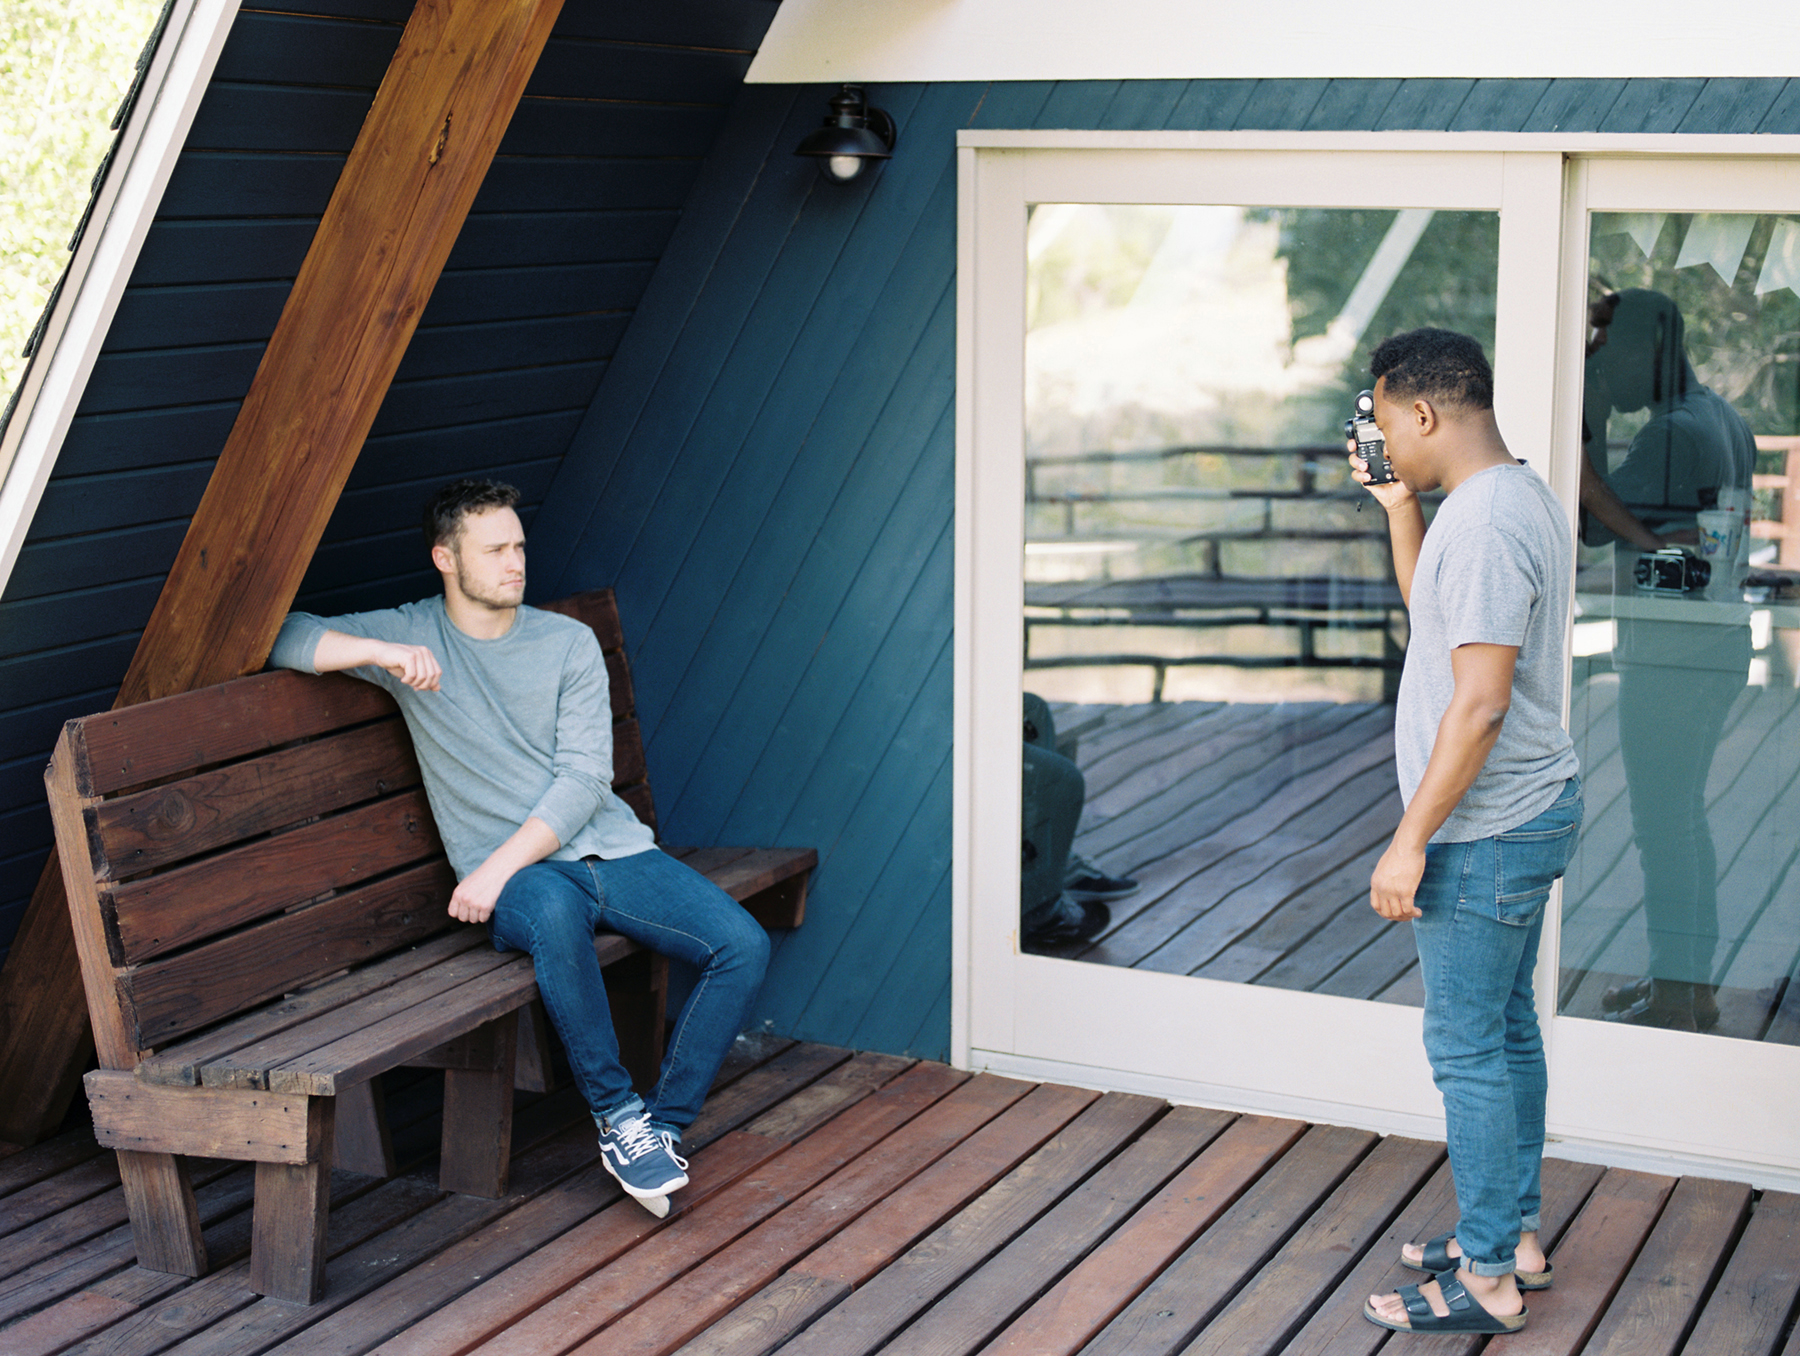
How to meter for the shadow of your subject: Switch the mode on your view finder to incident metering. Retract the bulb so that it’s bulb in and hold your meter at 45 degrees toward the ground facing the camera. Then click the button below your view finder to get your reading. This method recreates metering for the shadow under your subject’s chin, which is the darkest part of their face. Adding the 45 degrees toward the camera adds another stop of light:
What is reflective metering?
Reflective metering measures the amount of light reflecting off of your subject. Another term for reflective metering is spot metering which we will cover below.
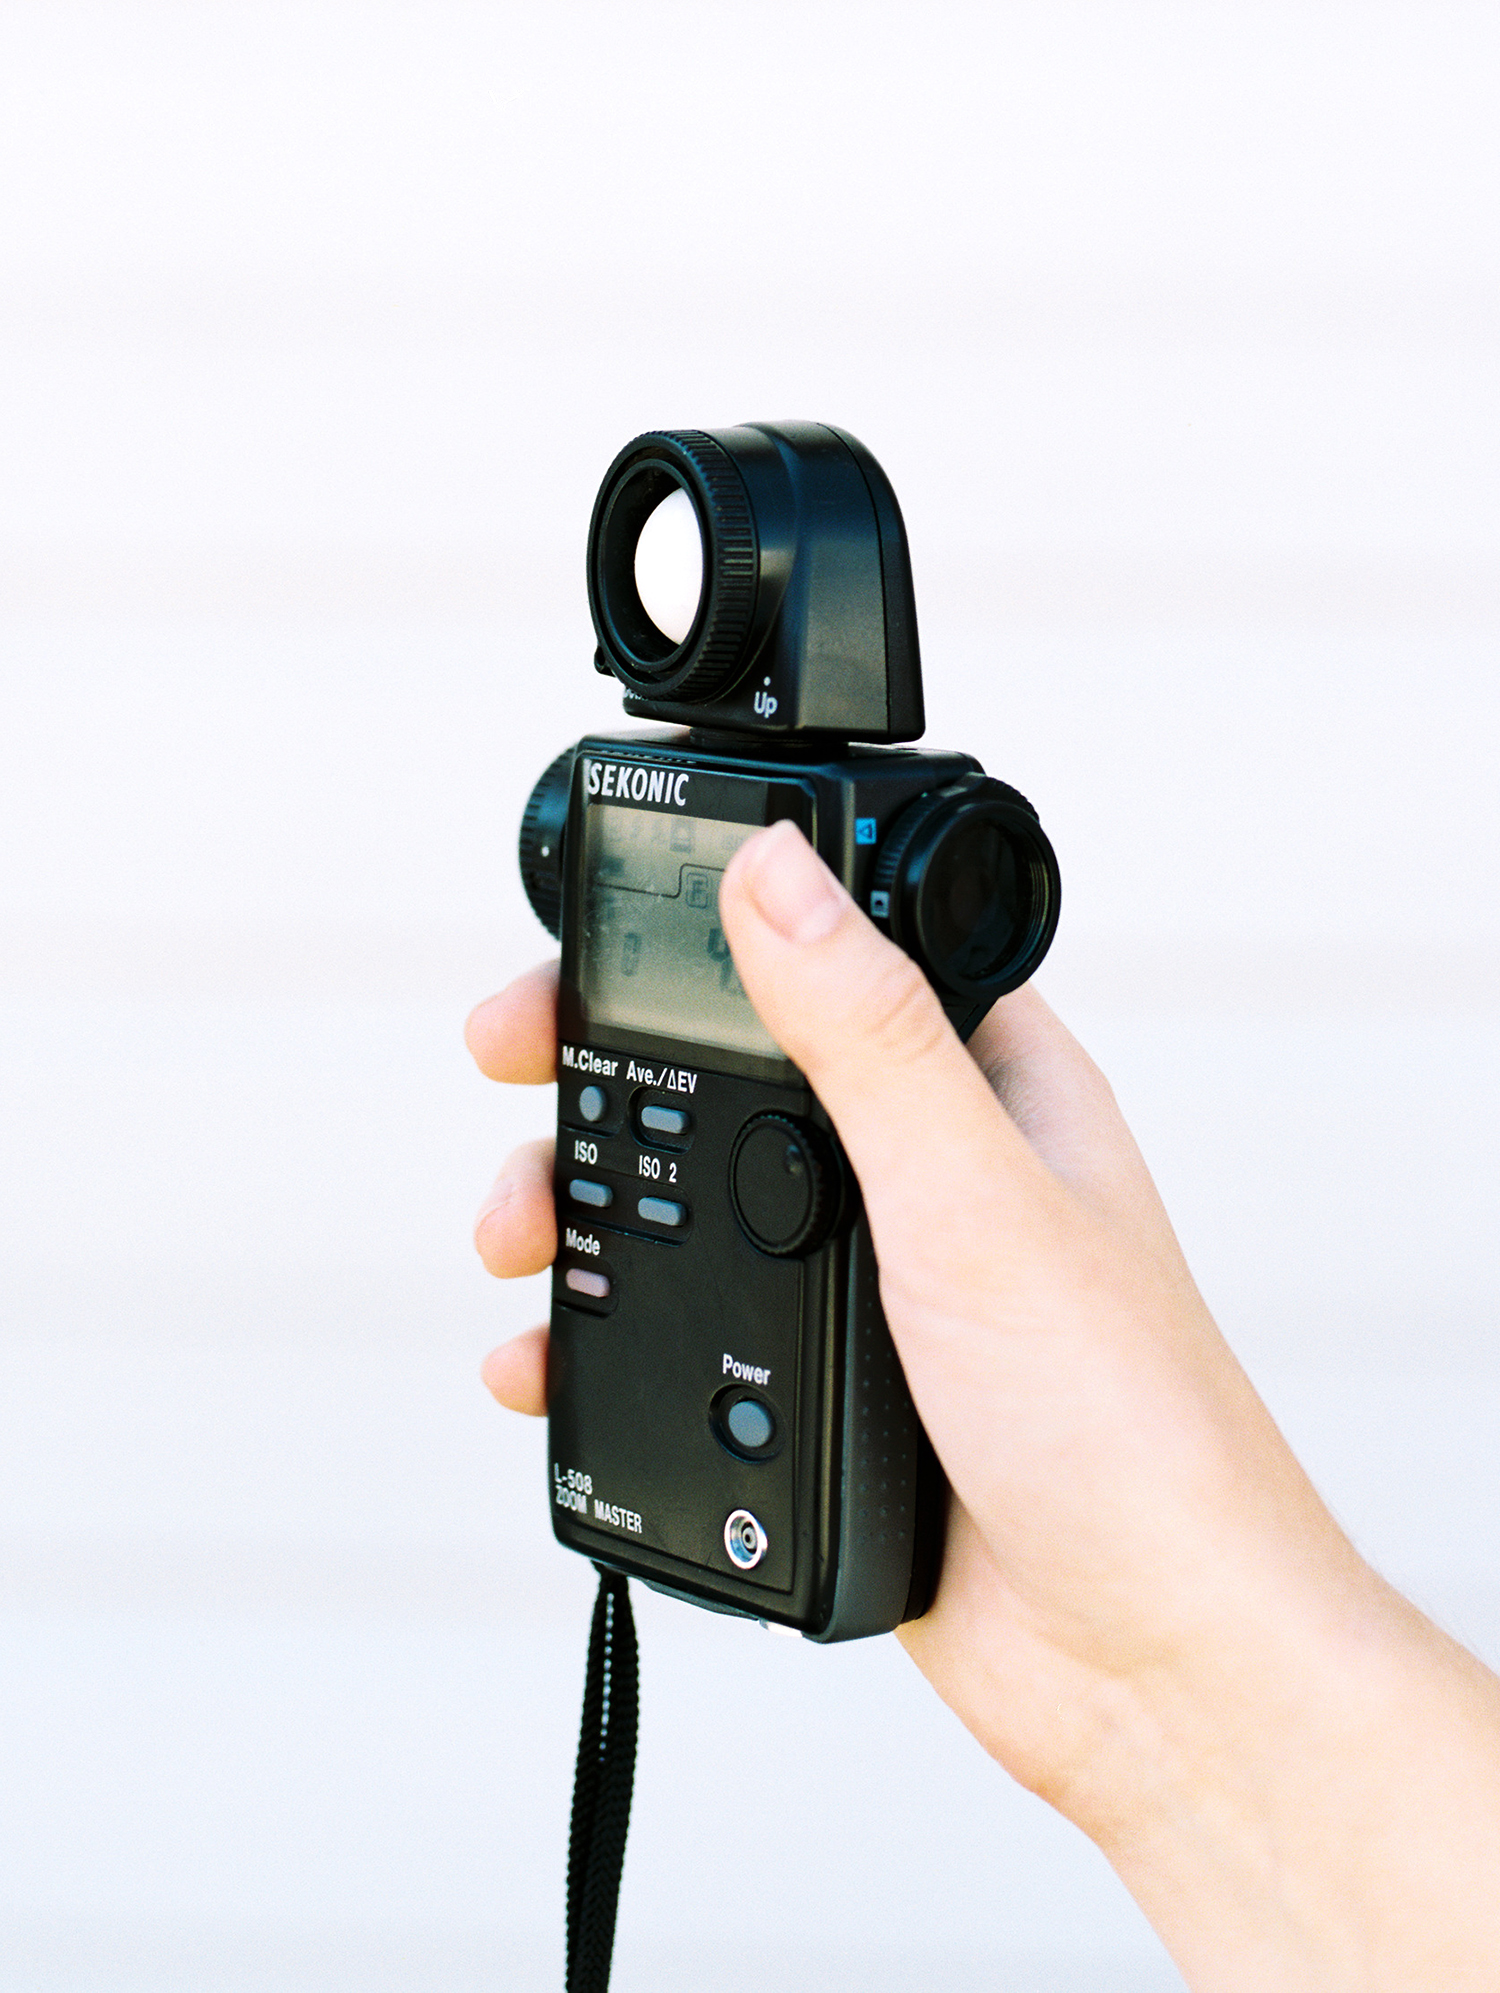
How to Spot Meter: Switch the mode on your view finder to reflective metering. Look through your view finder and point it at the most important shadow of your subject. Then click the button below your view finder to get your reading. This metering method is great if you want more control over what part of your image you are metering for, or if you’re shooting something other than portraits. For example, if you’re a landscape photographer, spot metering for the shadow of your subject will give you more predictable results than incident metering will.

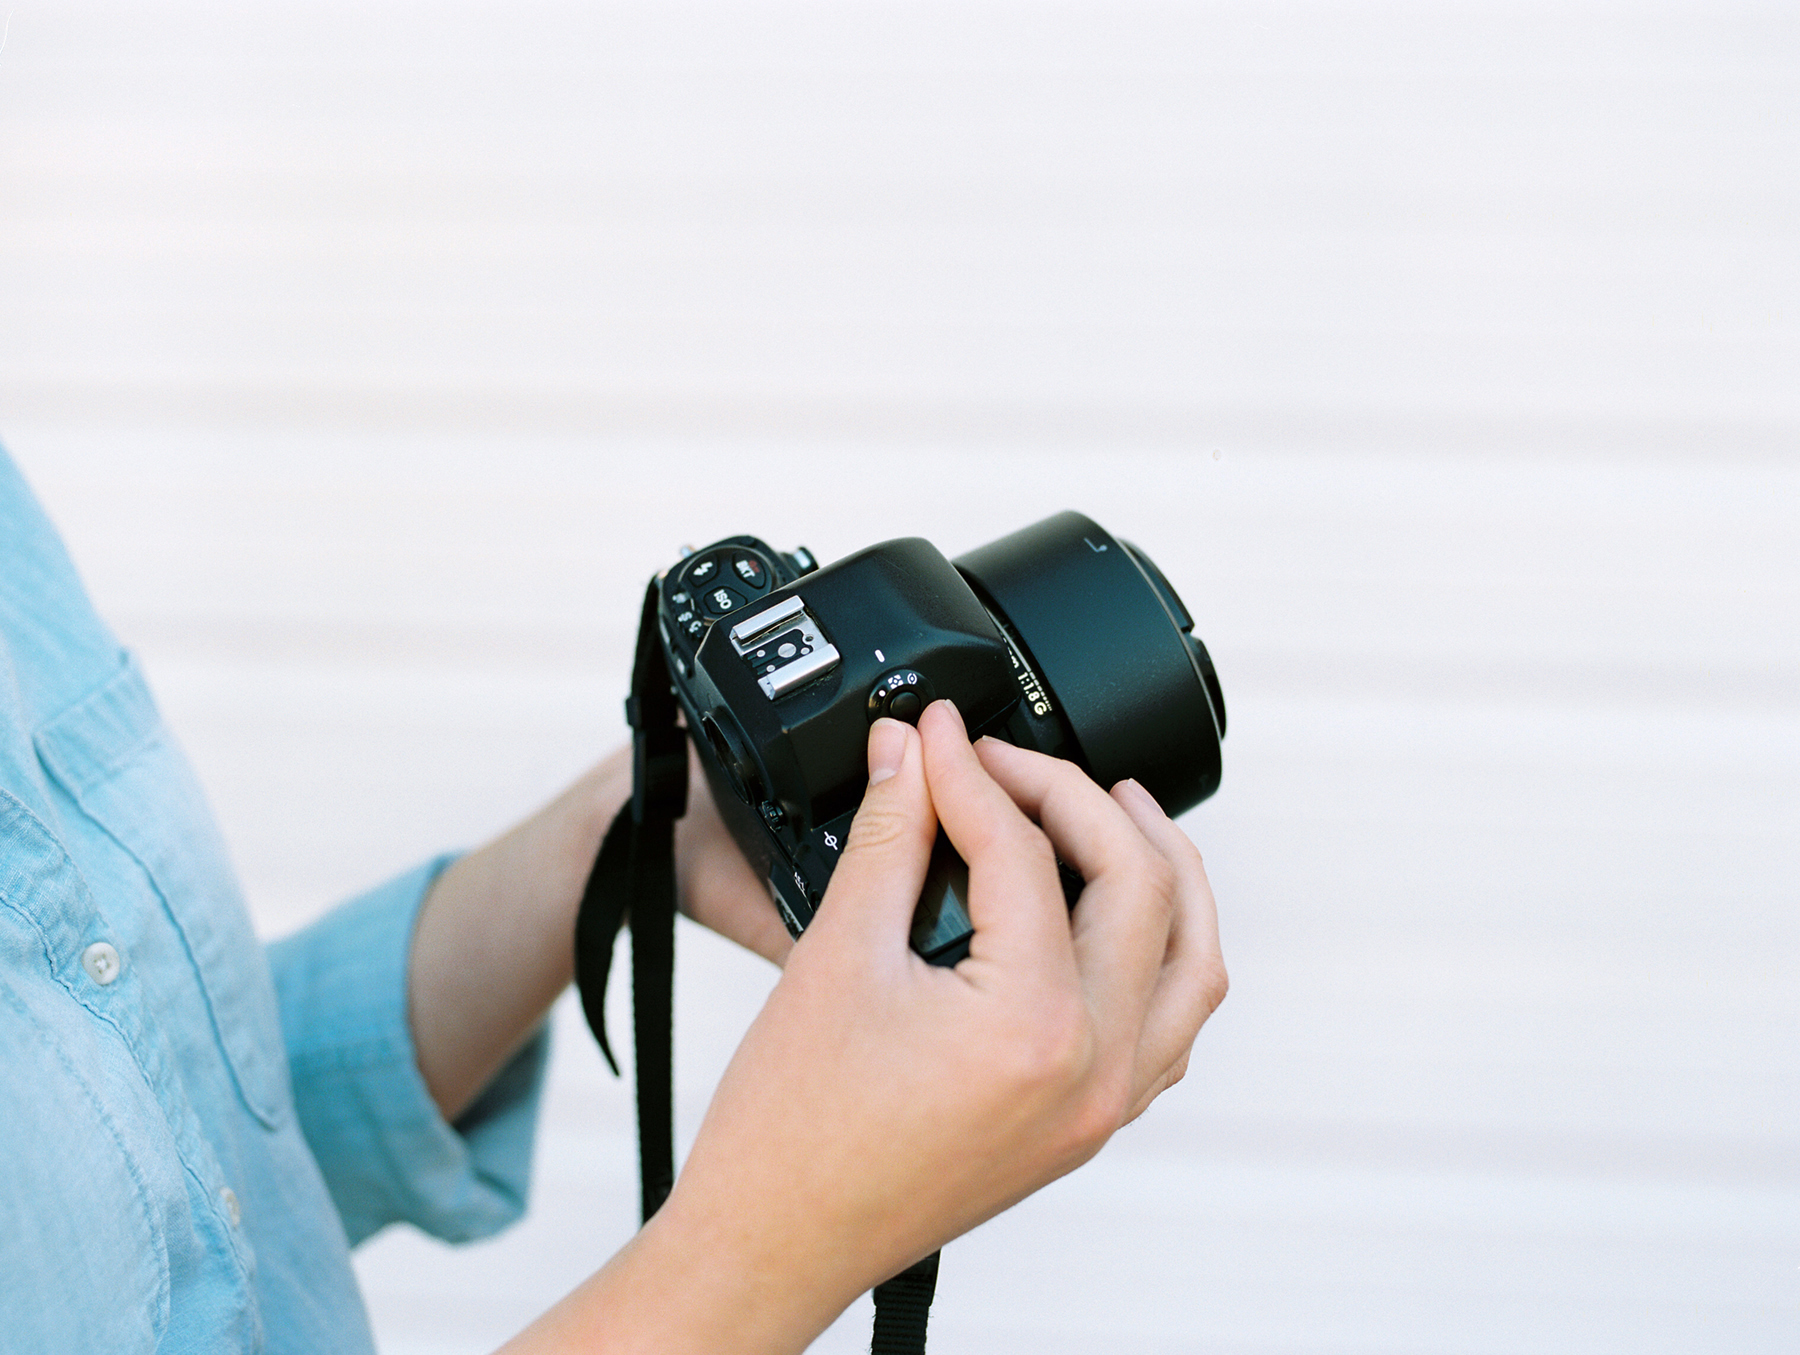
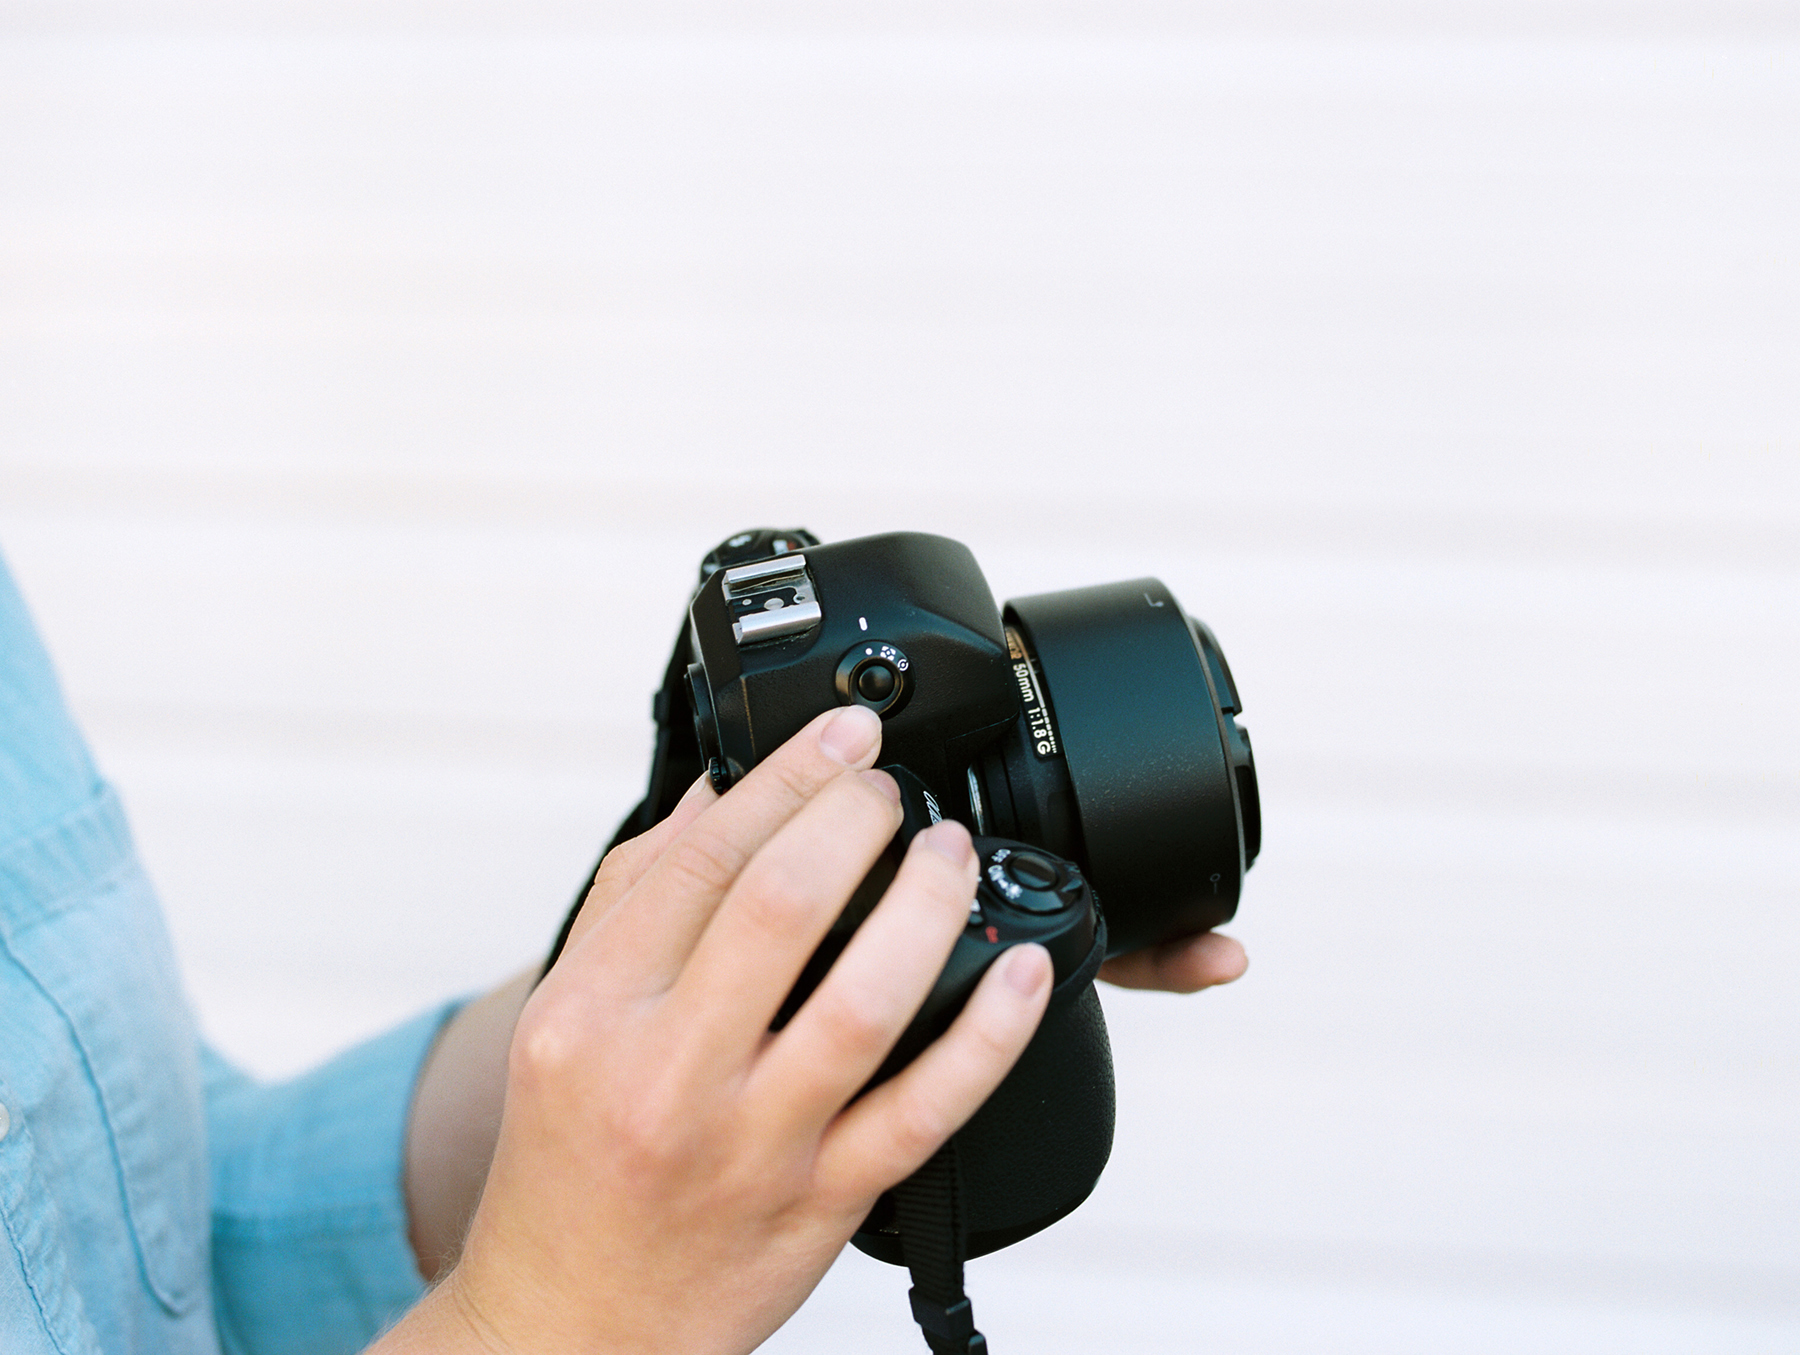
Cameras with internal light meters typically have three modes to choose from: matrix (or evaluative) metering, center-weighted metering, or spot metering. Canon, Nikon, Olympus, Pentax, and Sony all have slightly varying symbols for these modes, so be sure to reference your camera manual to make sure you’re selecting the mode you think you’re selecting. Here’s a brief rundown of how each mode works:
Matrix or Evaluative Metering Mode- If your camera has internal light meter settings, chances are this is its default mode. Matrix, or Evaluative Metering, gathers information from your entire frame to calculate the best exposure for your scene. Keep in mind that this mode gives you less control than the other metering modes do. Sometimes, your camera will get confused by different highlight and shadow detail and calculate the wrong exposure, particularly in backlit scenarios.
Center-Weighted Metering Mode- This mode collects light from the entire scene, with more emphasis on the center of your frame (the idea being that your subject is generally going to be in the middle of your frame). Your camera will measure with more sensitivity at the center of your frame than at the edges.
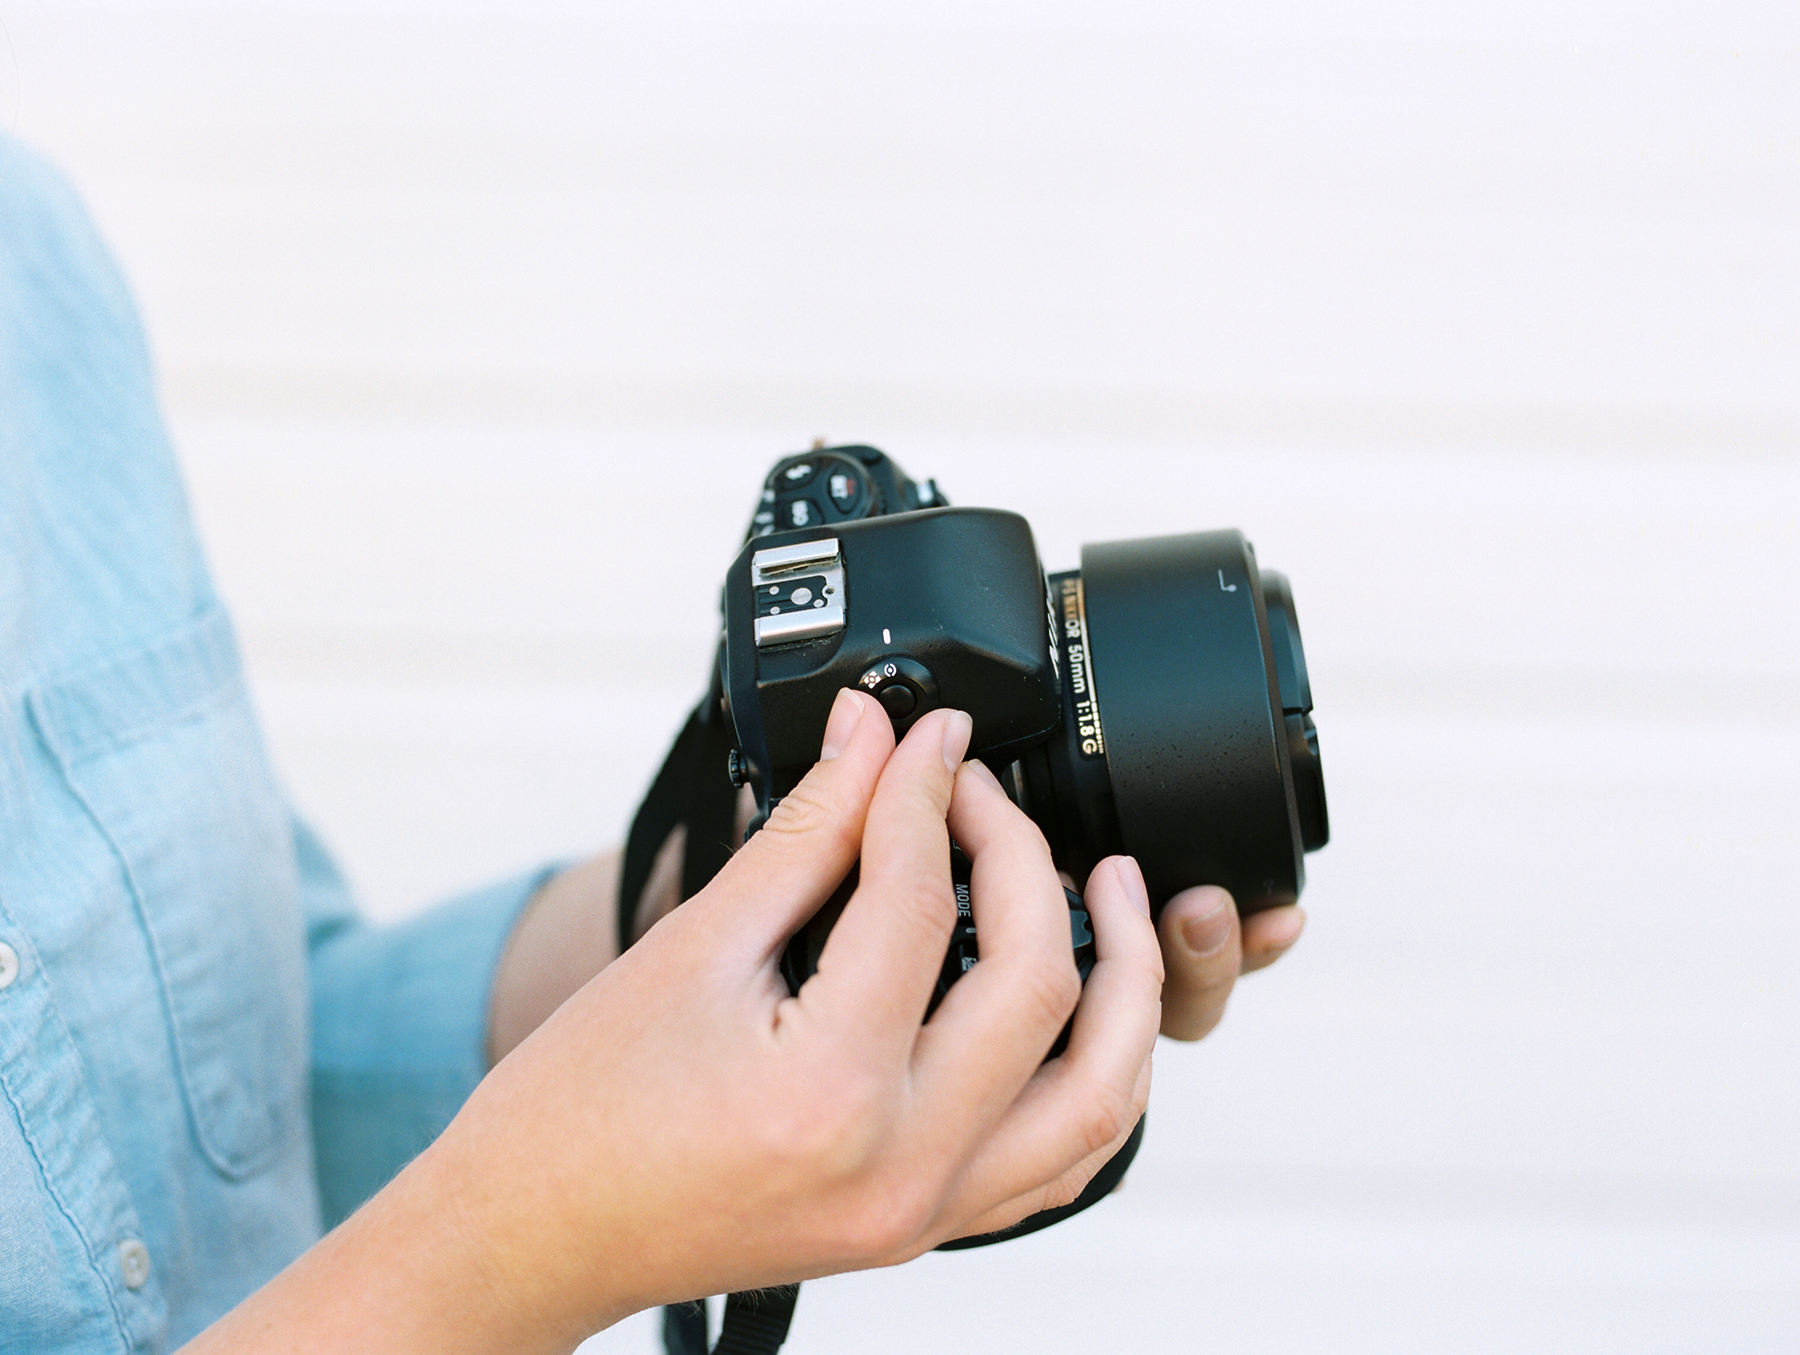
Spot Metering Mode- In this mode, your camera will take a reading only from the small circle in the middle of your view finder. For best results with this mode, position the center of your frame over the most important shadow in your image to get your meter reading, then reposition your frame to compose your shot.

If you’re not ready to invest in a hand-held light meter and/or your camera doesn’t have a reliable internal light meter, there are several smart phone apps that can help you get a reading in a pinch (our team members’ favorite light meter apps are Pocket Light Meter and Lux). No matter what metering method you use, practice is the key to figuring out what metering method works best for you, so we encourage you to try some of these techniques the next time you shoot!

Photos by Chloe Mehr | Portra 400 | Pentax 645n
