Before you begin, make sure that your camera has double exposure capabilities. Some cameras can shoot double exposures, some can’t. Just reference your camera manual (you can google it if you don’t have a hard copy!) to see if your camera model has double exposure settings and to read detailed instructions on how to use them. Here are some things to keep in mind as you’re shooting double exposures on film:

Ashley Crawford | Fuji 400H | Pentax645n with a Zeiss 80mm
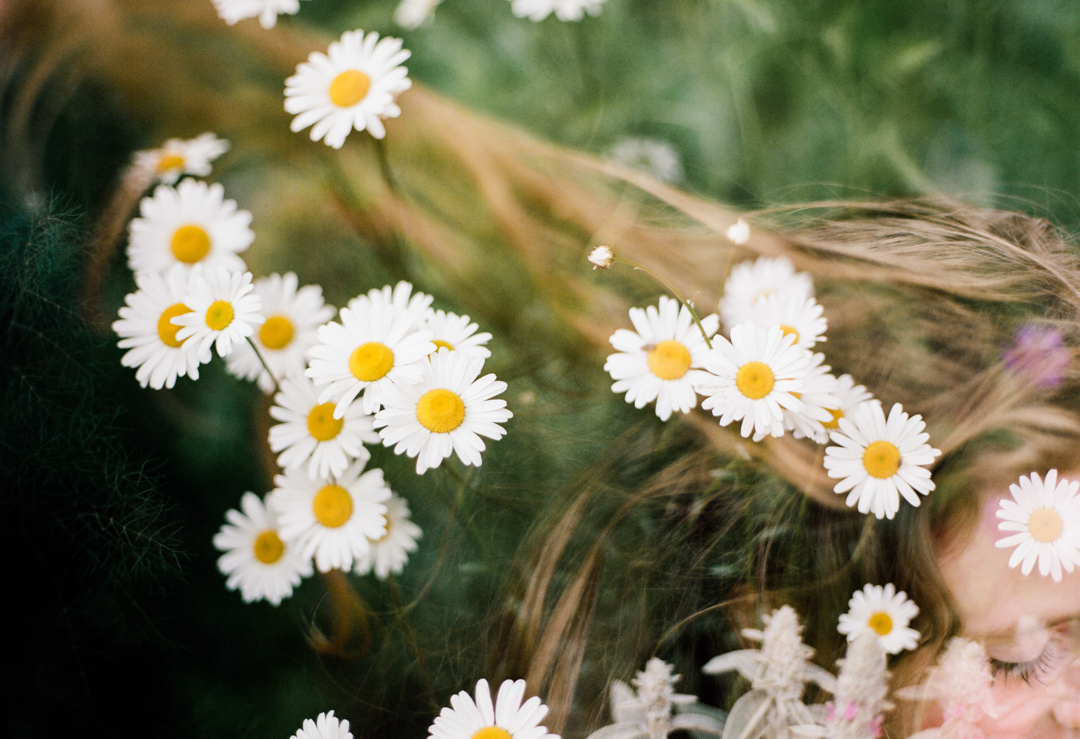
Melese Miller | Portra 400 | Mamiya 645af
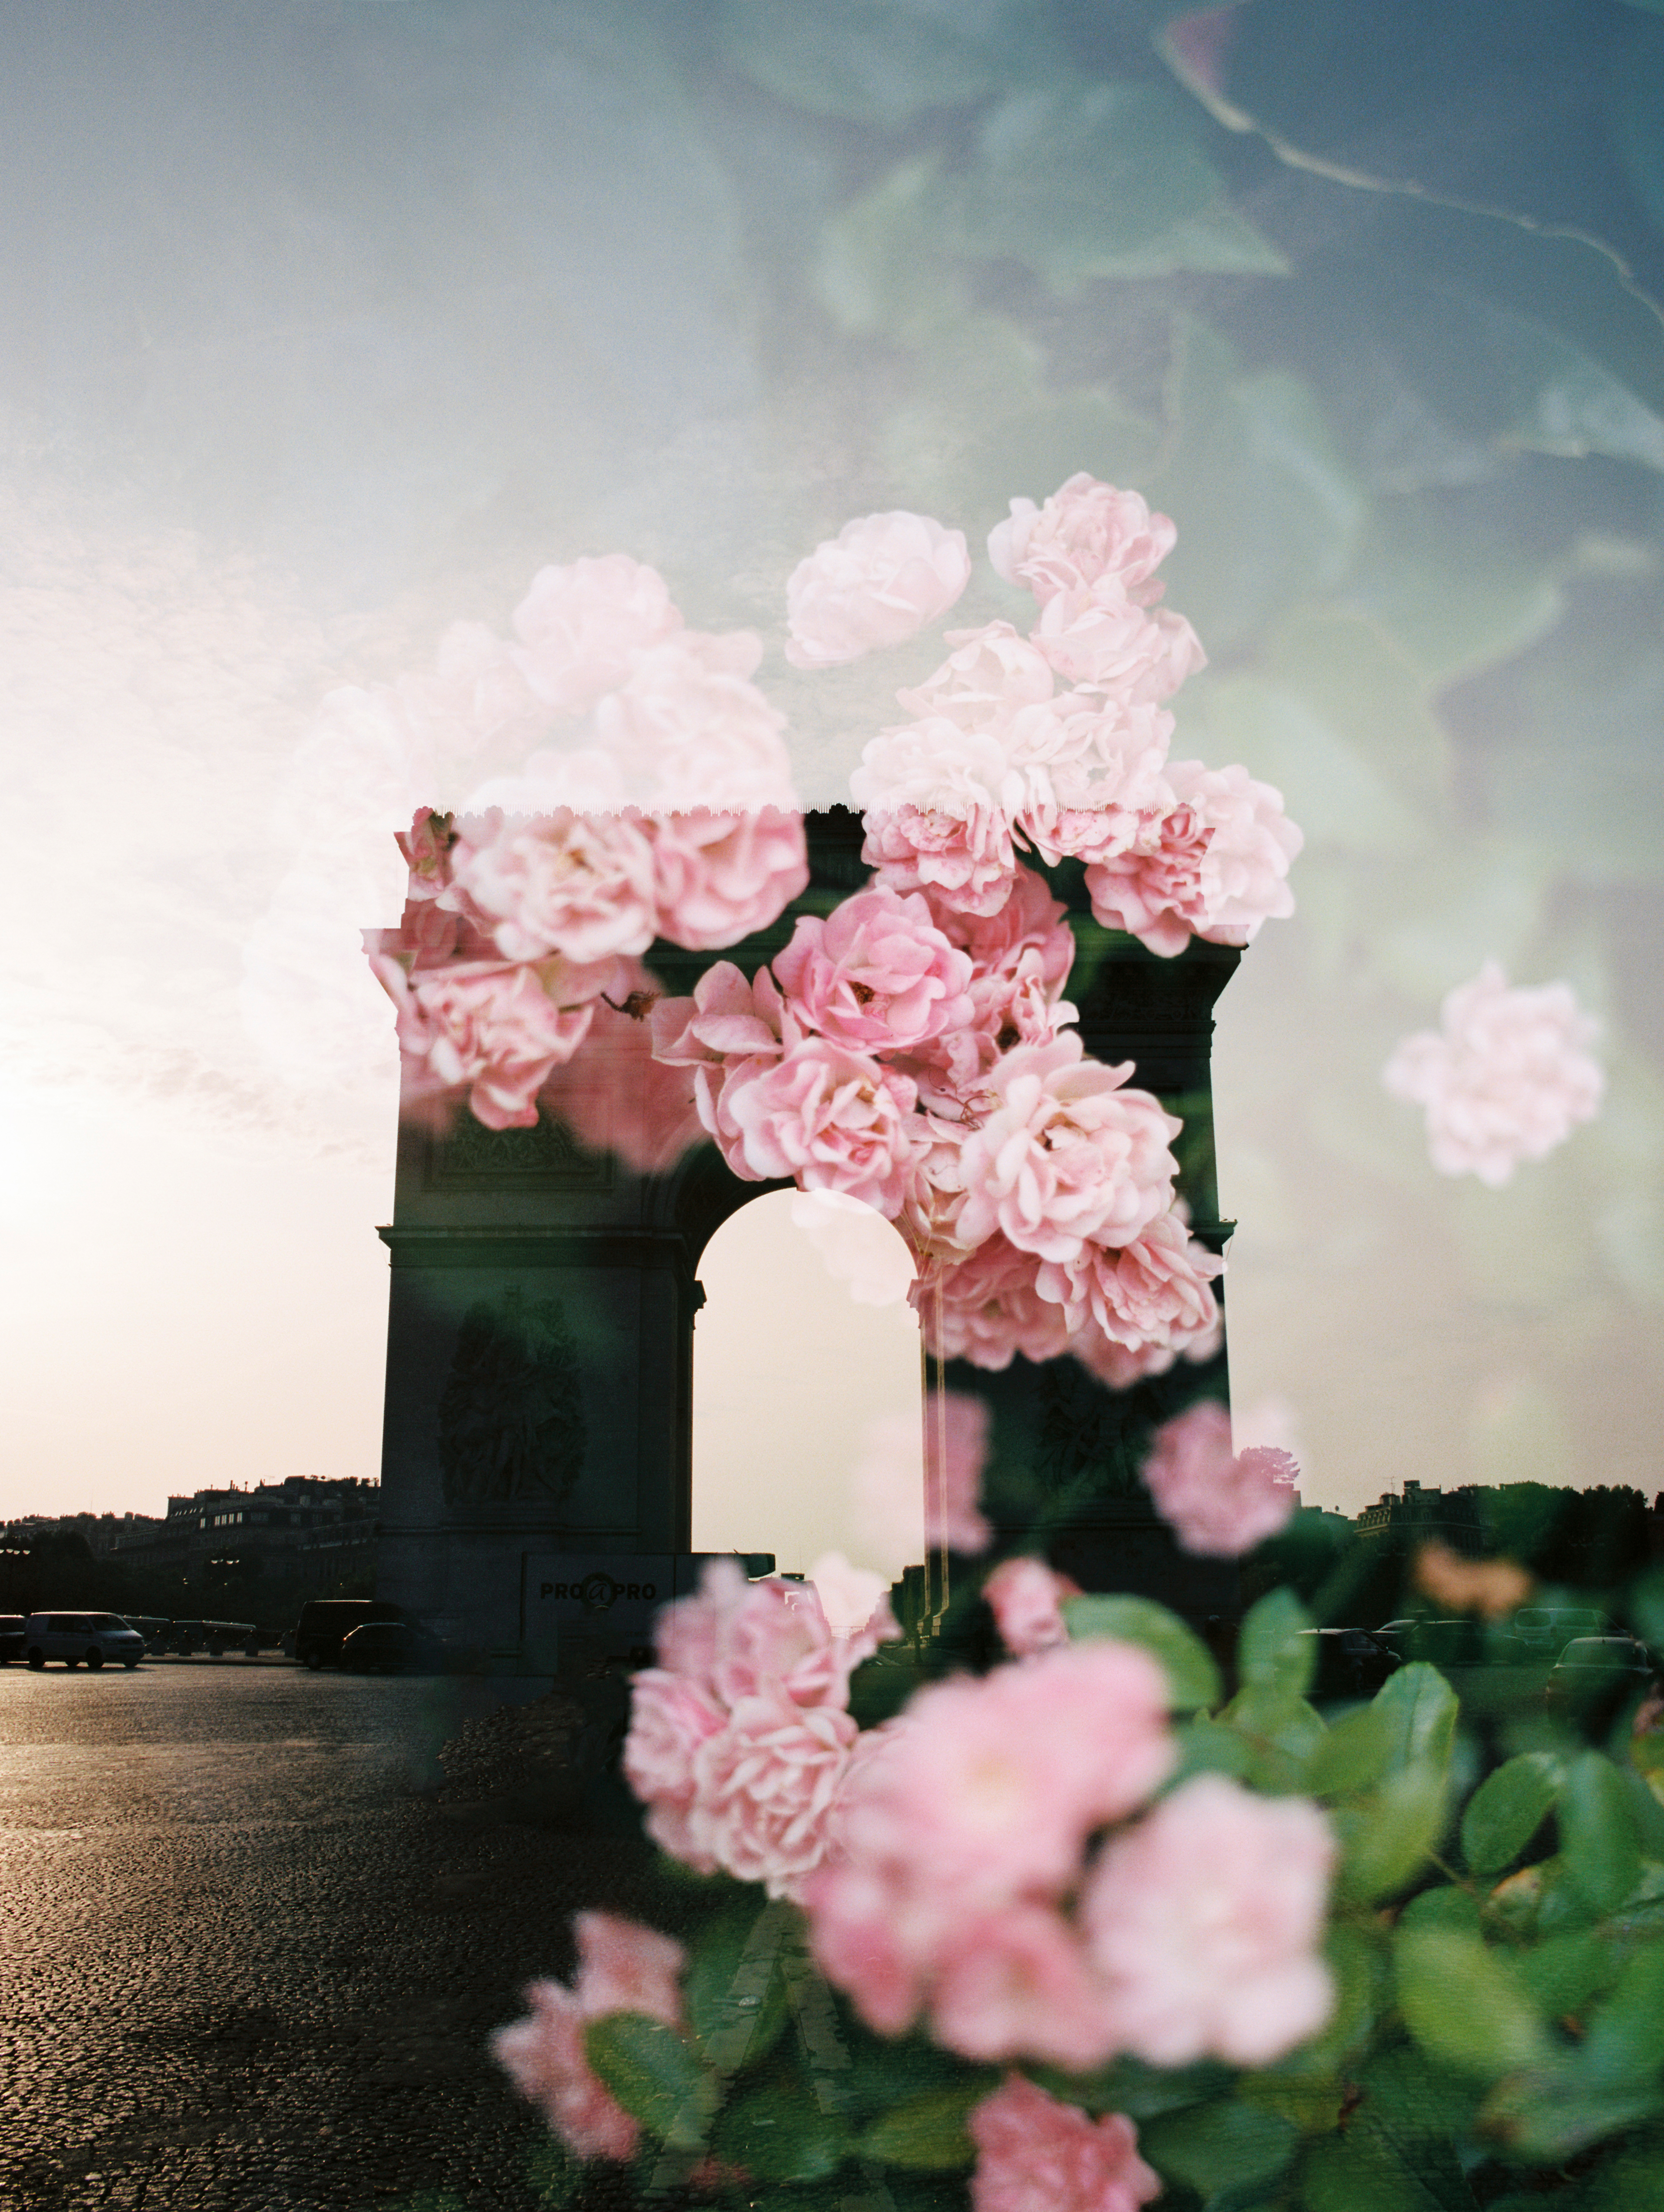
Jessica Parker | Portra 400 | Pentax 645nii
Adjust your exposure settings to ensure your final image isn’t overexposed.
Usually we want to err on the side of overexposure with film, but with double exposures, we want to underexpose each frame. When shooting two frames on top of each other, cut each exposure in half. The easiest way to do this is to stop down the aperture (take it from f4 to f5.6 for example) or make your shutter speed twice as fast (i.e. 1/125 to 1/250).

Melese Miller | Portra 400 +1 | Mamiya 645af
If you want to see a specific outline, place your subject against a blank background.
Using the sky is a pretty common option, or you can find a neutral colored wall (in the image below, the subject was photographed against the sky):
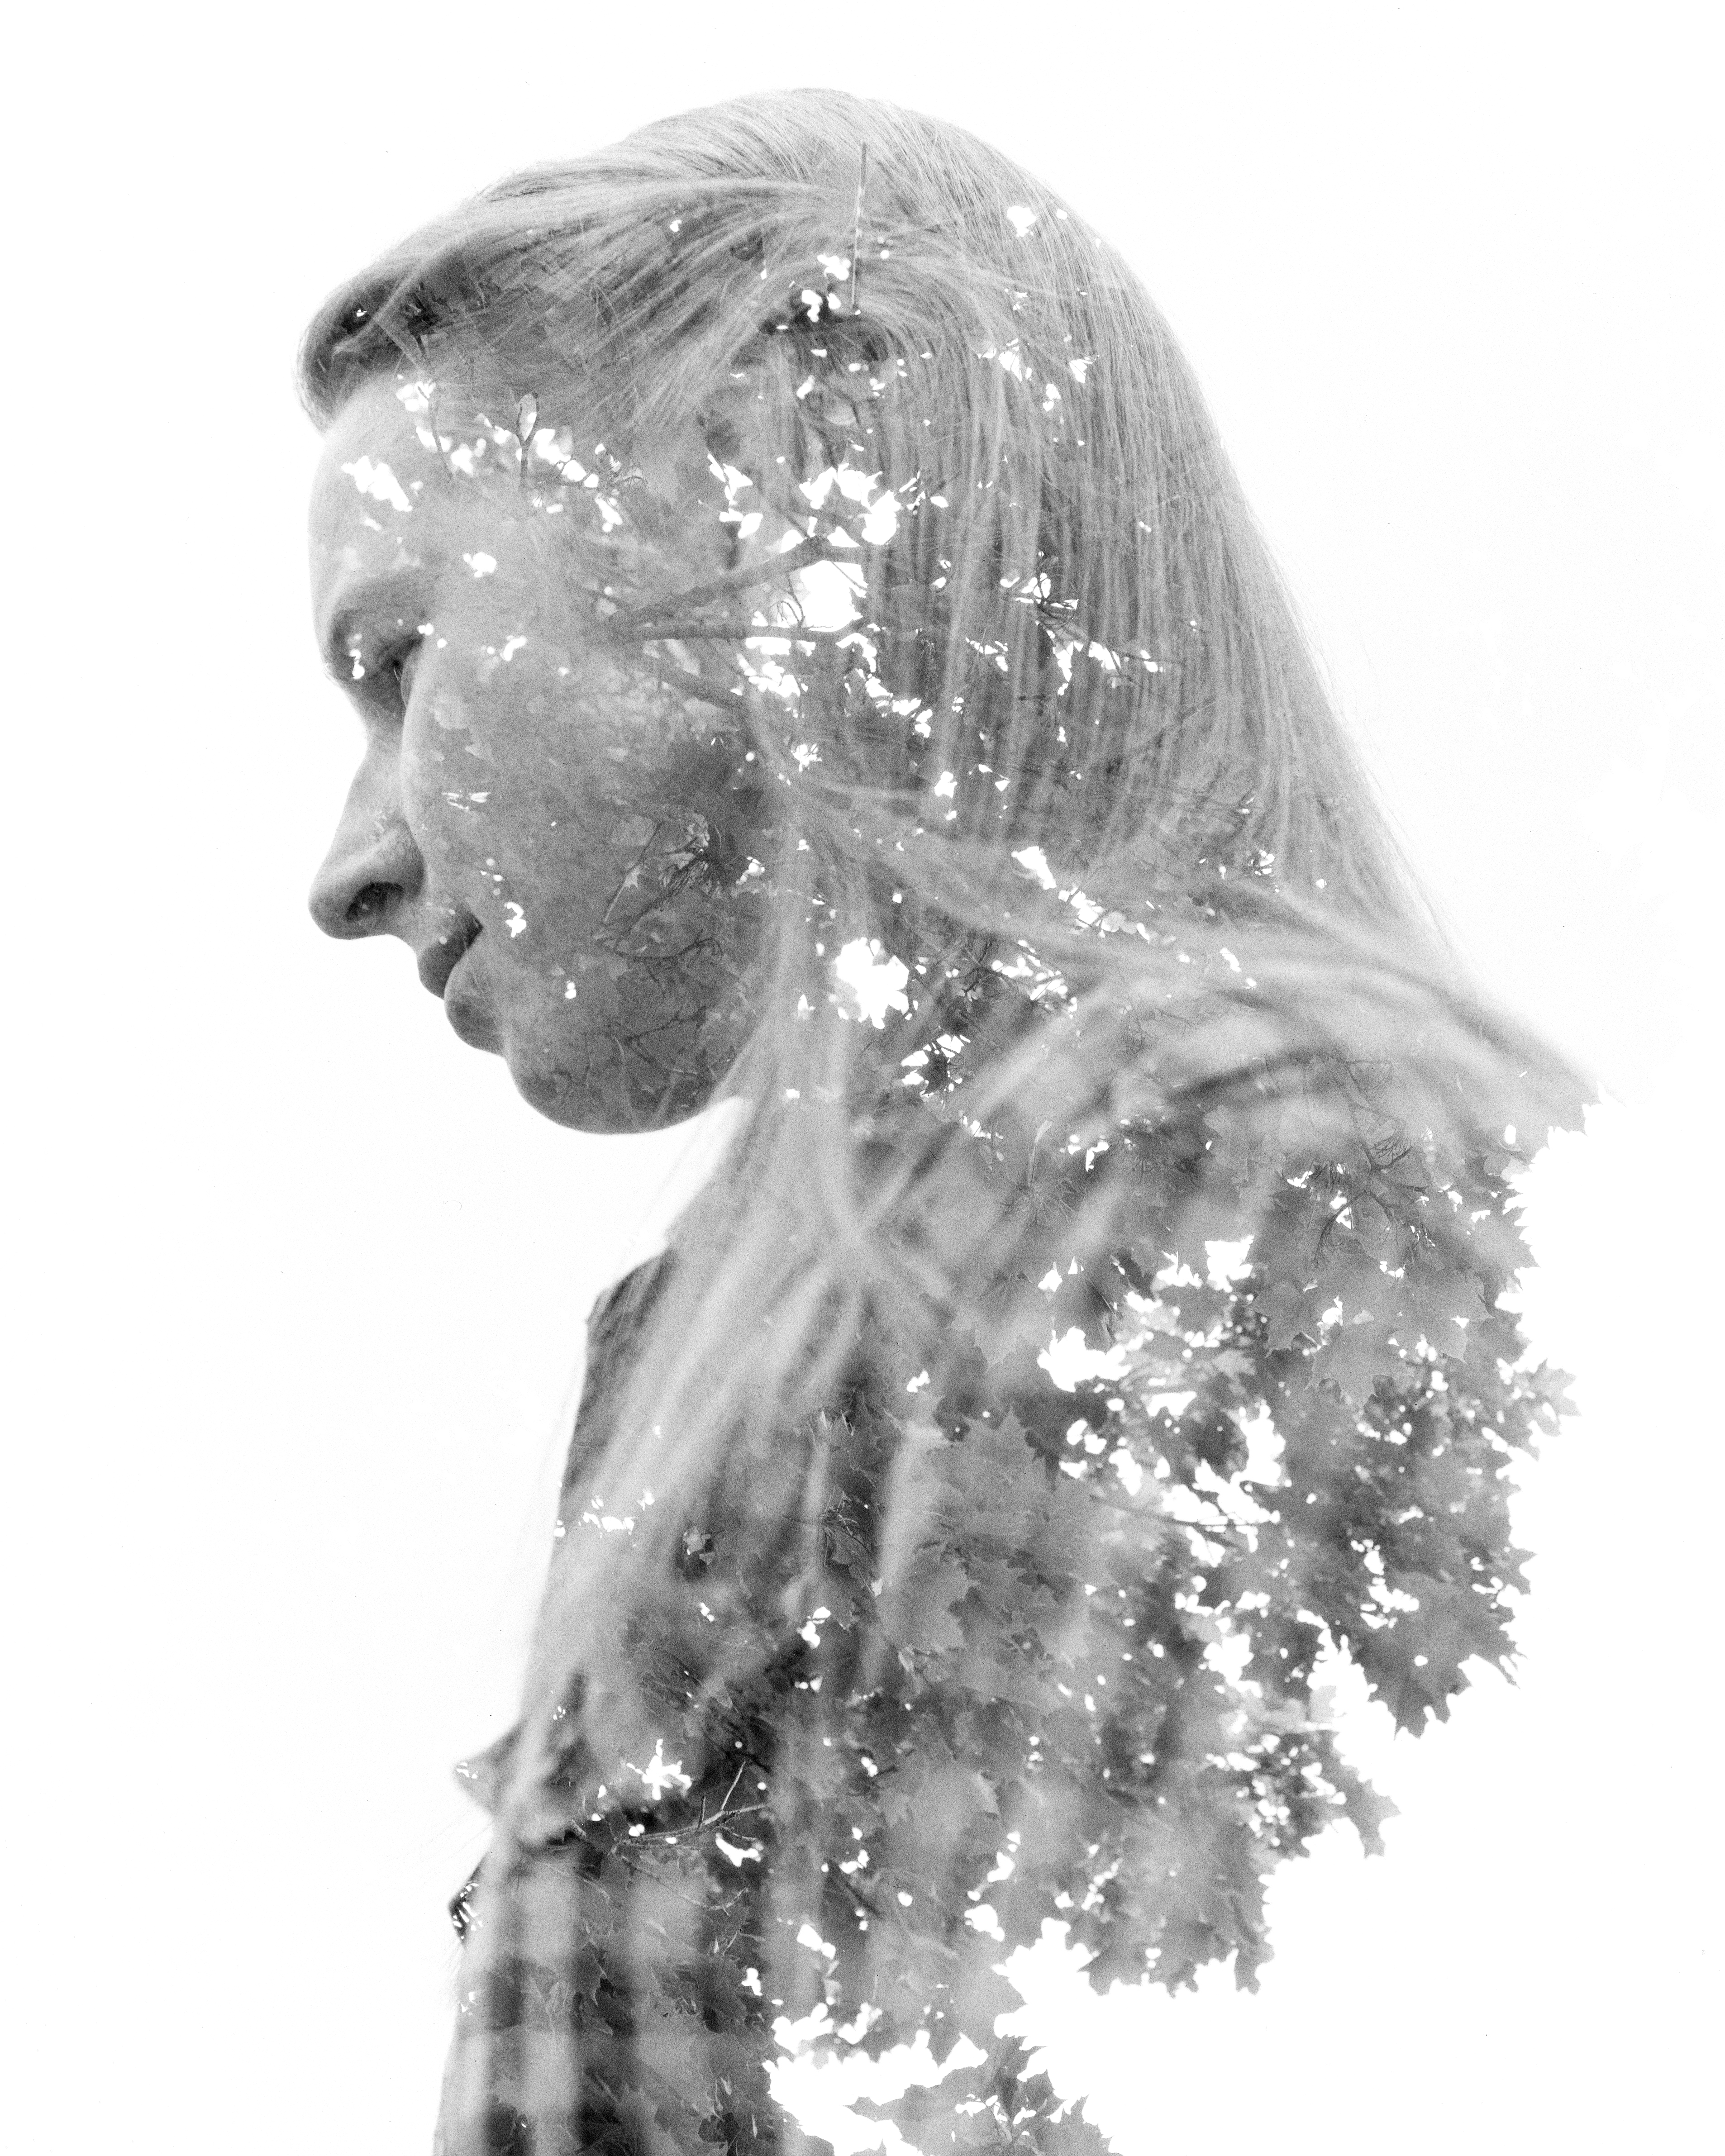
Donnie Tapp | T-Max 100 | Calumet 4×5 Monorail
Remember how highlight and shadow detail will be influenced by shooting two frames on top of each other.
-The shadows of your first frame will be filled in by your second frame
-The highlights of your first frame will be mostly lost in the second frame
Here are two photos of the same scenes just shot in different order: in the first image, we shot our model first and the blossoms second. In the second image, we shot the blossoms first and the model second. You can see how the detail in both scenes is influenced by shooting one before the other:
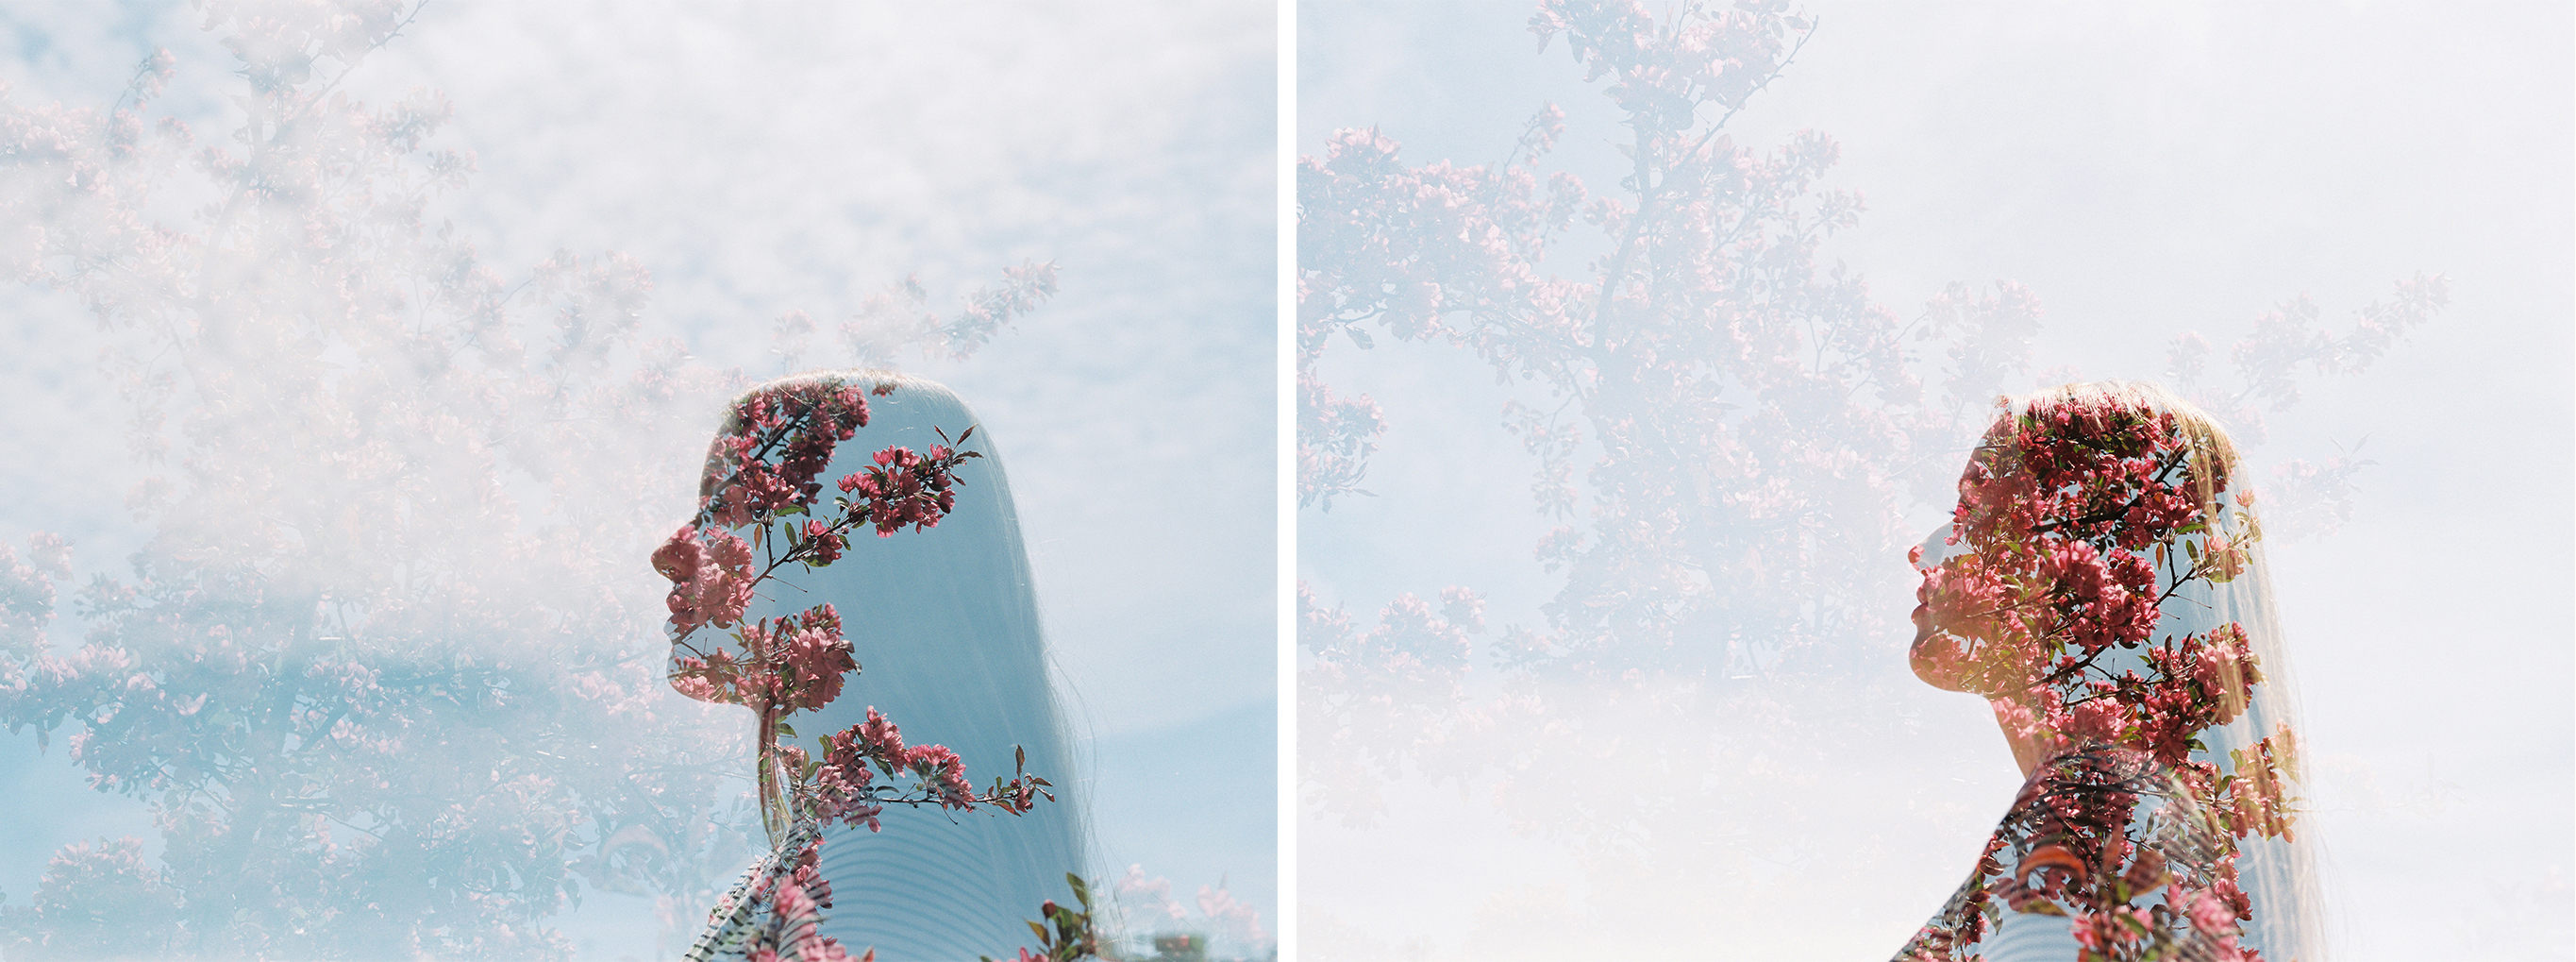
Chloe Mehr | Portra 400 | Pentax 645n
Like most film techniques, hands-on experience is the best way to learn, so we encourage you to get out and try shooting some double exposures yourself!