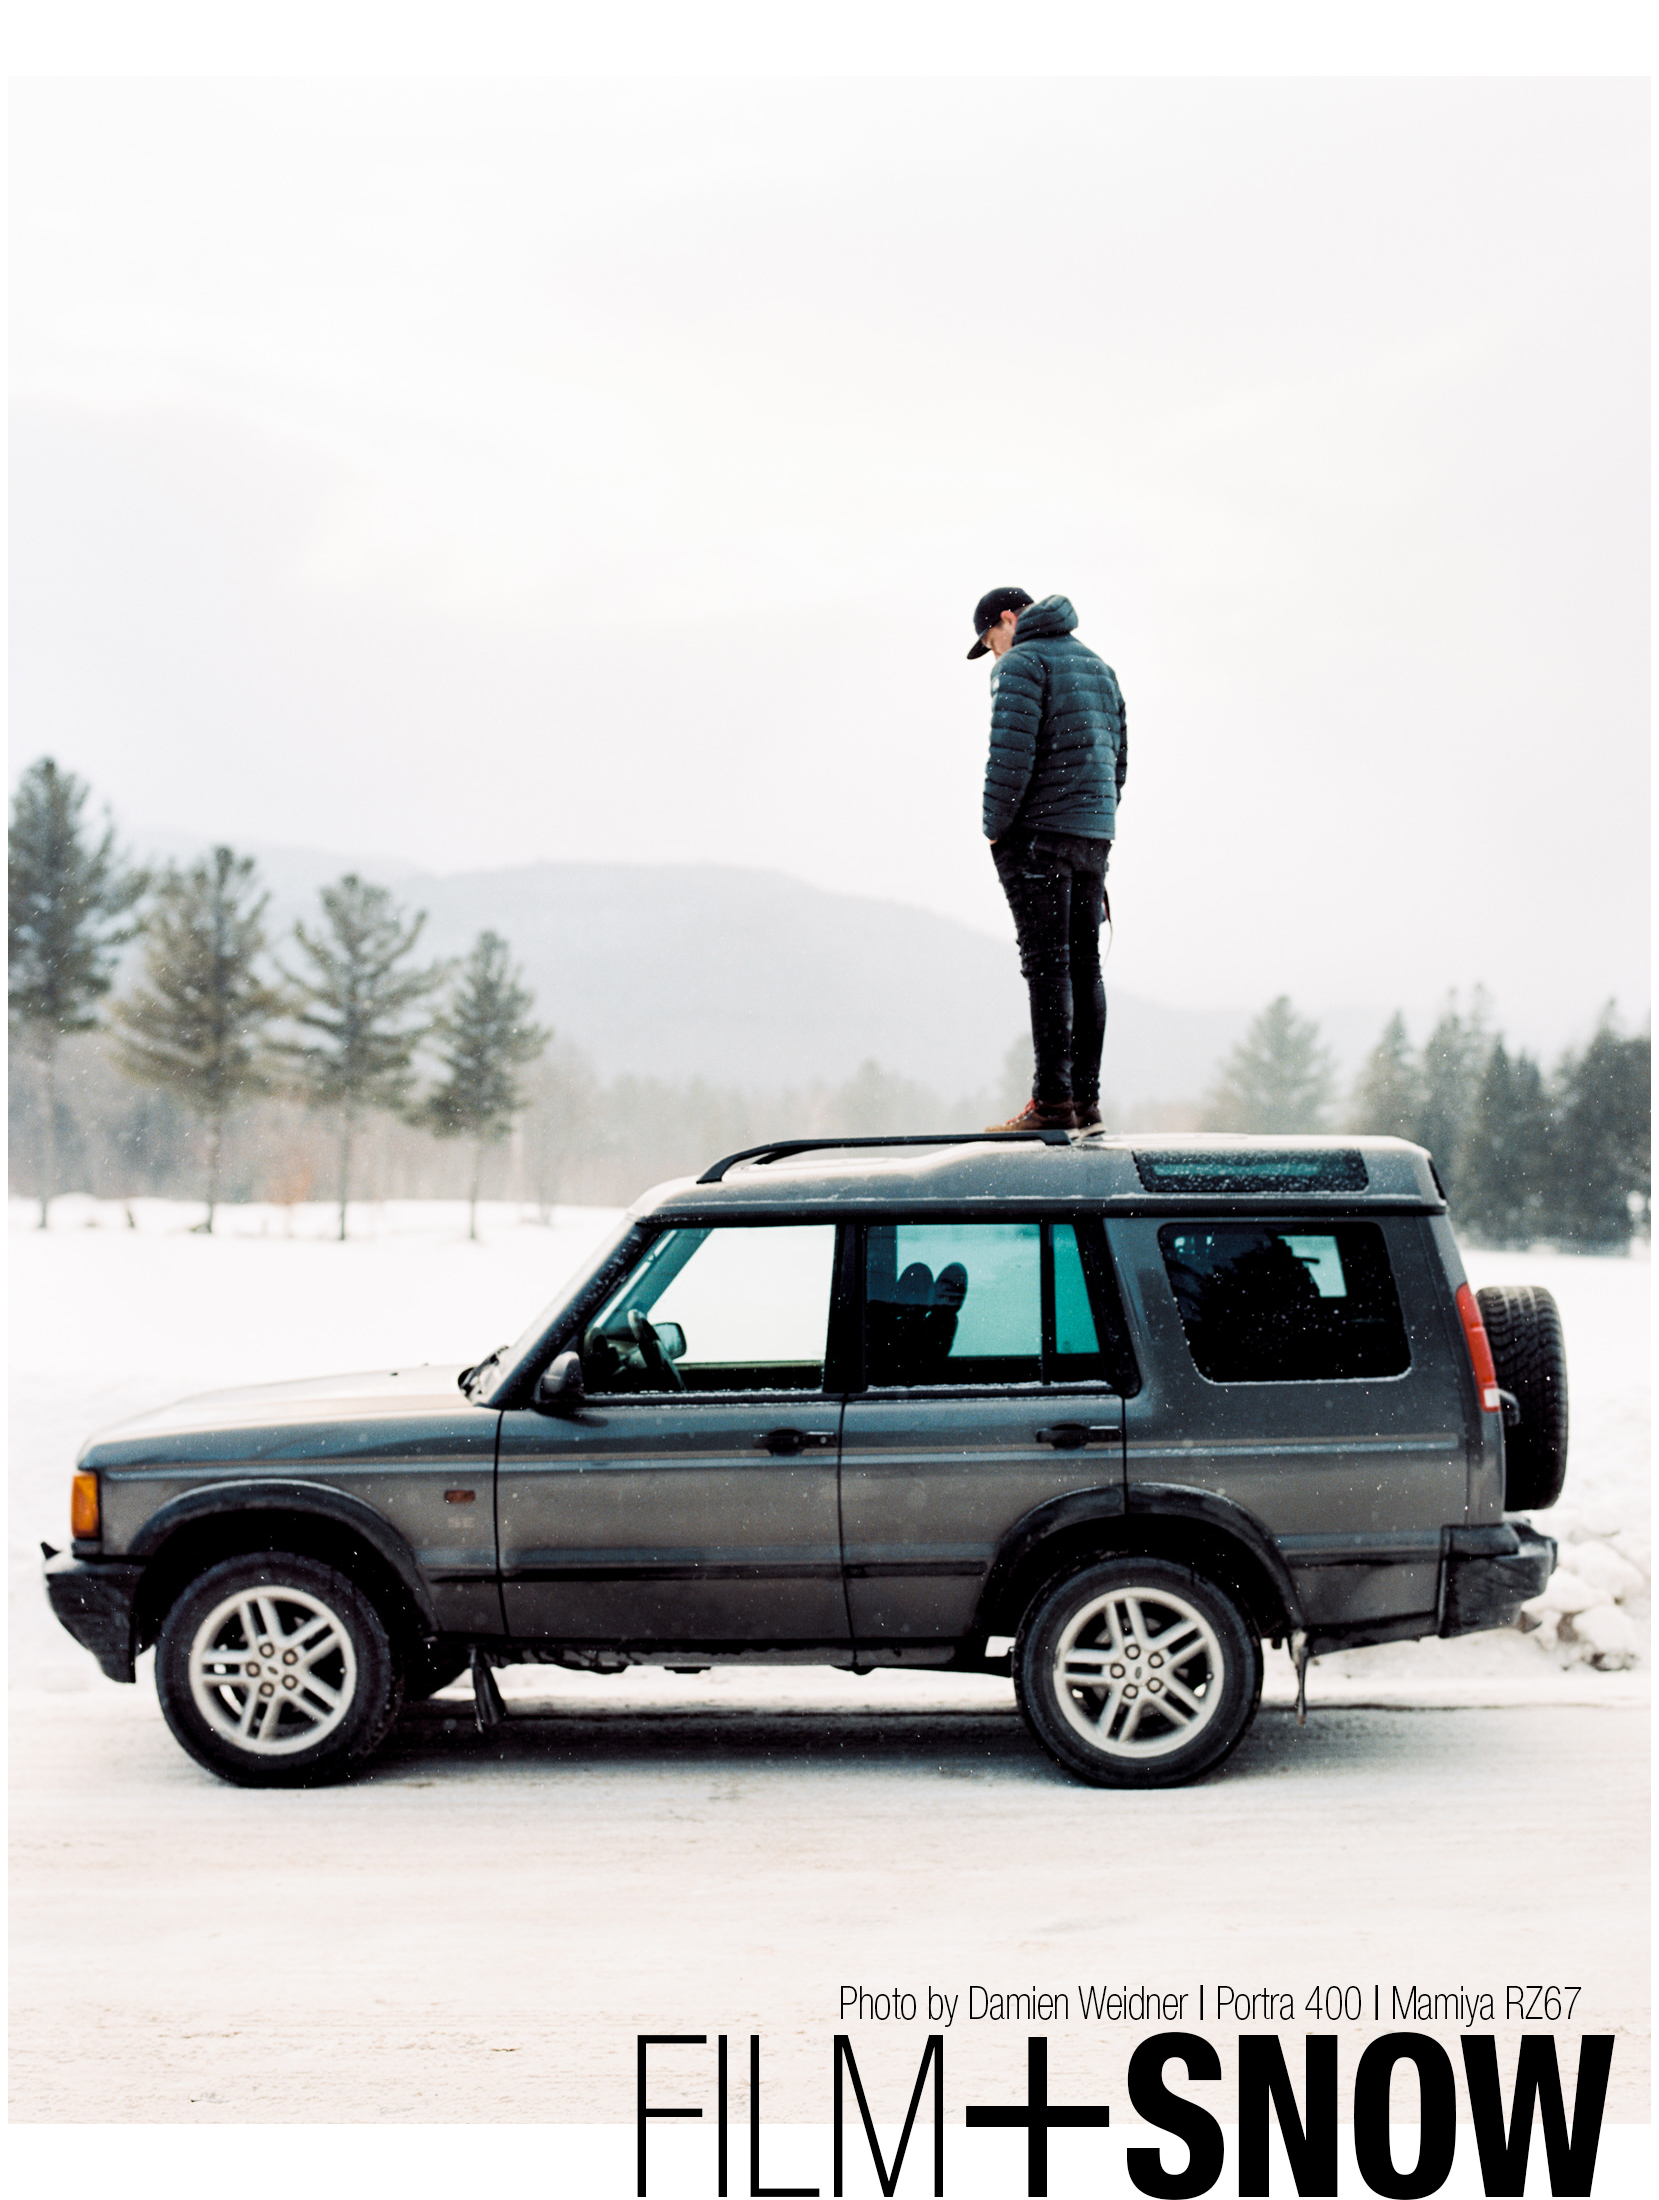
There are a lot of things about shooting film in winter weather that you have to watch out for. The extreme cold can totally kill your battery, the wet snow might make your camera start to act up due to moisture, going from extreme cold to warmer temps indoors will fog up the best of lenses/viewfinders, and worst yet, that bright, bright snow can throw off your meter and cause your scans to come back underexposed!
That being said, we promise by the end of this post standing in the freezing cold to get that perfect shot will not only become appealing, it’ll be EASY! Let us help you get you out of that creative winter slump!

First, let’s tackle your exposures as you have a couple of options for metering. The easiest option is using your in-camera meter. Remember, said meter is ALWAYS going to give you a reading for middle gray. Point it at something white? It will read it as gray. Same thing with something black! A good rule of thumb would be to take a reading of the snow and then overexpose 2 stops. So, if it says f/5.6 @ 1/1000th, then shoot it at f/ 2.8 (f/5.6 – f/4 – f/2.8!). If you want to keep your depth of field, leave your fstop at f/5.6 and adjust your shutter speed 2 stops to 1/250th (1/1000 – 1/500 – 1/250). Both methods will help you overexpose 2 stops. Why 2 stops? We recommend this because 2 stops over middle gray will be the brightest you can expose and still have detail. Any more than that and you’ll get a great exposure, but won’t have any detail in that snow.
Another option is your hand-held meter. If you have a hand-held light meter and you’re in the camp of bulb in 45 (aka exposing for the shadows by retracting the bulb in and pointing the meter 45 degrees towards you/the ground), we recommend NOT doing the 45! Instead, retract the bulb to ensure no other light source is hitting it and it is shaded and then just point it towards your camera and take a reading. If you tilt it down towards the snow it will get a brighter reading as that is just one huge reflector! We know how much putting a light meter in someone’s face can kill the vibe of the feeling you might be trying to portray. So instead of putting it right next to your subjects face, turn yourself around and face the same way they are and take a reading right in front of your own face. As long as you are in the same light the exposure should be exactly the same. No weird light meter up in their grill, just yours. And when in doubt, with color neg film, err on the side of overexposing. Just know that too much overexposure will introduce color shifts in the scans depending on the film stock you are using.

![]()
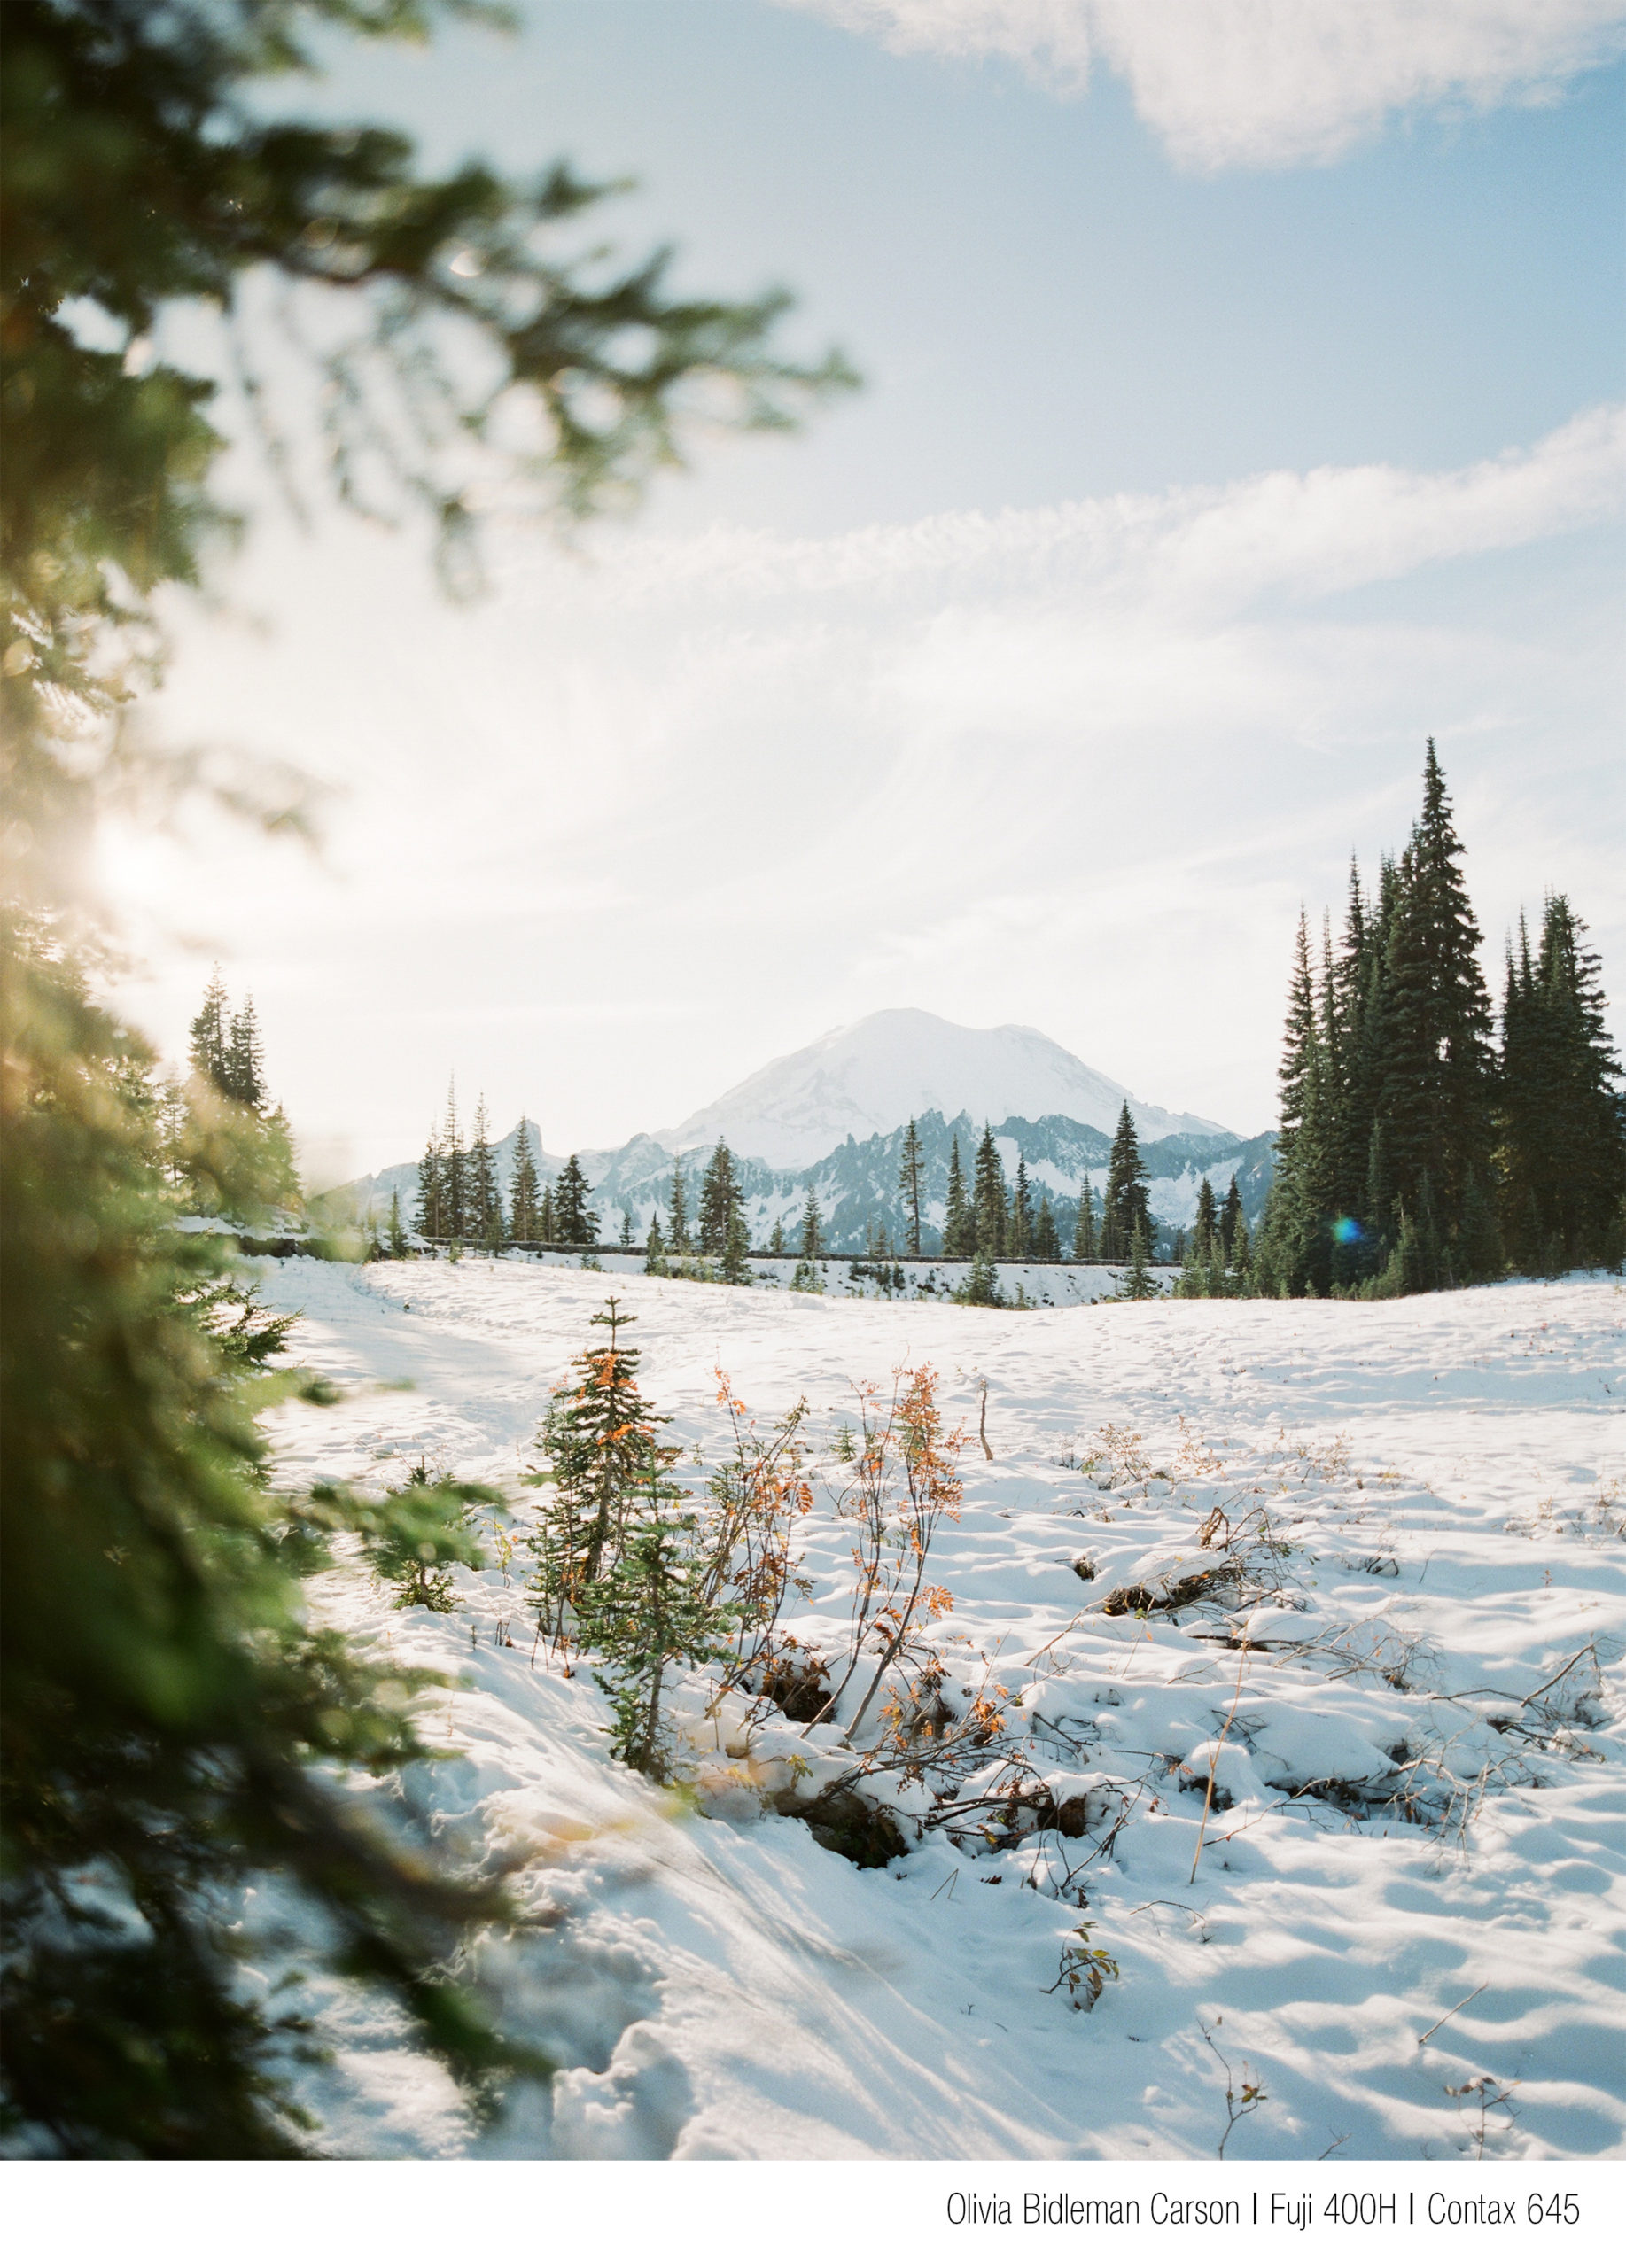
This film is super neutral with it’s cyan base color. Also, you have a lot of room to overexpose this film if you want that limited depth of field, even if it is super bright.
![]()
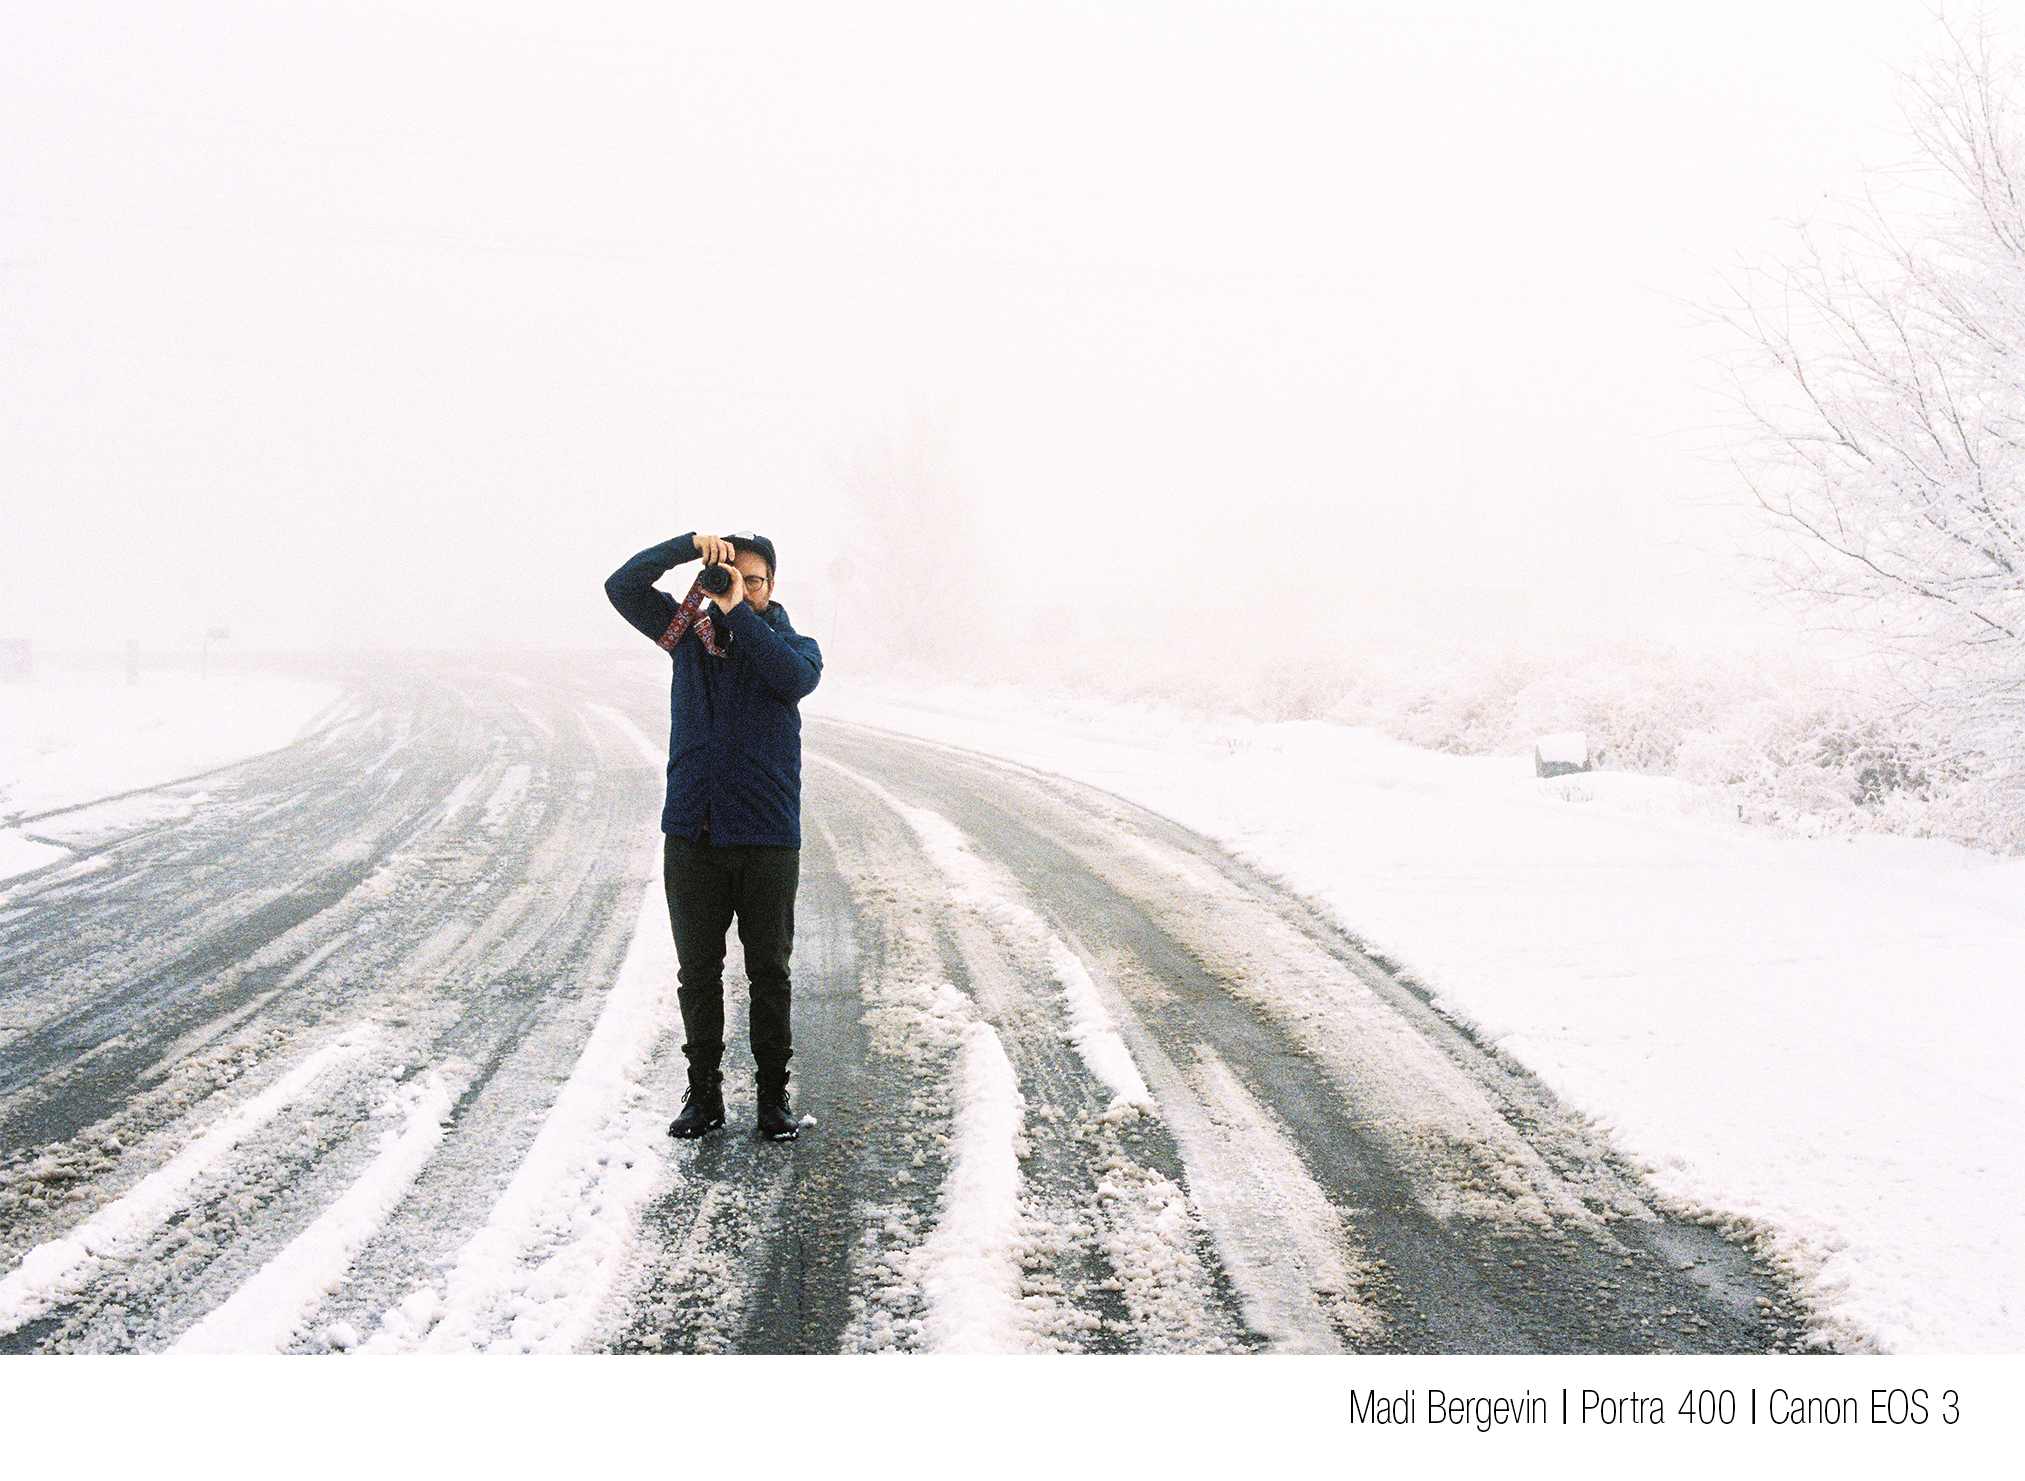
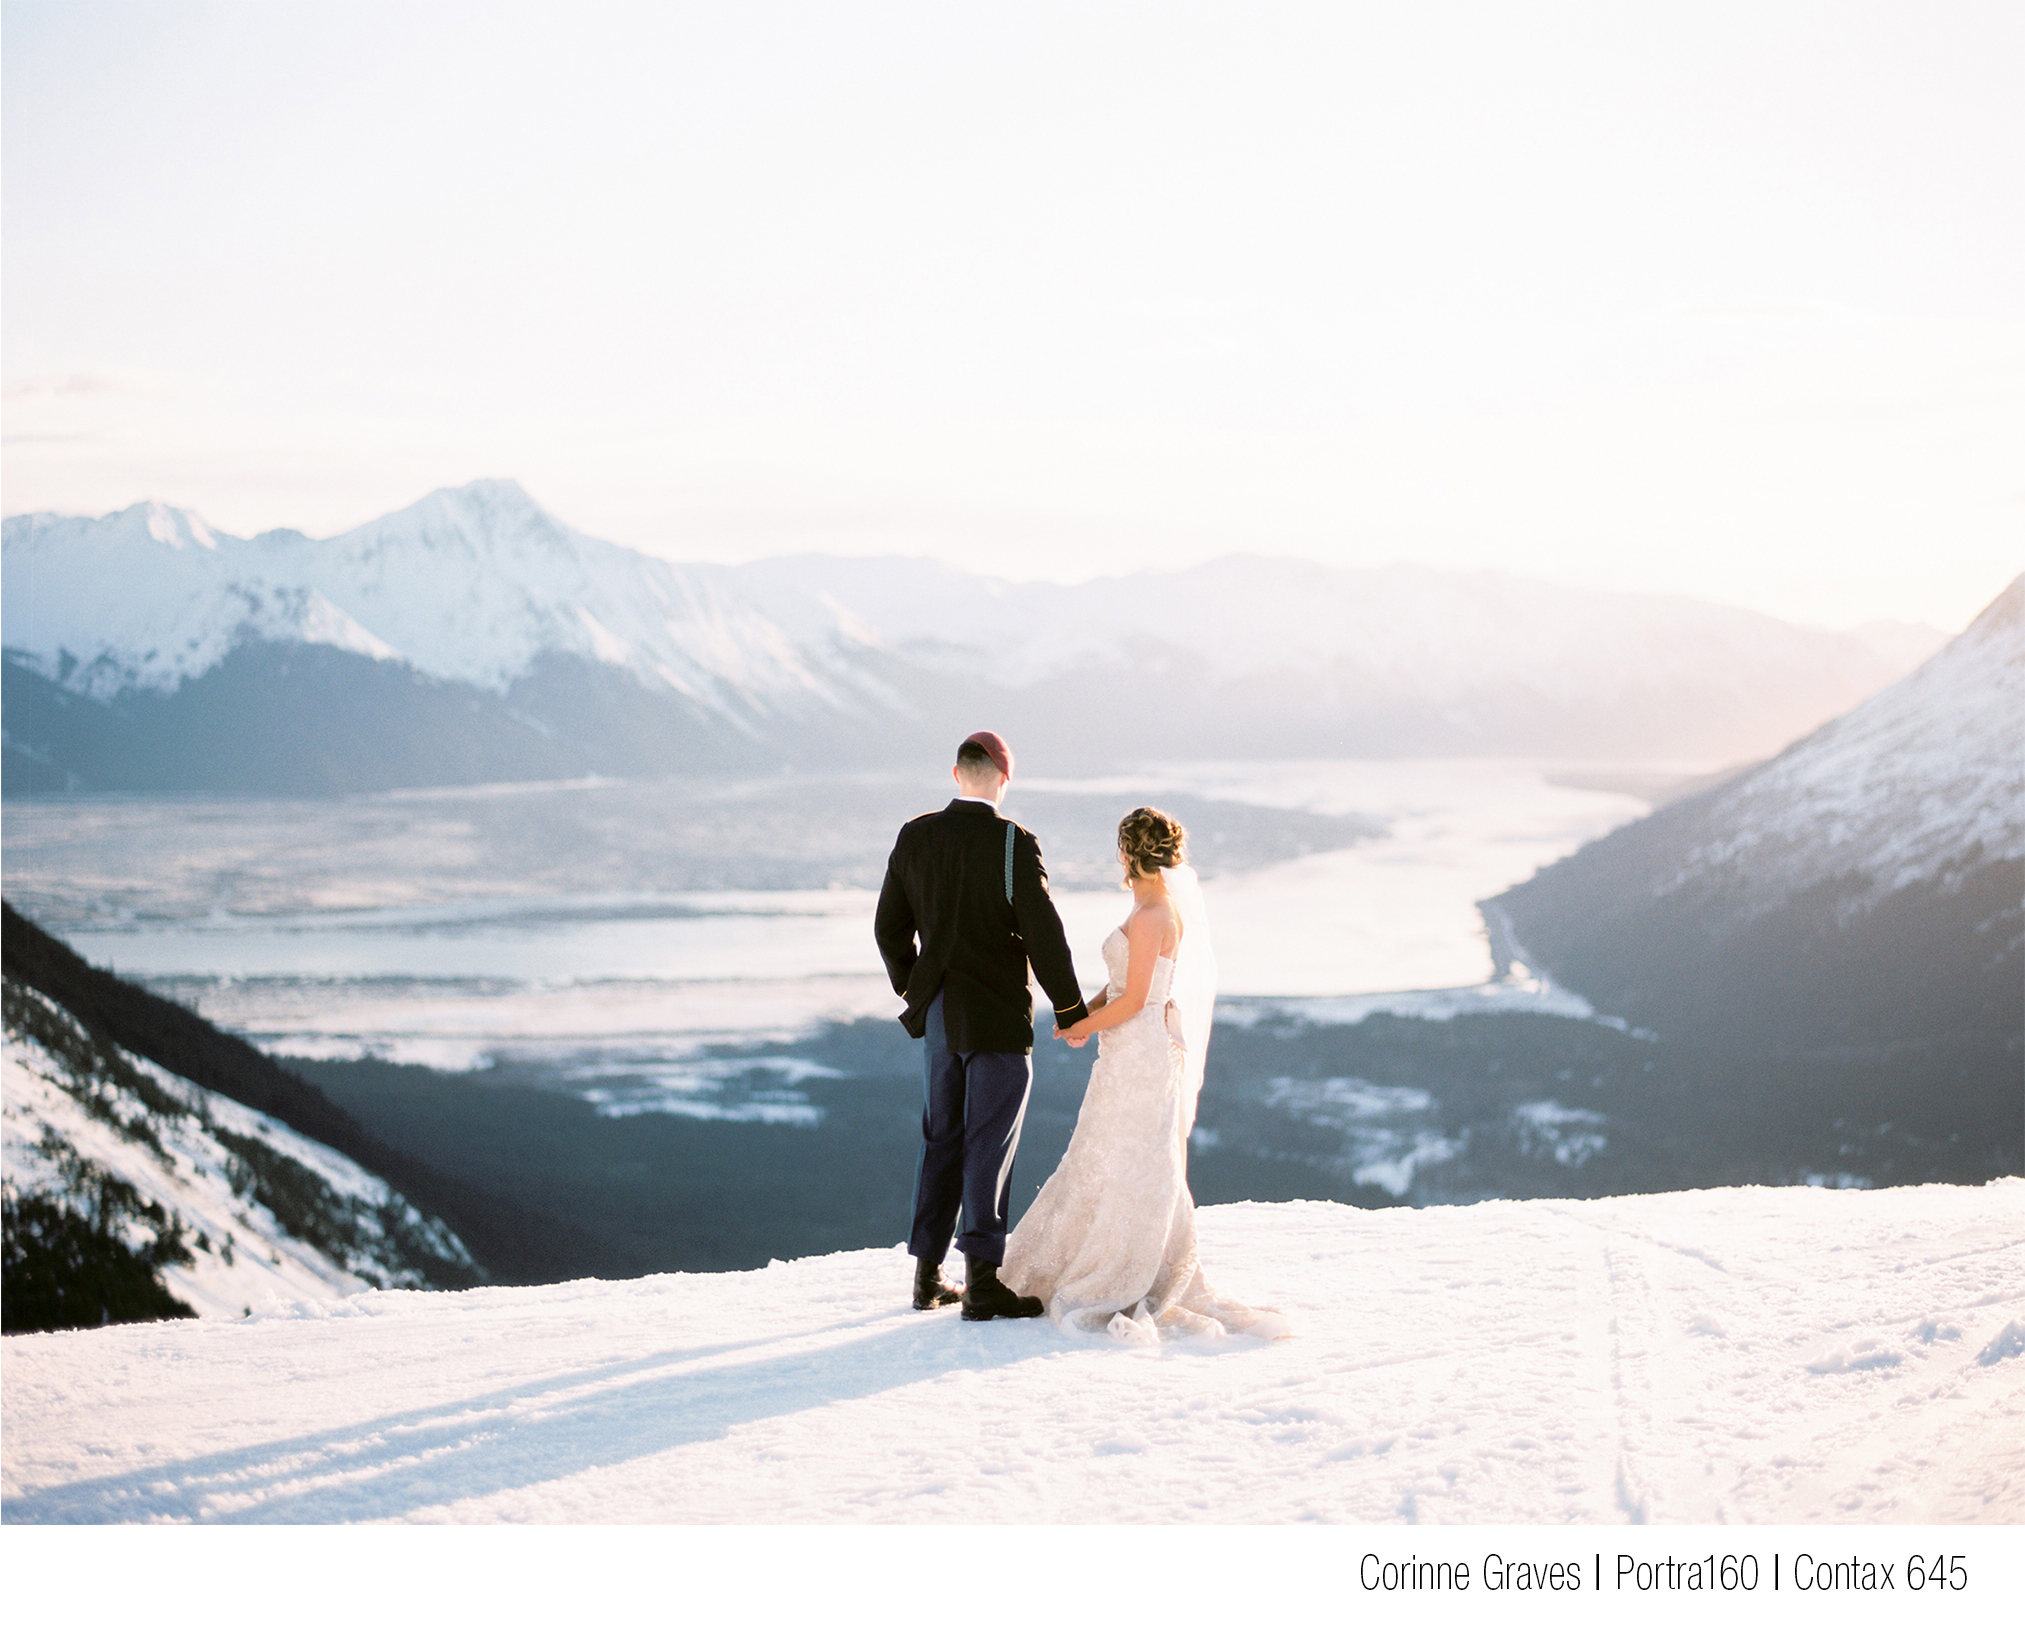
Portra 160 is also a great choice with a very neutral color base (even if it is a magenta color base). We recommend rating it at 100 and developing normal. We’ve also seen it shot at 320 and pushed a stop with amazing results; giving you the option to have limited depth of field at a 100 iso or more depth of field at 320 iso.
![]()
Overall, HP5 is a great film stock. It has amazing latitude where you can go from shooting super low light to the brightest sun, all on the same roll, and get beautiful results with minimal to no grain visible. You can push this film stock up to 3 stops pushing in development. 35mm is another story, but that’s a whole other blog post about 35mm grain vs 120 grain.
![]()
The tried-and-true B&W film for all-around use. This film also can take a beating in both directions, meaning you can overexpose or underexpose it and still have great images. We’ve seen rolls with up to 5 stops overexposure still have detail in shadows and highlights when scanned on the Frontier. In contrast, rolls have been unexposed by up to 2 stops and still come out with a really unique look, but you should expect some grain and a bit of crunched blacks. We love this film metered for the shadows and scanned for the highlights!
Click here to buy the film stocks we’ve recommended for shooting in the snow!

The reality is we run into more problems when it’s cold because camera gear and humans slow down. Give your equipment some time to adjust to the temperature. Batteries can slow down considerably in the cold, so always bring extras. If you have an old-school film camera that takes no batteries, you luckily don’t need to worry about batteries dying (rolleiflex’s, hasselblads, most cameras without internal light meters).
Hand warmers and gloves can be a game changer. Your little fingers are gonna be frozen after shooting through a roll which will make for some tricky reloading. Also, be really aware than once you go from the freezing cold to a warmer room you more than likely will get some condensation on your lens and viewfinder or mirror – basically any glass in the camera. It is going to take a bit to acclimate to the warmer temps, so be forewarned! Wiping the lens will not really fix it if it has not warmed up. You’ll wipe and it’ll come right back! You’ll have to keep a keen eye out as the condensation could be really subtle, but it’ll look like your image is a bit soft through the viewfinder. It may not be visible on your lens, but might be in the mirror in your camera. It will eventually go away, but just know it could take some time!
Just because it’s cold outside doesn’t mean the camera needs to stay home. We hope these tips help you get out there and continue the search for your voice and vision. Tag us in your snowy photos on Instagram for a chance to be featured on our feed!