You know how the dentist suggests a check up twice a year, but you only go in once your tooth is past the point of hurting and you can’t ignore it anymore? It’s like that, but it’s camera gear instead of teeth.
Here at theFINDlab, we recommend getting all of your gear serviced at least once a year. We’re talking body, inserts/backs, lenses – the whole kit. Most of the equipment we are using are decades old, so even if a good cleaning is all thats needed in the end, you’ll see below that this alone can make a big impact on your photos.
In an ideal world, having your gear looked at is a preventative measure. But sometimes, we don’t know anything is wrong until we download our scans. We’ve created this post to help make the process of diagnosing the problem, and finding someone to fix it, a little easier!

![]()
Light Leaks are caused by any sort of light hitting your negative, & there are a lot of ways this can happen!
One is by light passing through cracks in your camera when your film back is not closing as tightly as it should. There are plenty of at home DIY solutions for this (*cough* Duck Tape) but it’s best you leave it up to the professionals and send in the camera to be fixed. Scroll down towards the end of this post to see a list of our repair shops we suggest!
The most common way we see light leaks are from accidentally opening up the back of your camera. Don’t lie, you’ve done it too. We’ve all forgotten there was a roll in our camera after not shooting it for awhile, or thought you rewound the film. Inevitably, after a sweaty realization that you are staring at your images being ruined in real time, you close the back and p r a y. Luckily, most of the time it only effects a handful of images and the majority of the roll isn’t ruined. You may even get some unintentional insanely cool images from it.
We also see a lot of 120 rolls loosely wound which will cause light leaks on the outer edge of your frames. Keep some tape in your bag while you are out shooting and double check that the exposed roll is wound tight with a piece of tape before putting it into your bag. Again light leaks don’t always have to be a bad thing, a lot of film shooters add them on purpose!
![]()
Shutter issues aren’t usually a DIY kind of problem and we would definitely recommend sending in your camera to be fixed if you think this is happening. Shutter curtains wear our and can sometimes stop working all together. The photo below is an example of a shutter curtain starting to wear out. Typically, many of the frames on the roll will have this same issue when shutter speeds are faster than a certain speed, but that’s not always the case.
![]()
Are you getting a tilt-shift effect and you’re not using a TS lens? This means there are tension issues, either with the tension plate on your insert or when advancing the roll. It also can happen if you let the film sit in your camera for an extended period of time. The tautness of the film begins to loosen causing the tilt-shift look.
![]()
Sometimes dust or dirt can lodge its way in and cause scratches, and other times it’s a piece of equipment that has misaligned itself and is scratching the emulsion off the to reveal the cyan layer. If you’re just shooting 2 or 3 rolls every few months, it may not a big deal to edit out a couple scratches in photoshop. But it could can get really time consuming if they are showing up in all your clients wedding photos. Giving your camera a good cleaning will most likely take care of the problem. But, if you do this and continue to see scratches, definitely send it in to be looked at.
![]()
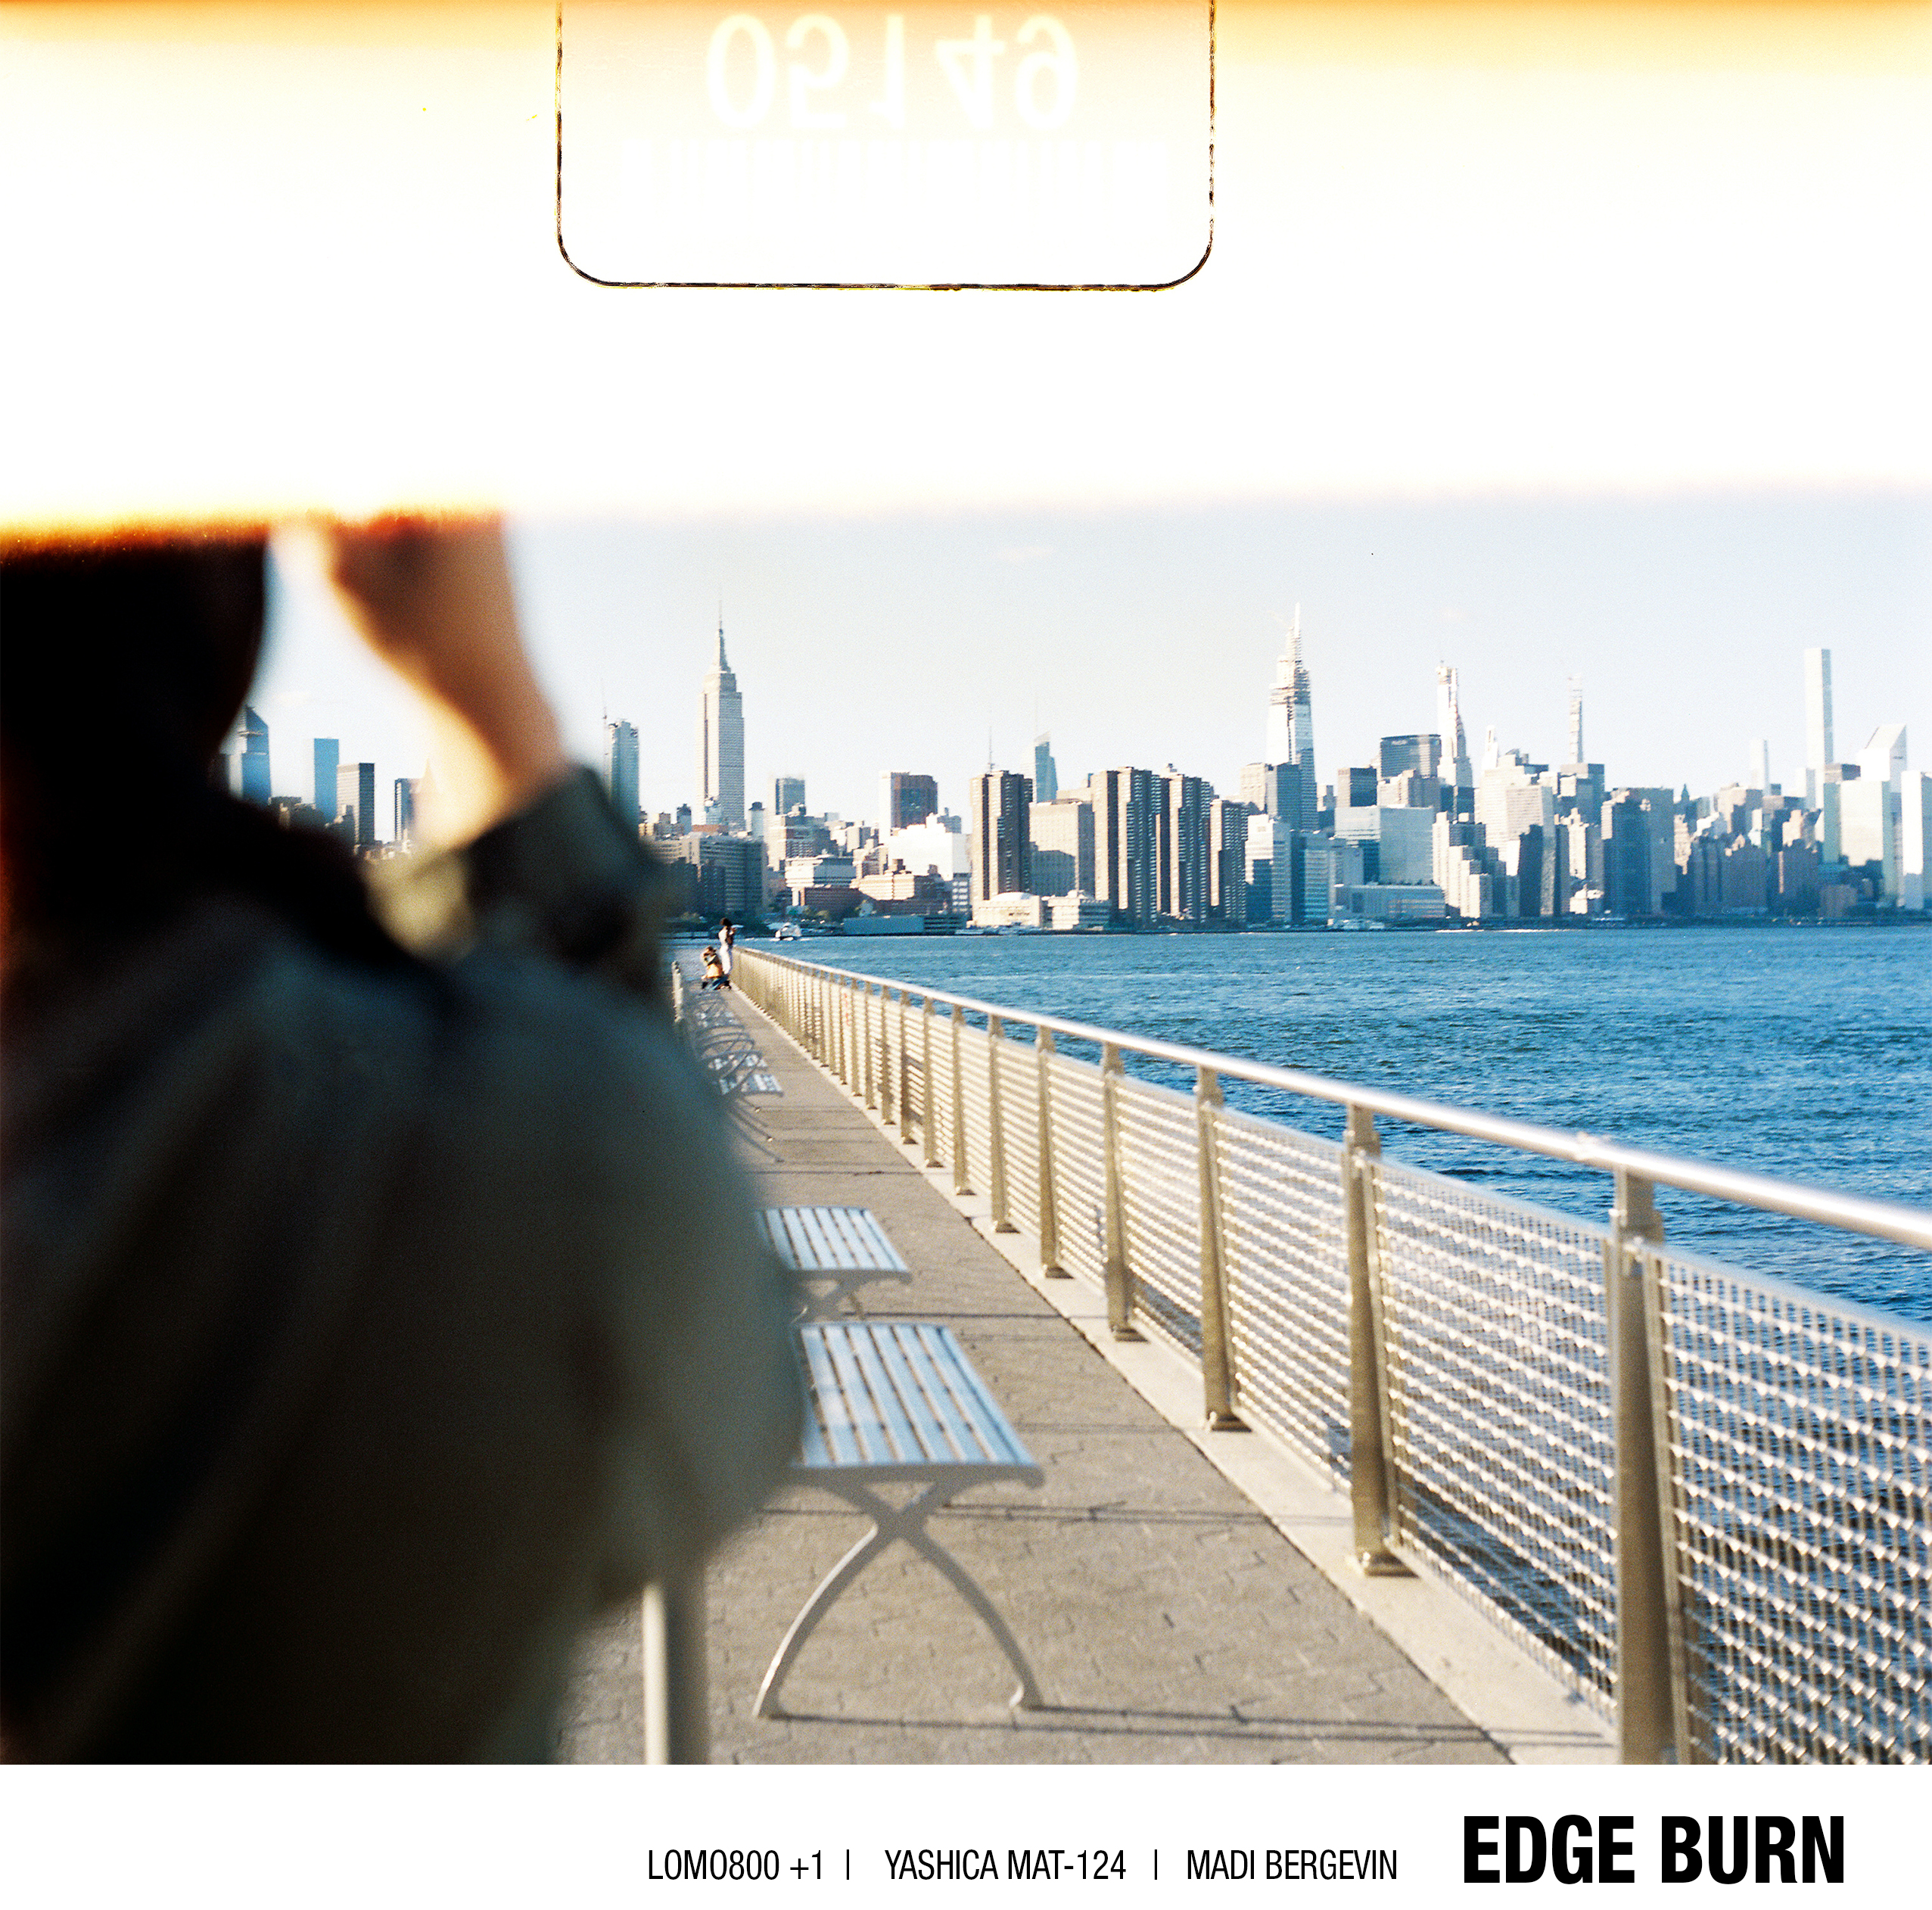
The most common reason we see edge burn bleeding into an image is because the film wasn’t loaded correctly. If you are shooting medium format, pay extra close attention to line up the start mark on your camera with the start mark on your film. If you are shooting 35, there is usually a mark that indicates how far over you need to pull the film for the camera to take up the film when advancing. Be sure not to pull it too far past that mark or you may see edge burn on one of your images.
![]()
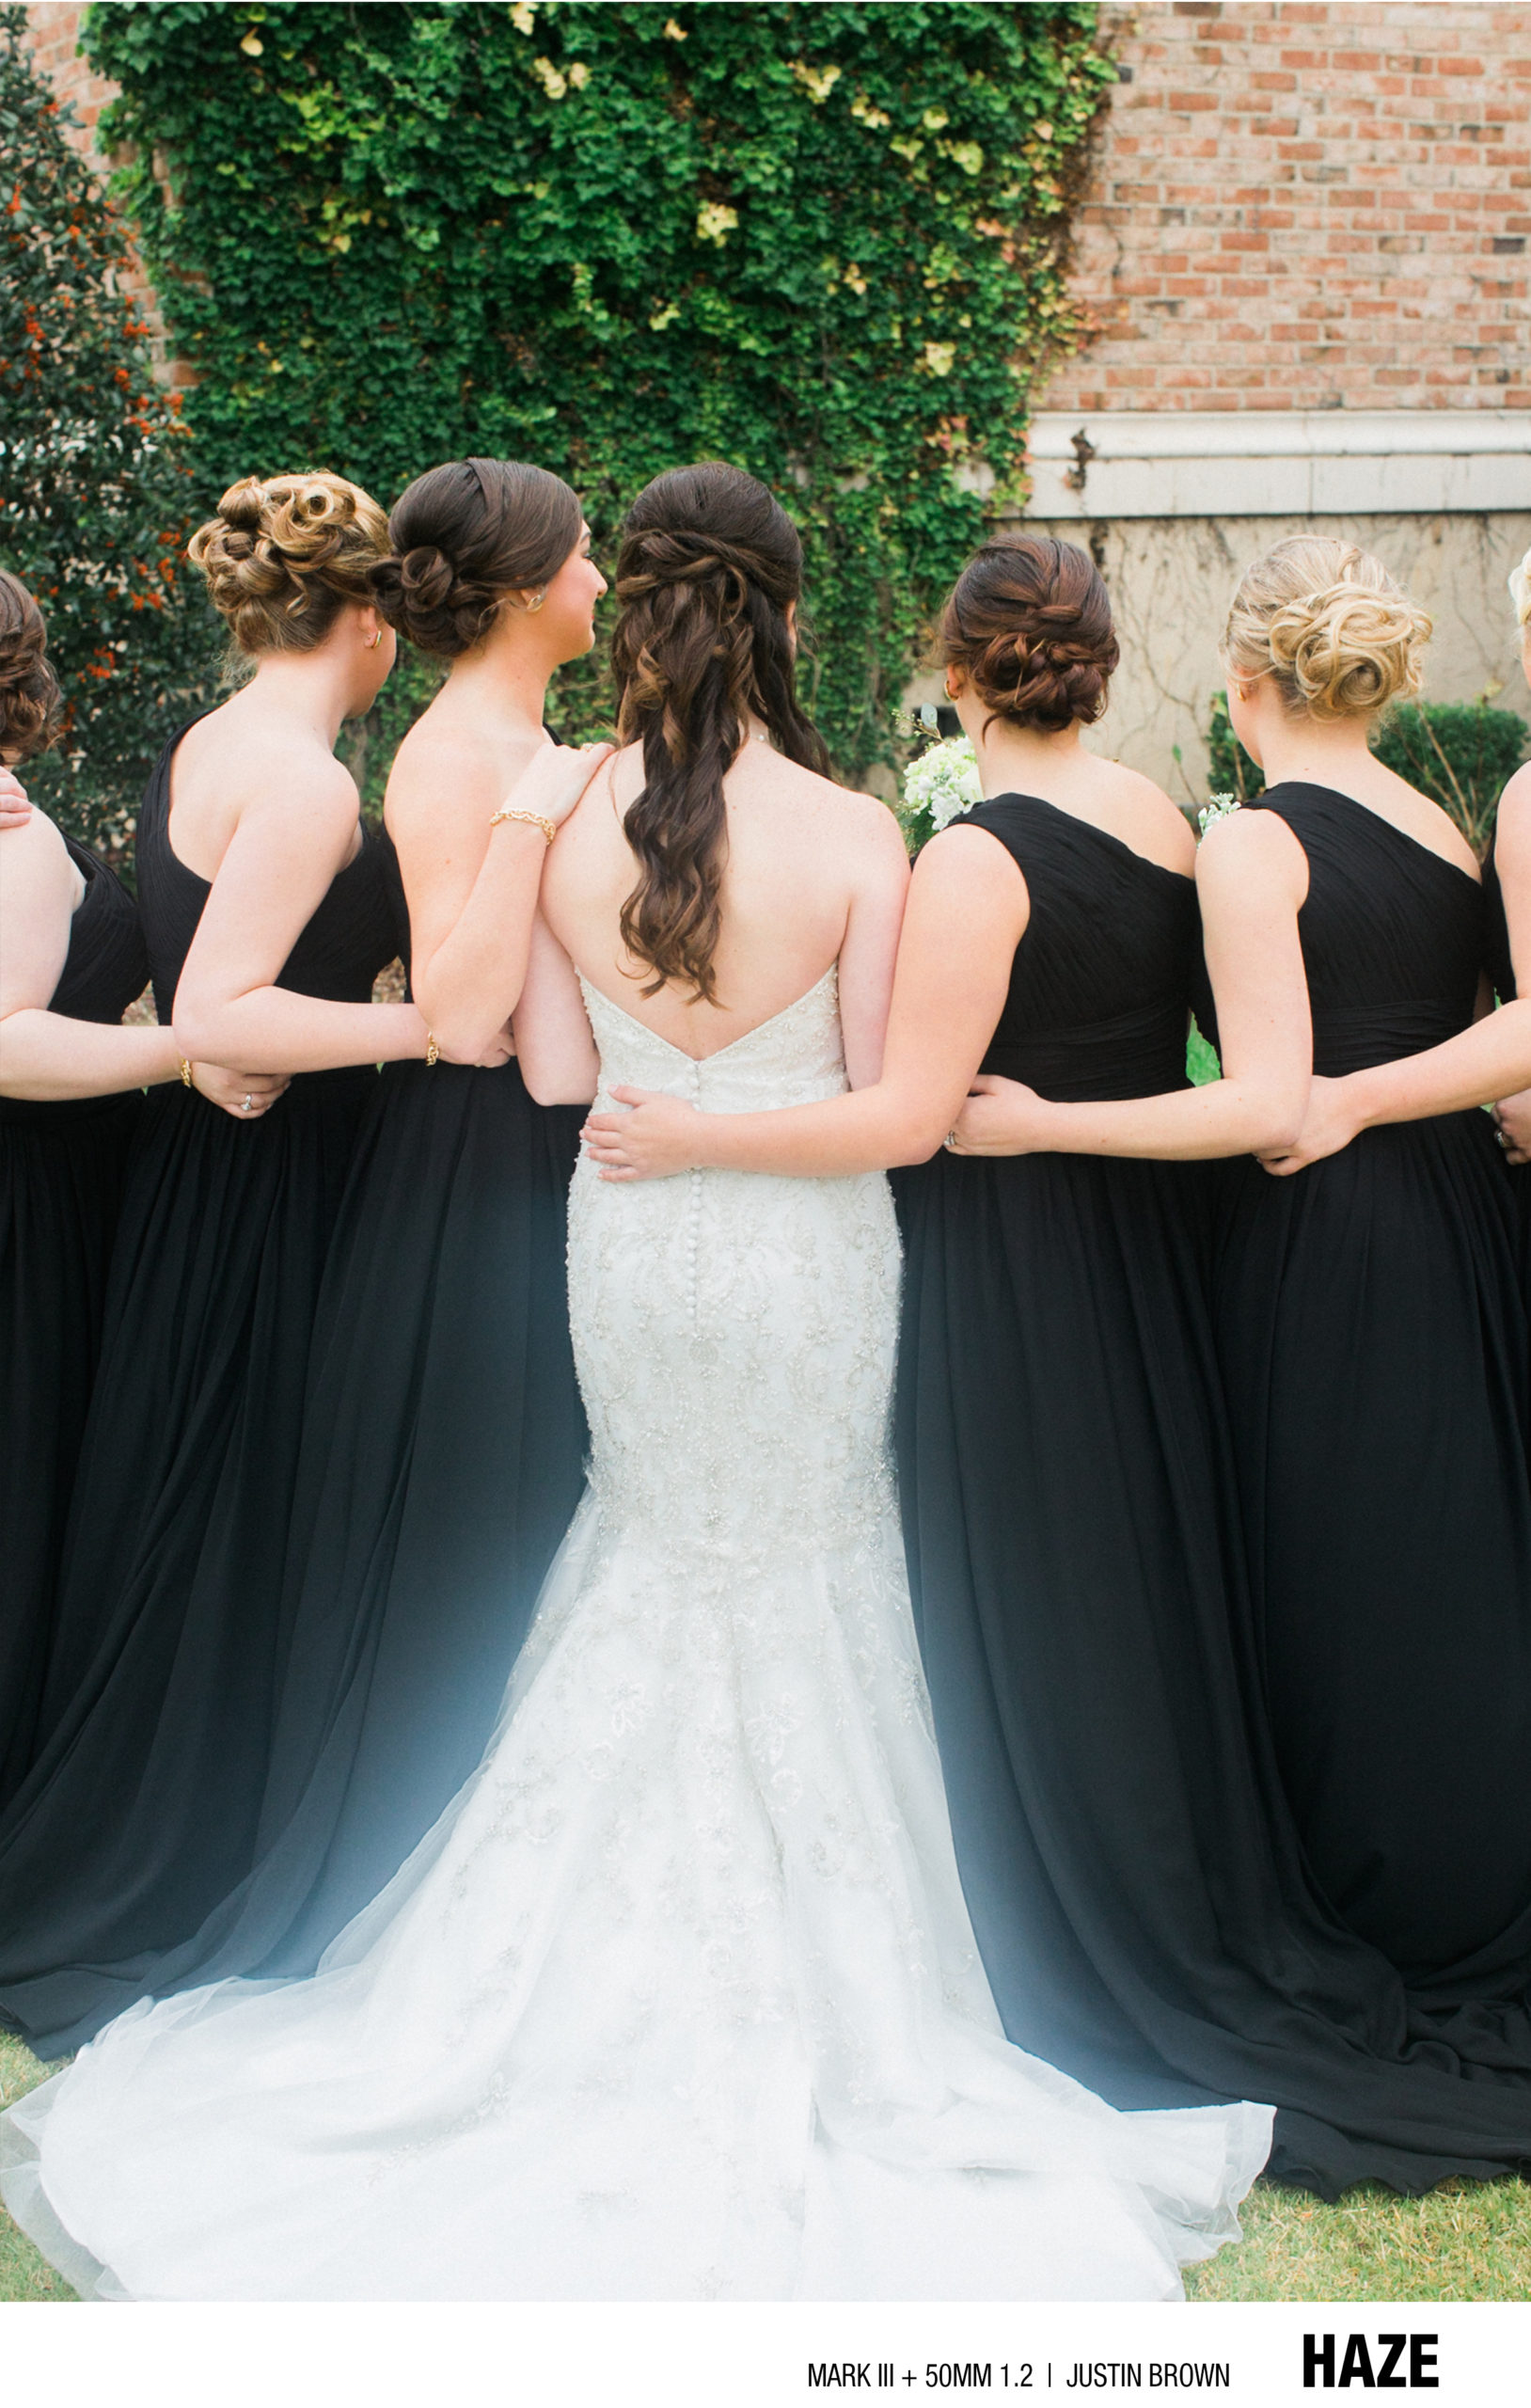
Fungus and haze grow in hot, humid climates when lenses aren’t stored properly. If all your images are coming out with a hazy look, remove your camera from your lens and turn down the light. Shine a light through and you’ll be able to see soft fuzzy spots if it’s fungus or an oily surface if it’s haze. If the fungus is so bad that it’s eaten away your lens coating, sometimes it’s beyond repair. It’s usually still worth it to have it looked at and see if anything can be done!
![]()
Overlapping frames, uneven spacing between frames, and images running off the end of the roll would all be considered Advancing Issues. This is due to the camera not advancing the film enough, or advancing too far before taking the next image. This can be caused by something wrong with the advancing system in your camera, or just by human error. We see all of these come through the lab regularly so its a good idea to familiarize yourself with advancing problems just in case it happens to you!

Even if you don’t have a repair shop near you, you can ship your camera to any of the repair shops we recommend below. Most of these issues can be fixed without a hitch and we can help point you in the right direction to do so. Here is where theFINDlab recommends:
• Steve Kews of Kew’s Camera Service (Orem, UT)
• Rollei Repairs by Harry Fleenor (Manhattan Beach, CA)
We also asked our followers on Instagram where they’ve had good experiences:
-
Foresters (Salt Lake City, UT)
-
Steve’s Camera Service Center (Culver City, CA)
-
Advance Camera (Portland, OR)
-
Precision Camera and Video (Austin, TX)
-
Steve Kews of Kew’s Camera Service (Orem, UT)
-
Dave Feely at Key Camera/Procam Services (Longmont, CO)
Sending your camera in can be like losing a limb, so plan accordingly. Think through whether you want to send in your work horse and then your back up, or both in at the same time. Also make sure you keep open communication with your repair person to take out the guess work and get your camera back faster.
