


Pushing and pulling is something that is done in the development process! It is never something that happens in exposure or scanning and cannot be adjusted after the roll has already been developed. Pushing and pulling is done by changing the temperature of the developer, or by adjusting the time the film is left in the developer. The reason one would push/pull is if you under/overexposed your film either intentionally or unintentionally. Pushing increases grain and contrast and is far more common than pulling. We actually don’t recommend pulling C-41 film since it can handle quite a bit of overexposure. Pulling is mostly used for black & white film stocks shot at a lower ISO. Pulling will decrease grain and lower contrast, which can be great in some high-speed black & white film stocks, but is not recommended on C-41 film unless a very specific look is desired. We can push/pull C-41 up to 4 stops, and there is no limit for black & white. When you receive your scans back, your pushed rolls will be labeled with a plus sign: one push in development will be written as +1, two pushes as +2, etc.
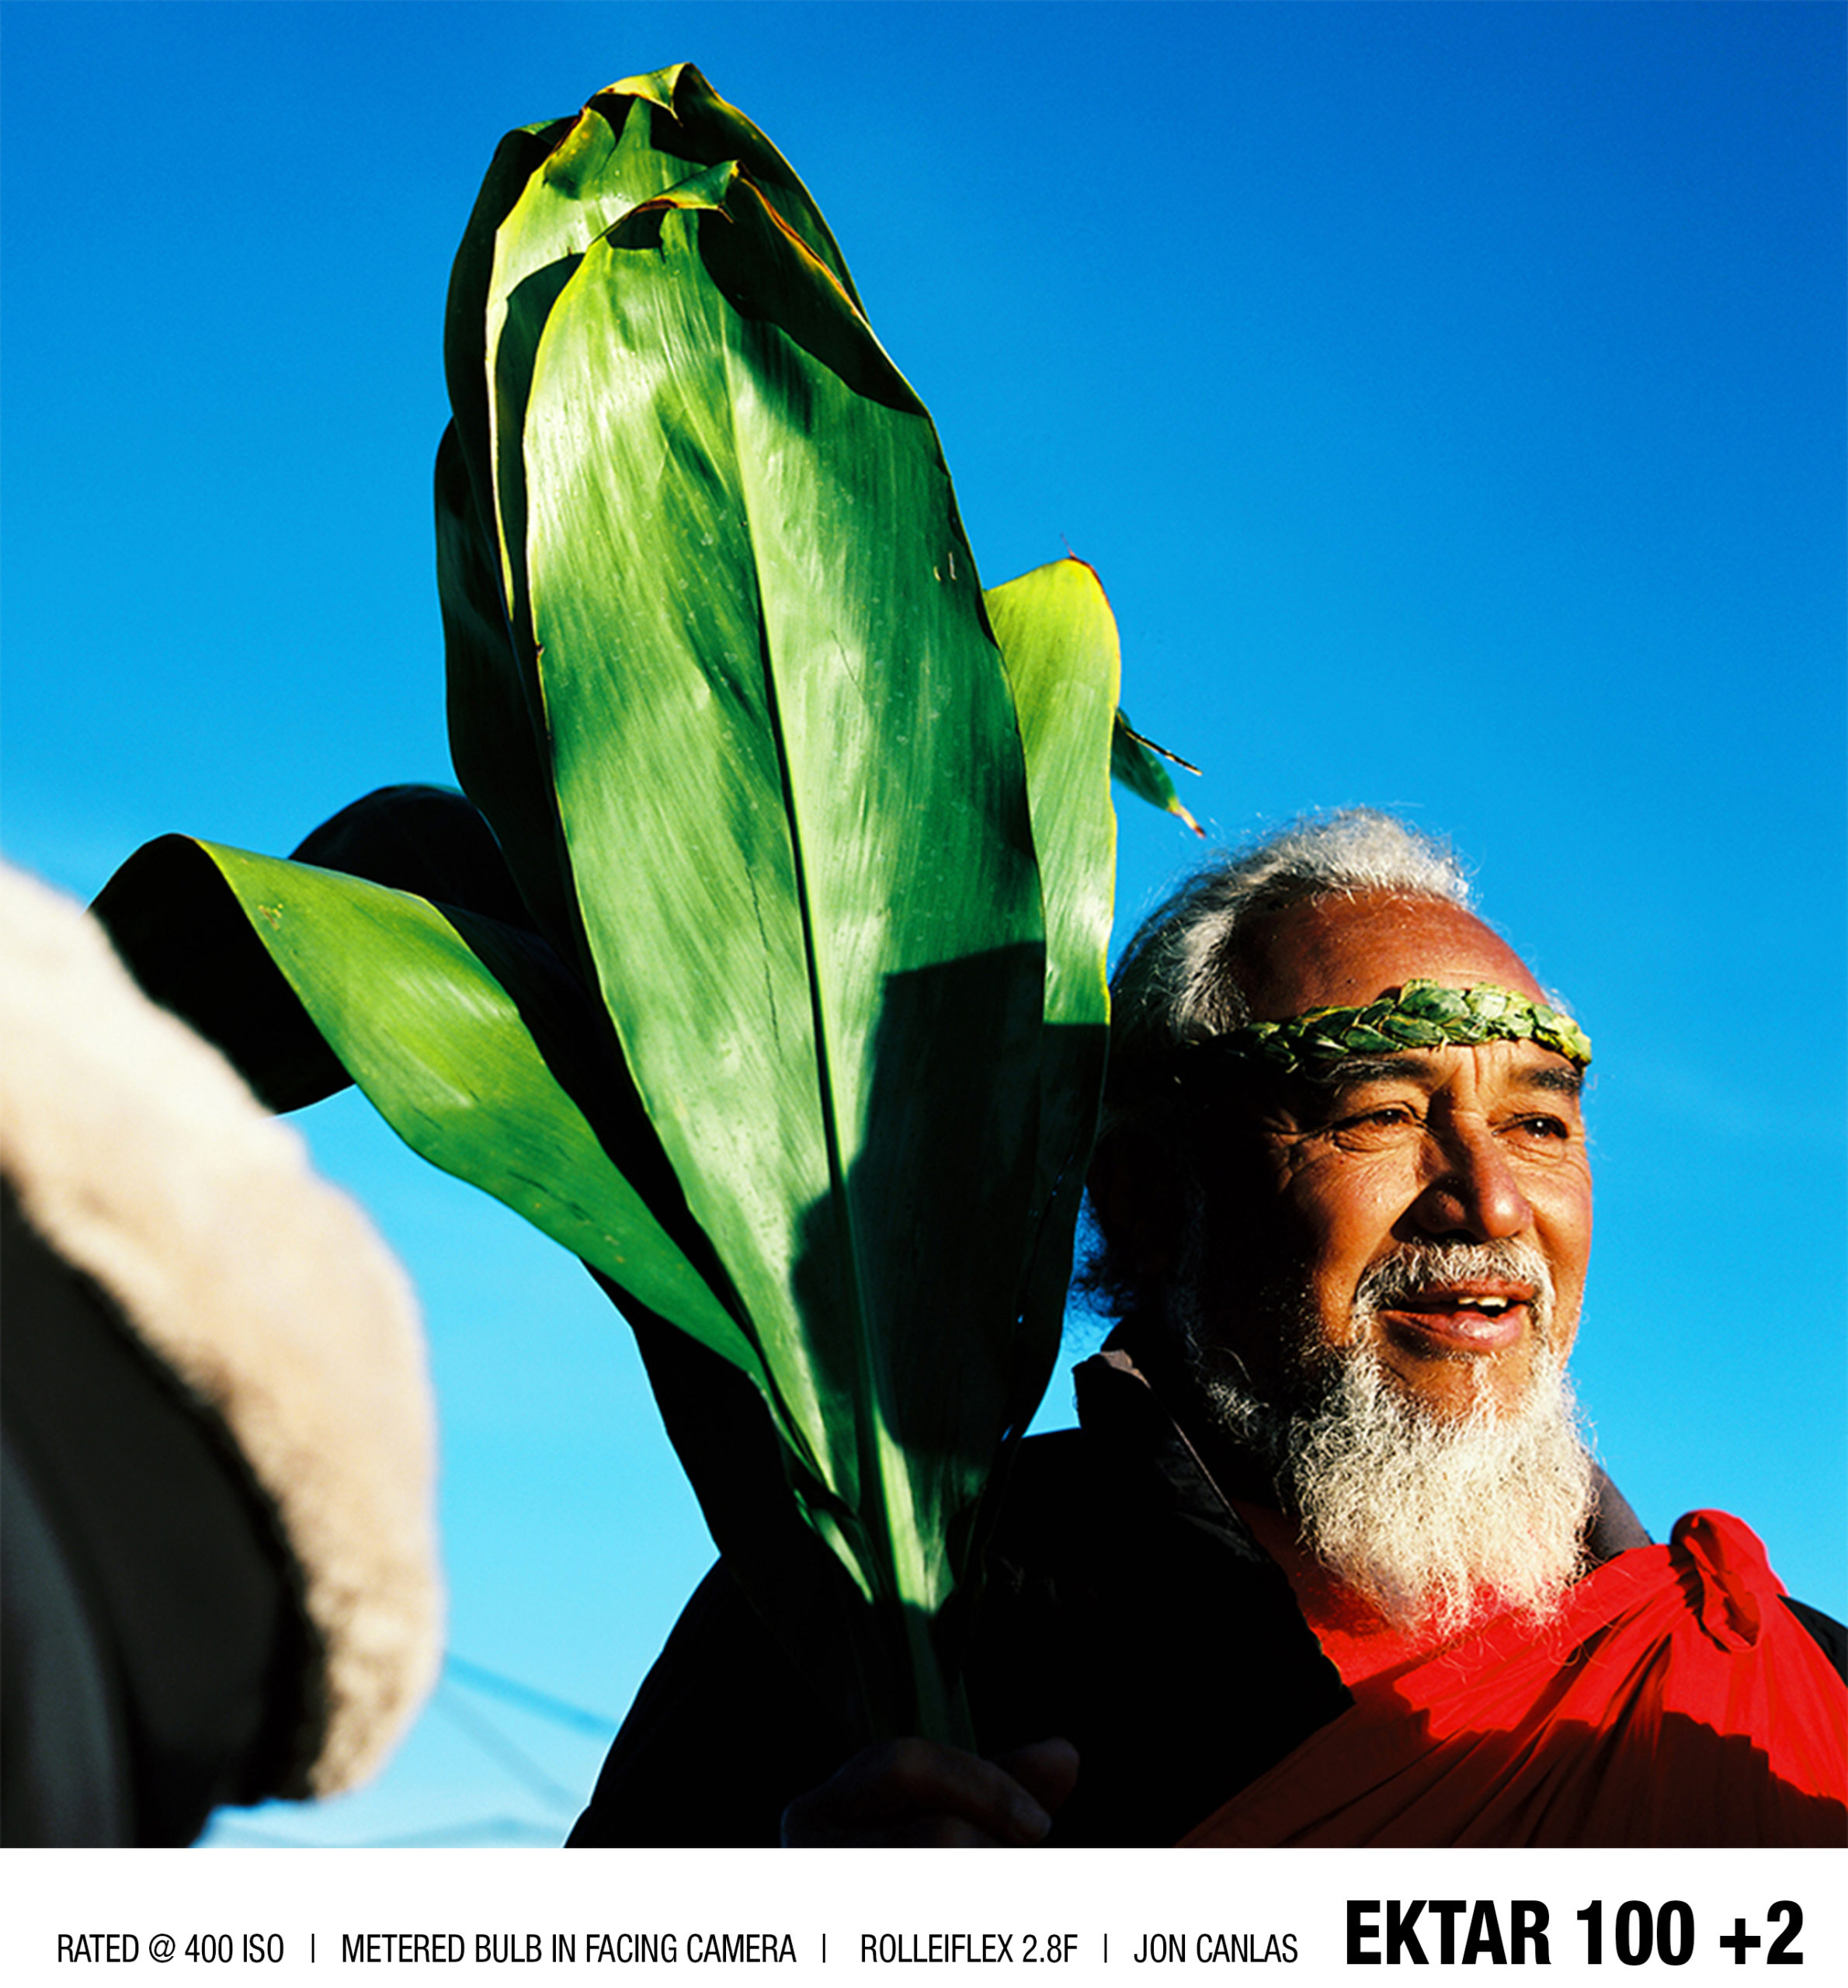
Here is an example of Ektar 100, Rated at 400 ISO, Metering bulb in facing the camera, and +2 in development:

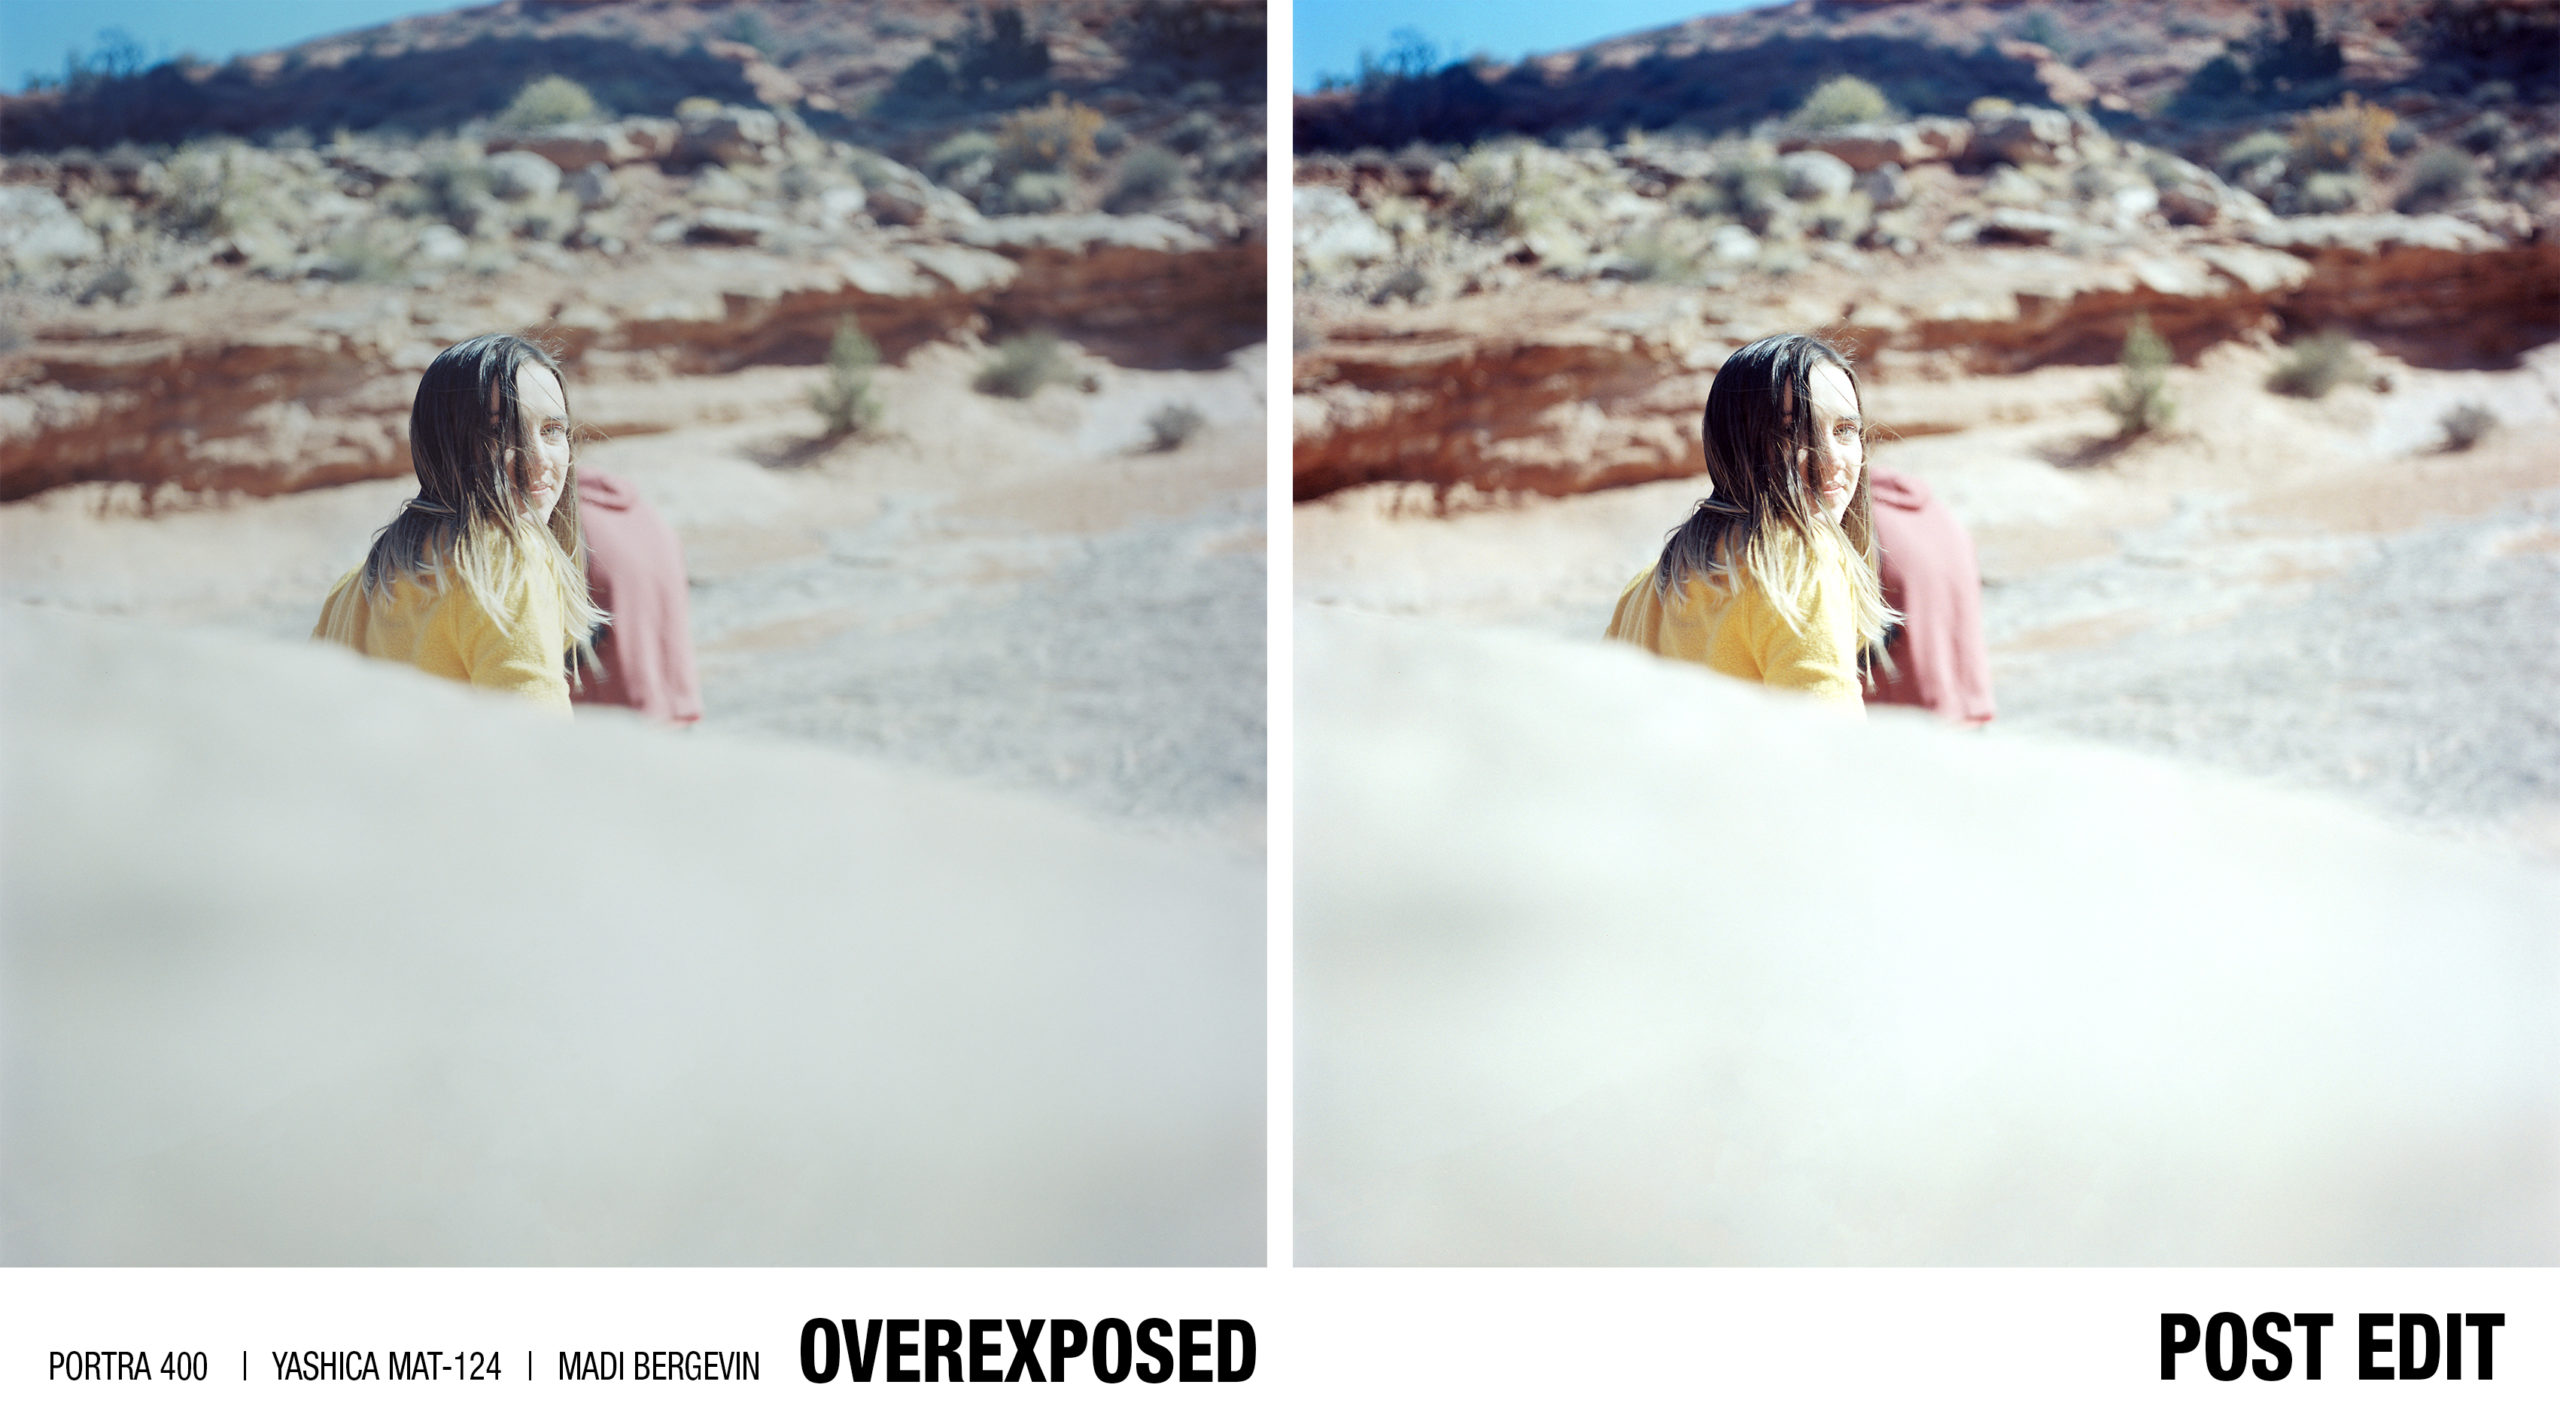
Technically, the only way to add more light to your images is to do it in camera; so no, pushing your film does not add light. What it does do is make the shadows darker and the highlights hotter. The reason we say to push your film if you didn’t have enough light is because darkening the blacks in your image can help to correct the muddiness in the shadows that happens with underexposure. If you want more light in your image, overexposing in camera is the best way to go. Just keep in mind that overexposing too much in camera can lead to your highlights going grey/muddy a lot faster. If you do accidentally overexpose in camera, some post editing can sometimes help to save the image. It wont be perfect, but pulling in the levels a bit in Photoshop is always worth a try before completely scrapping the image!
Here is an example from one of our team members of overexposure & their edit to try and save the image (Yes, even theFINDlab employees mess up their film sometimes!) :

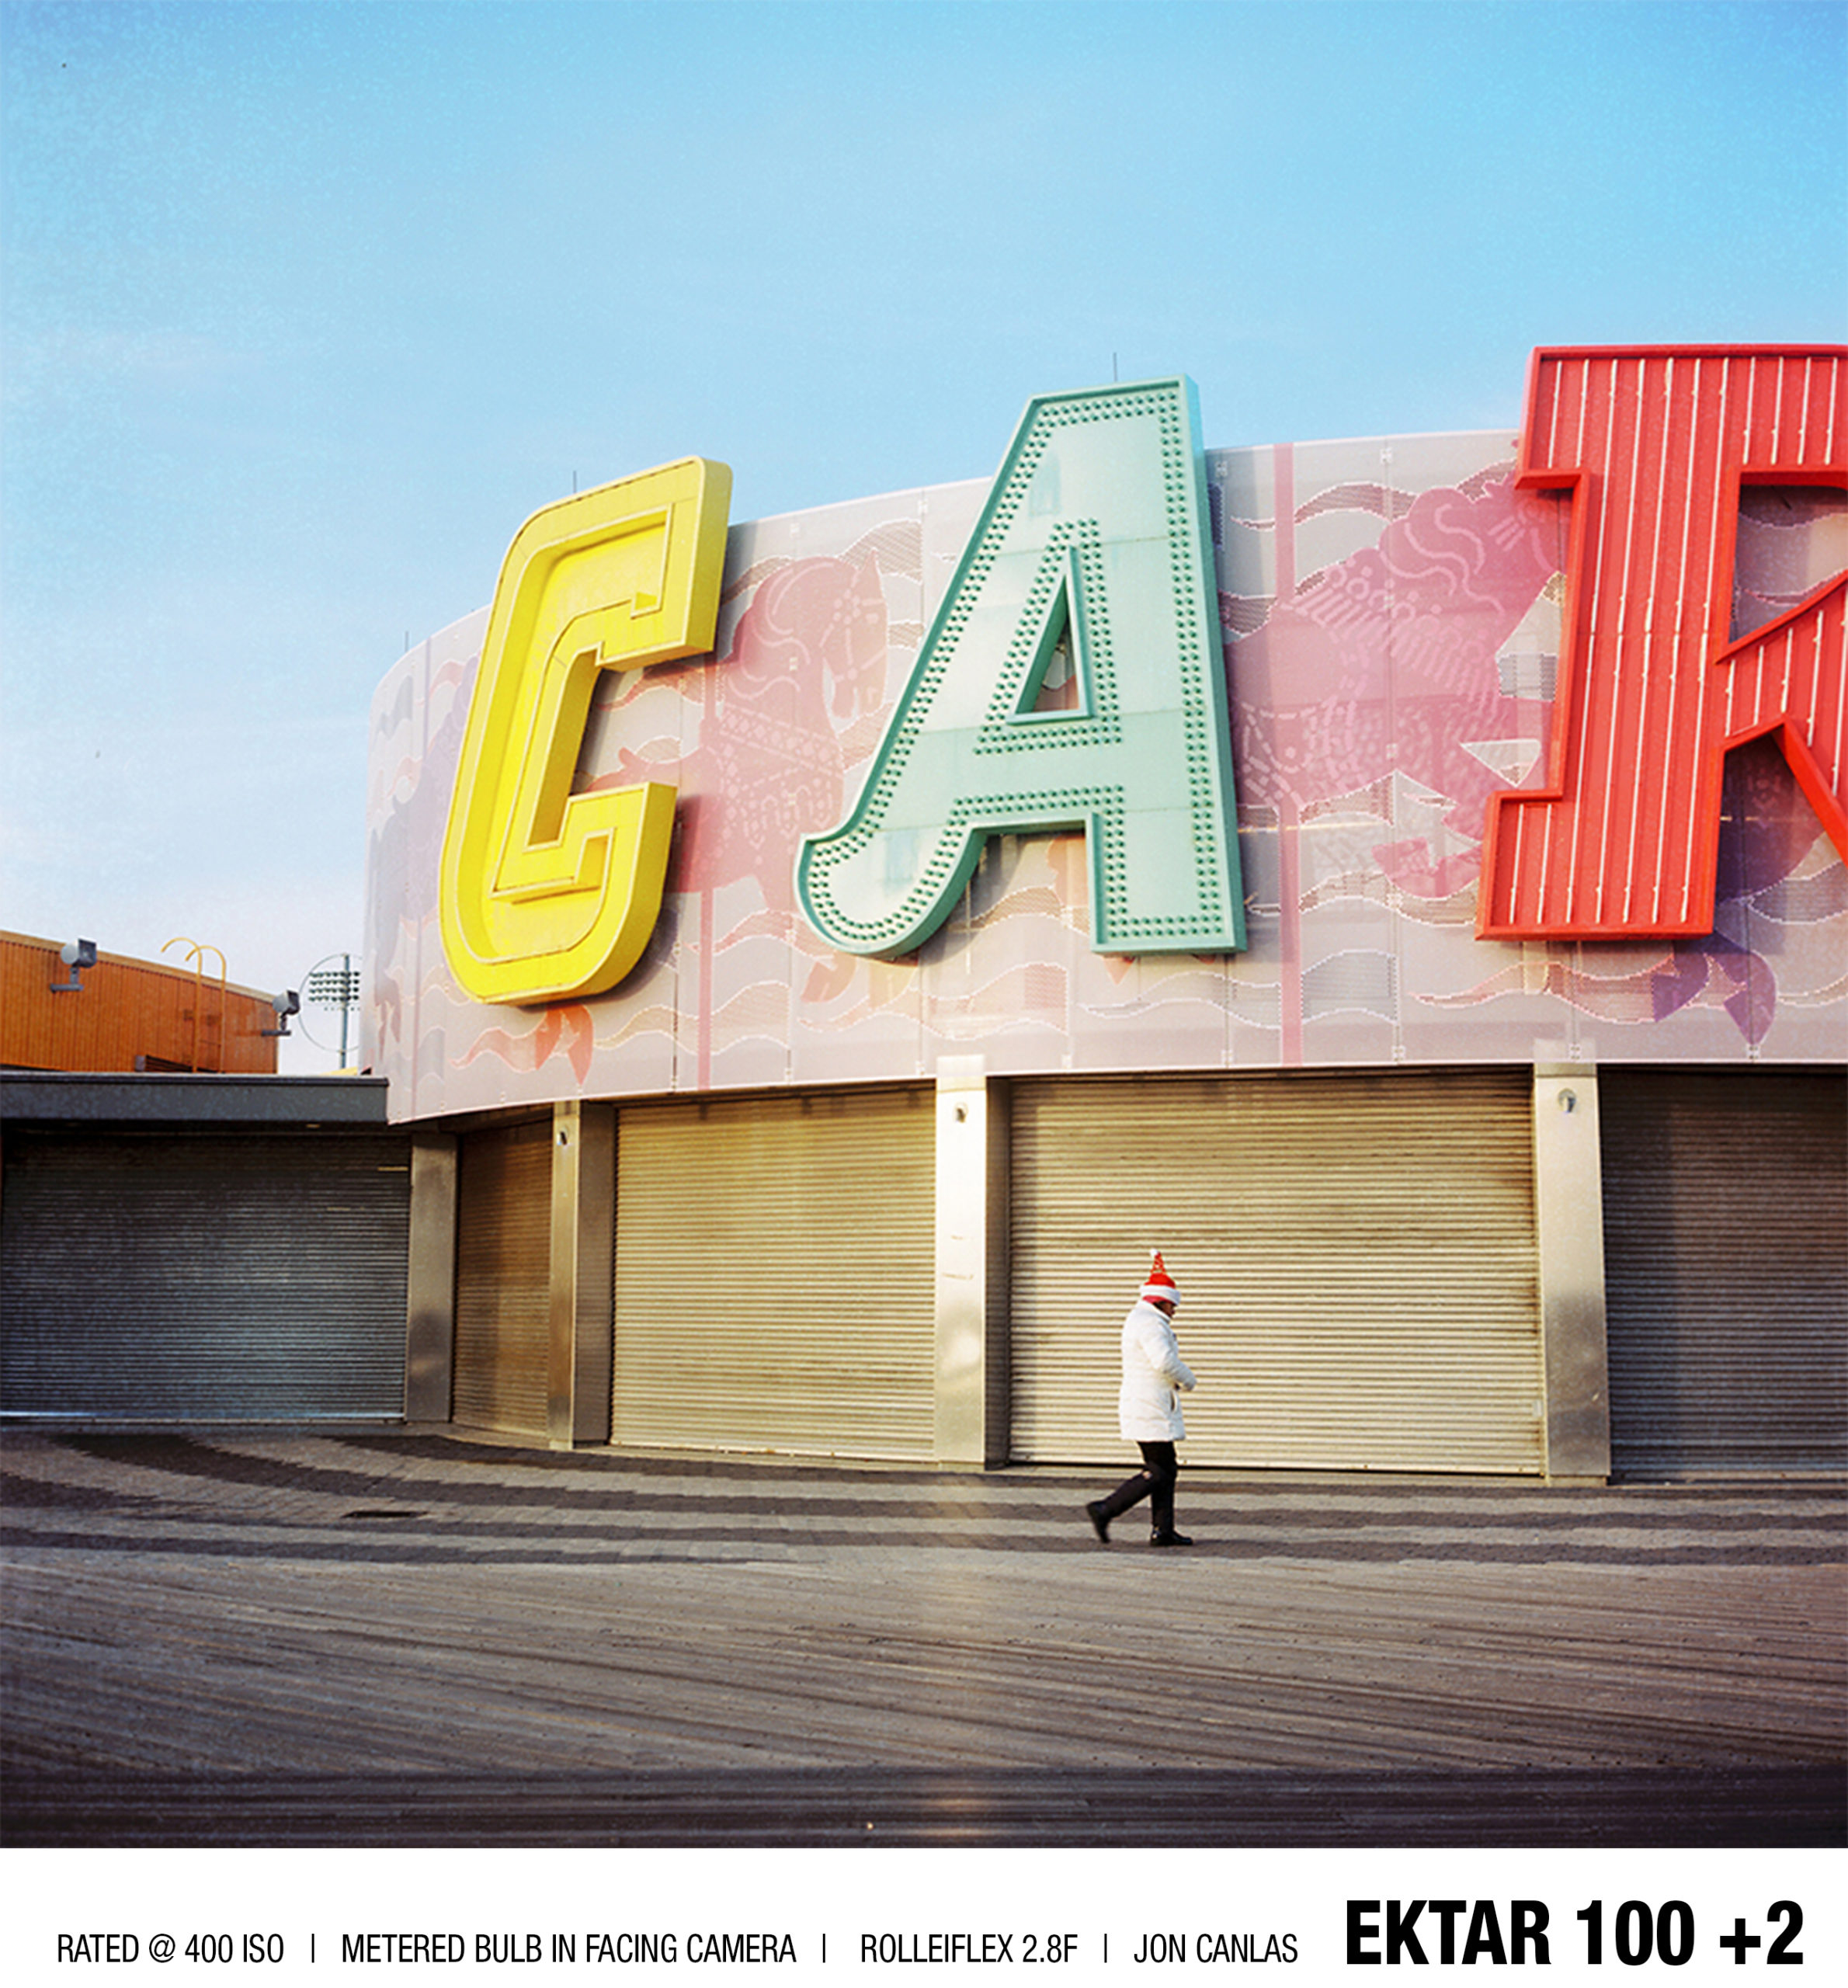
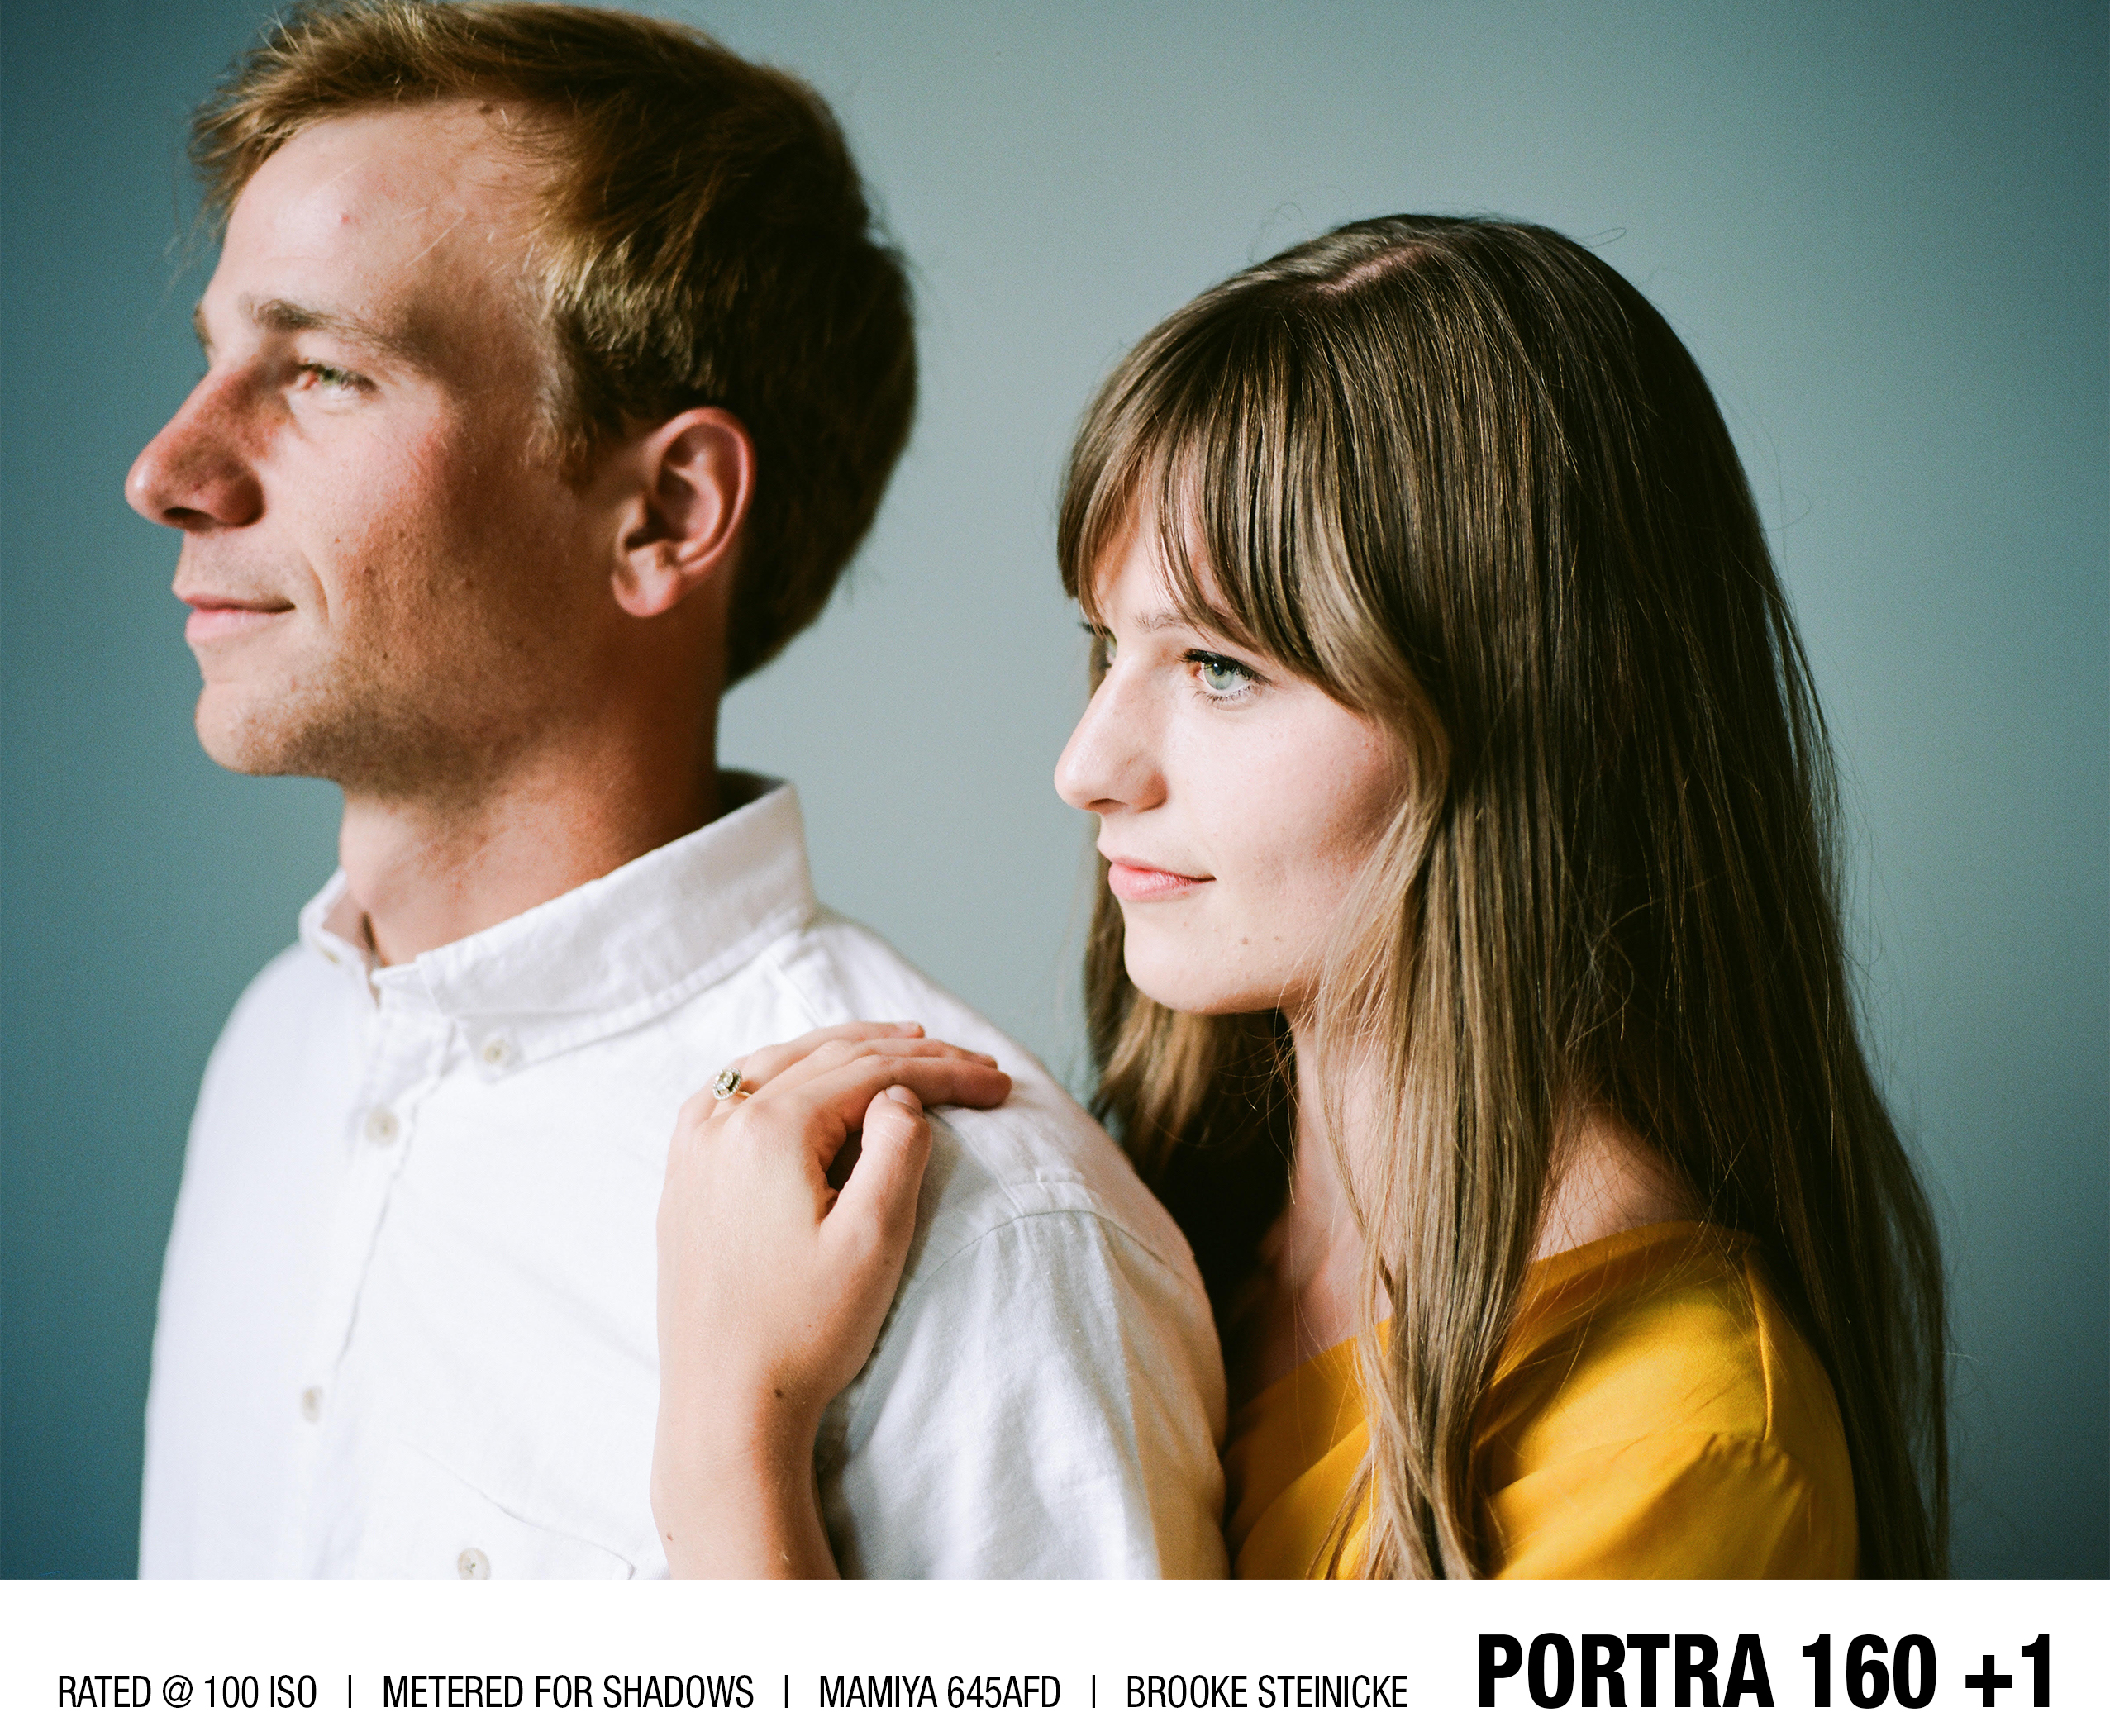
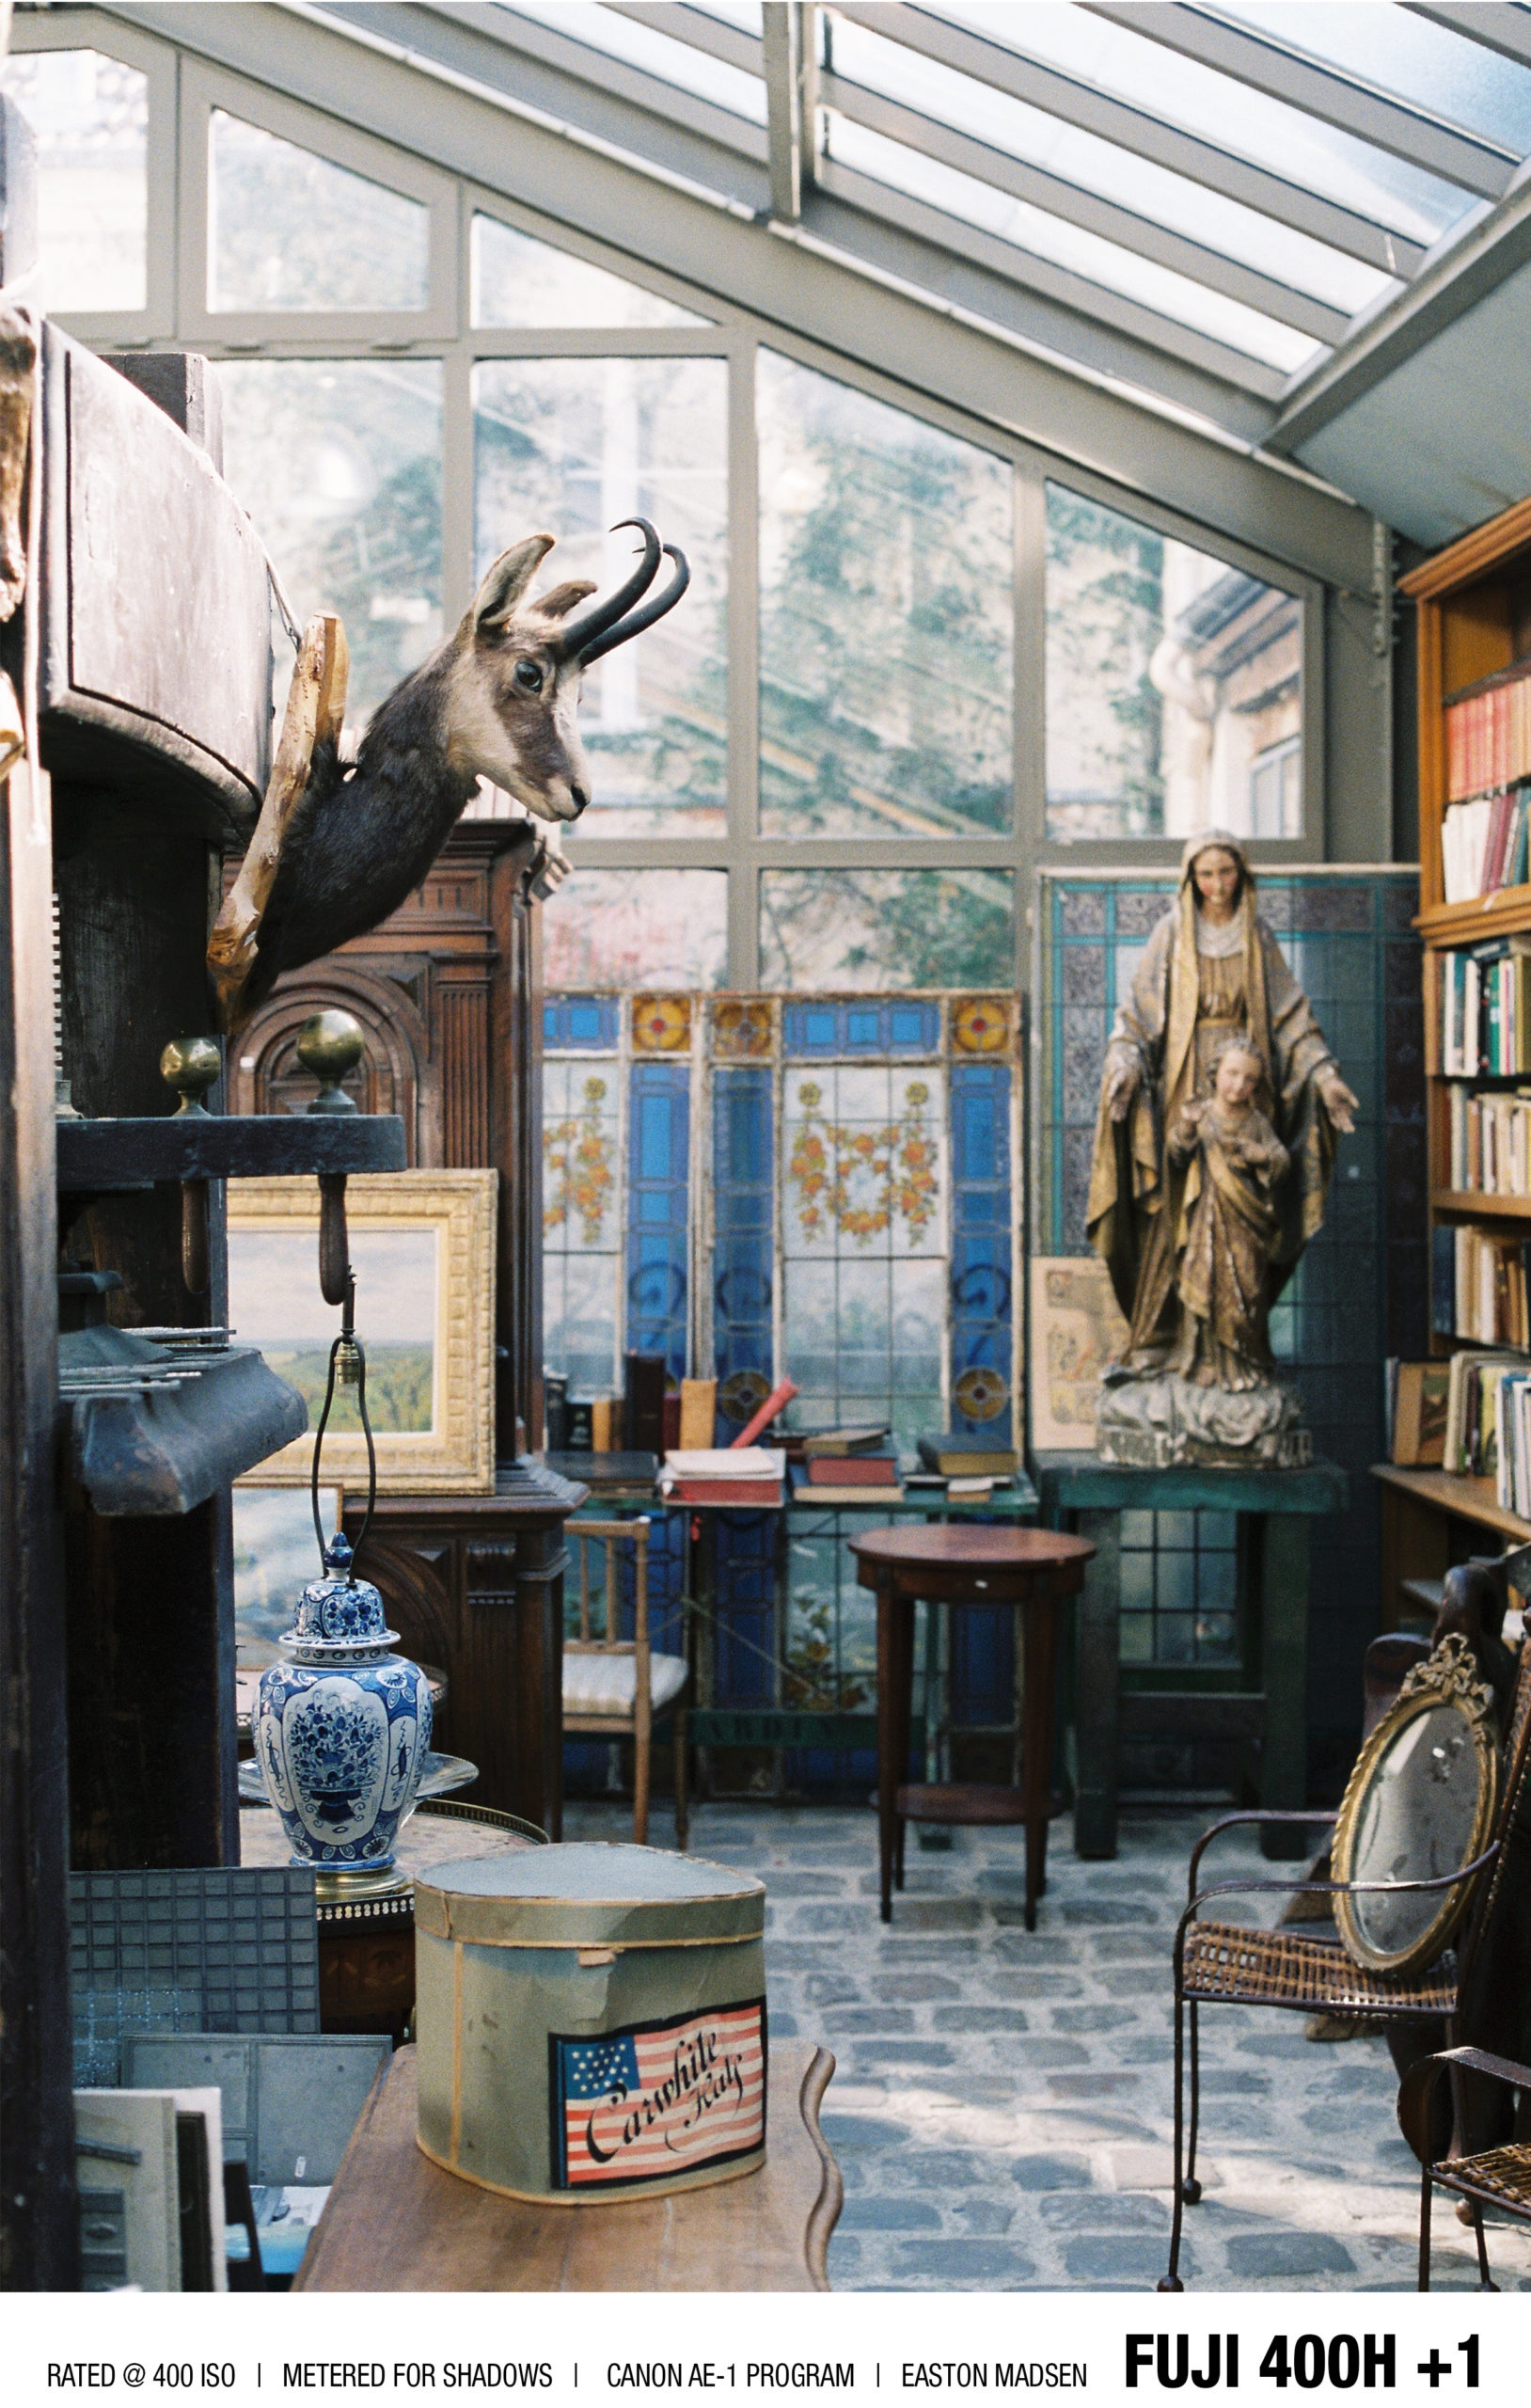
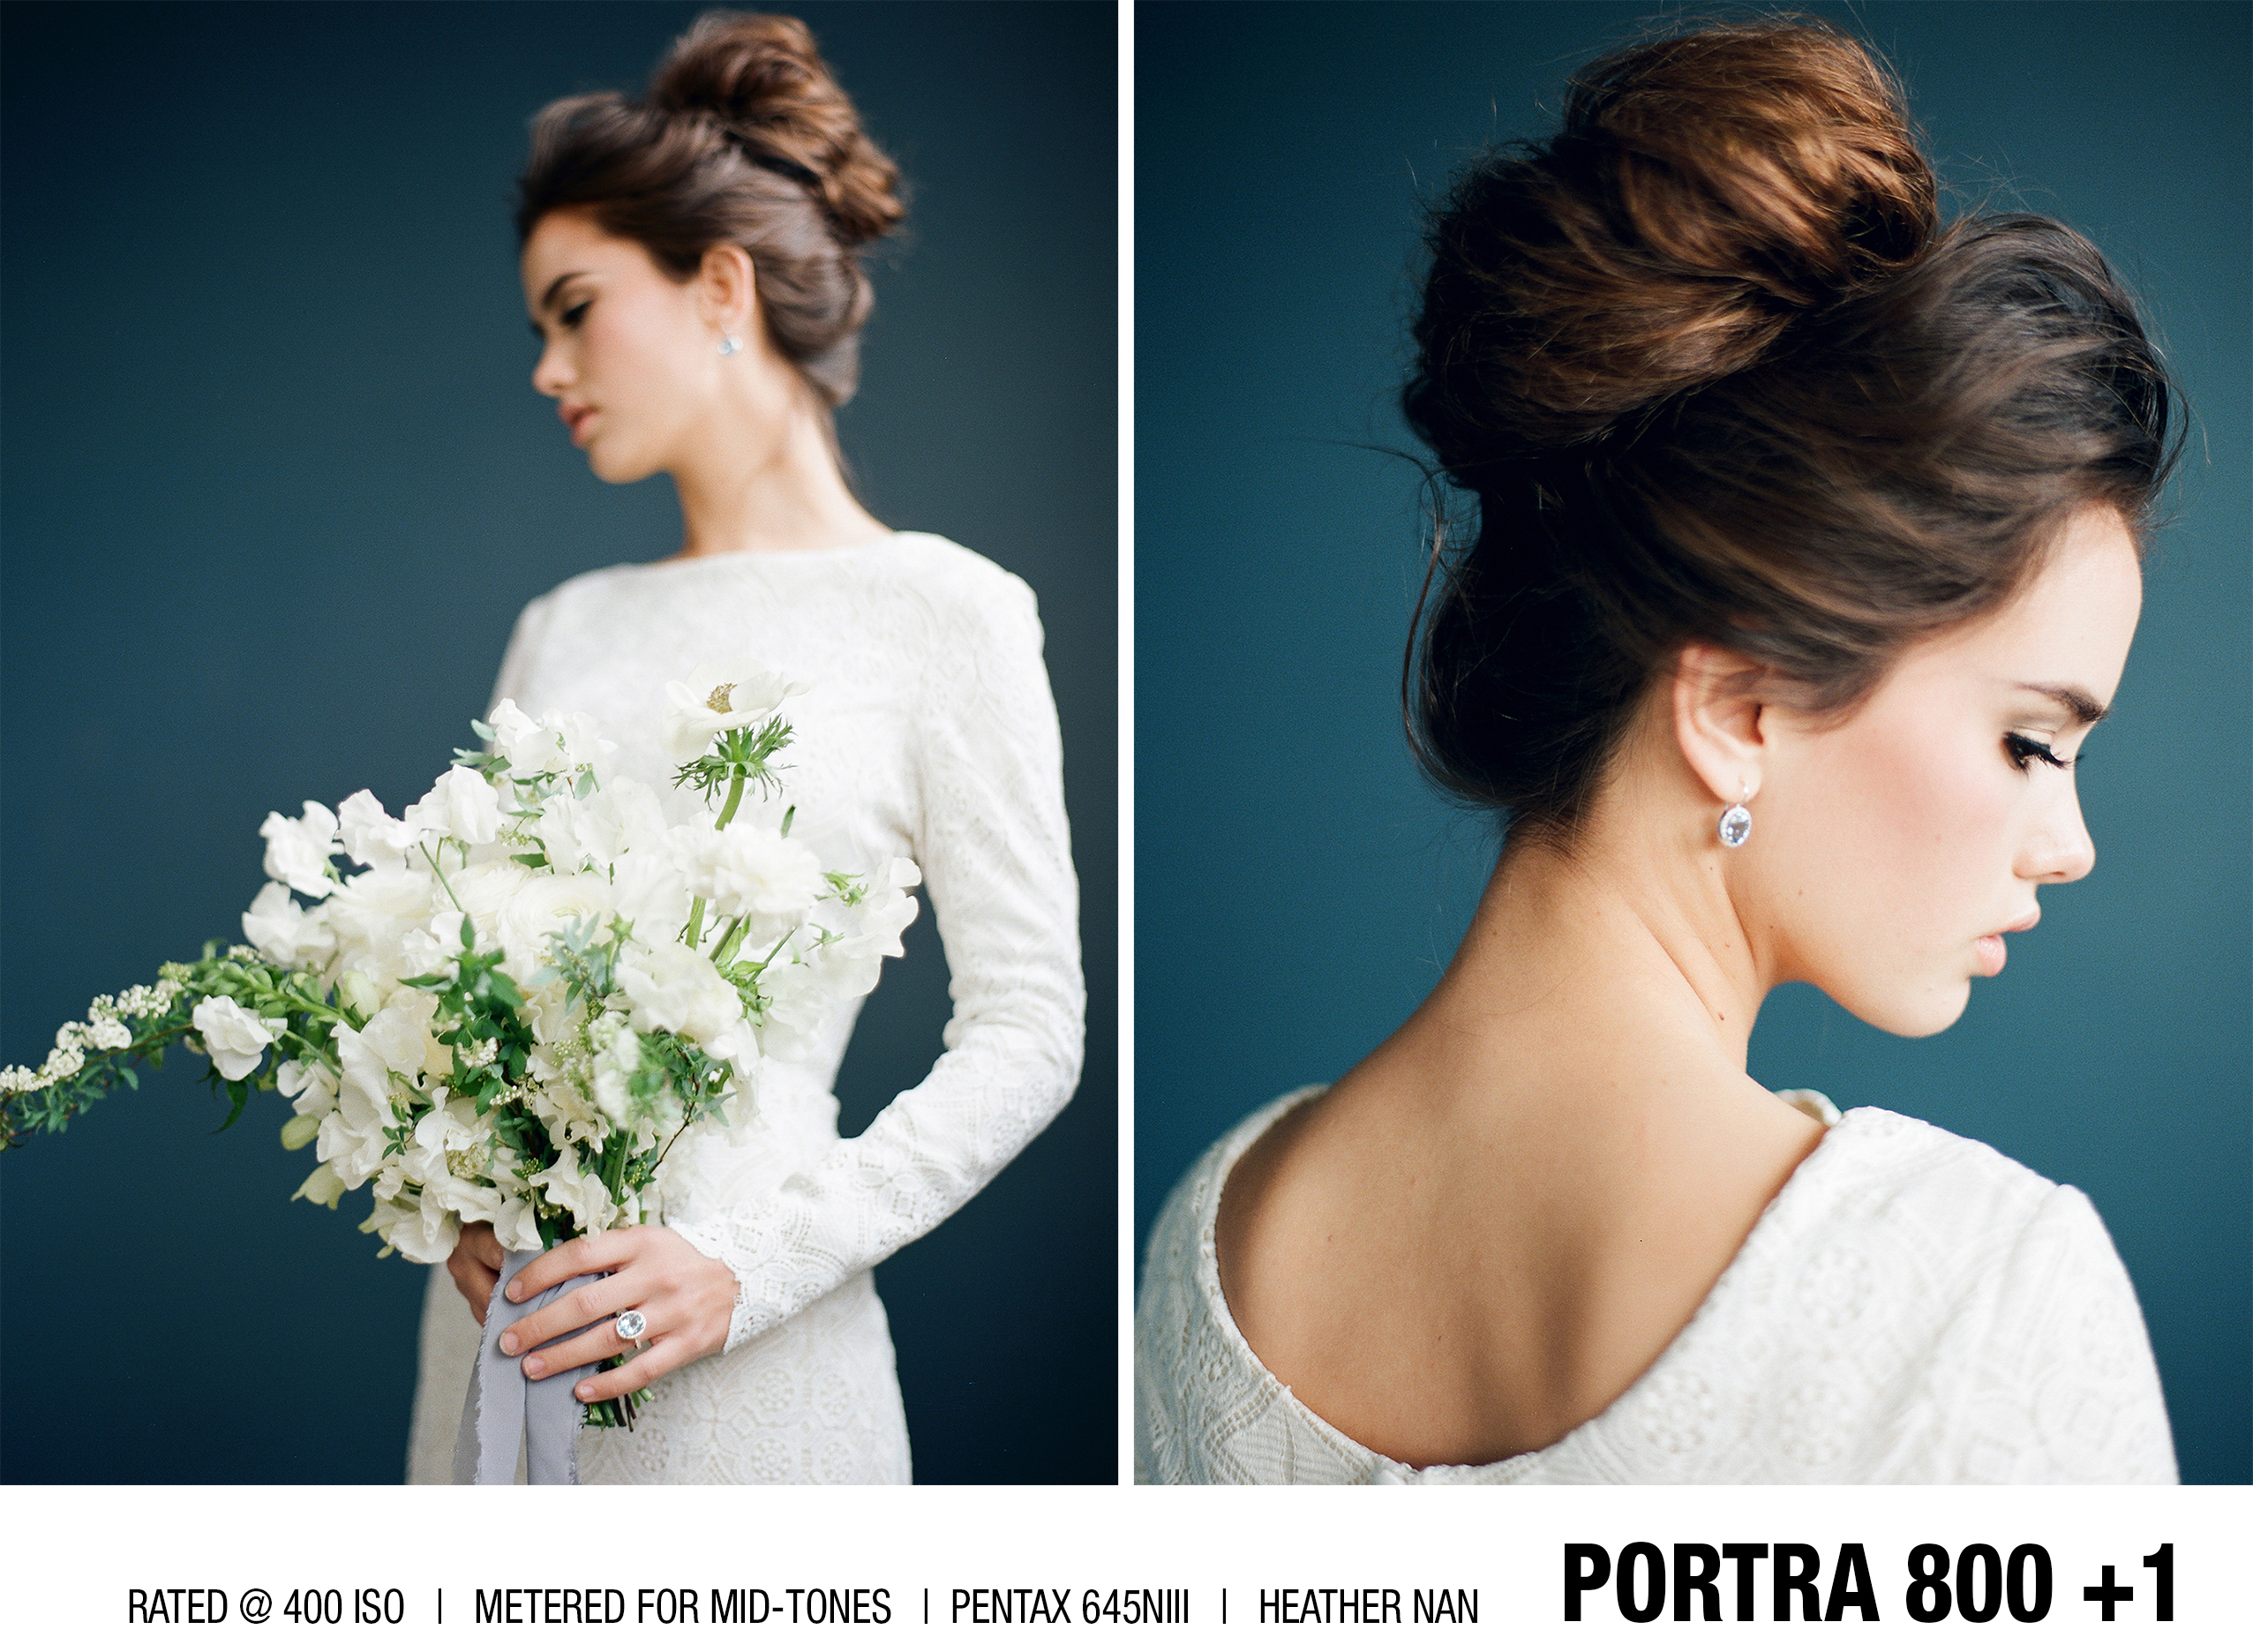
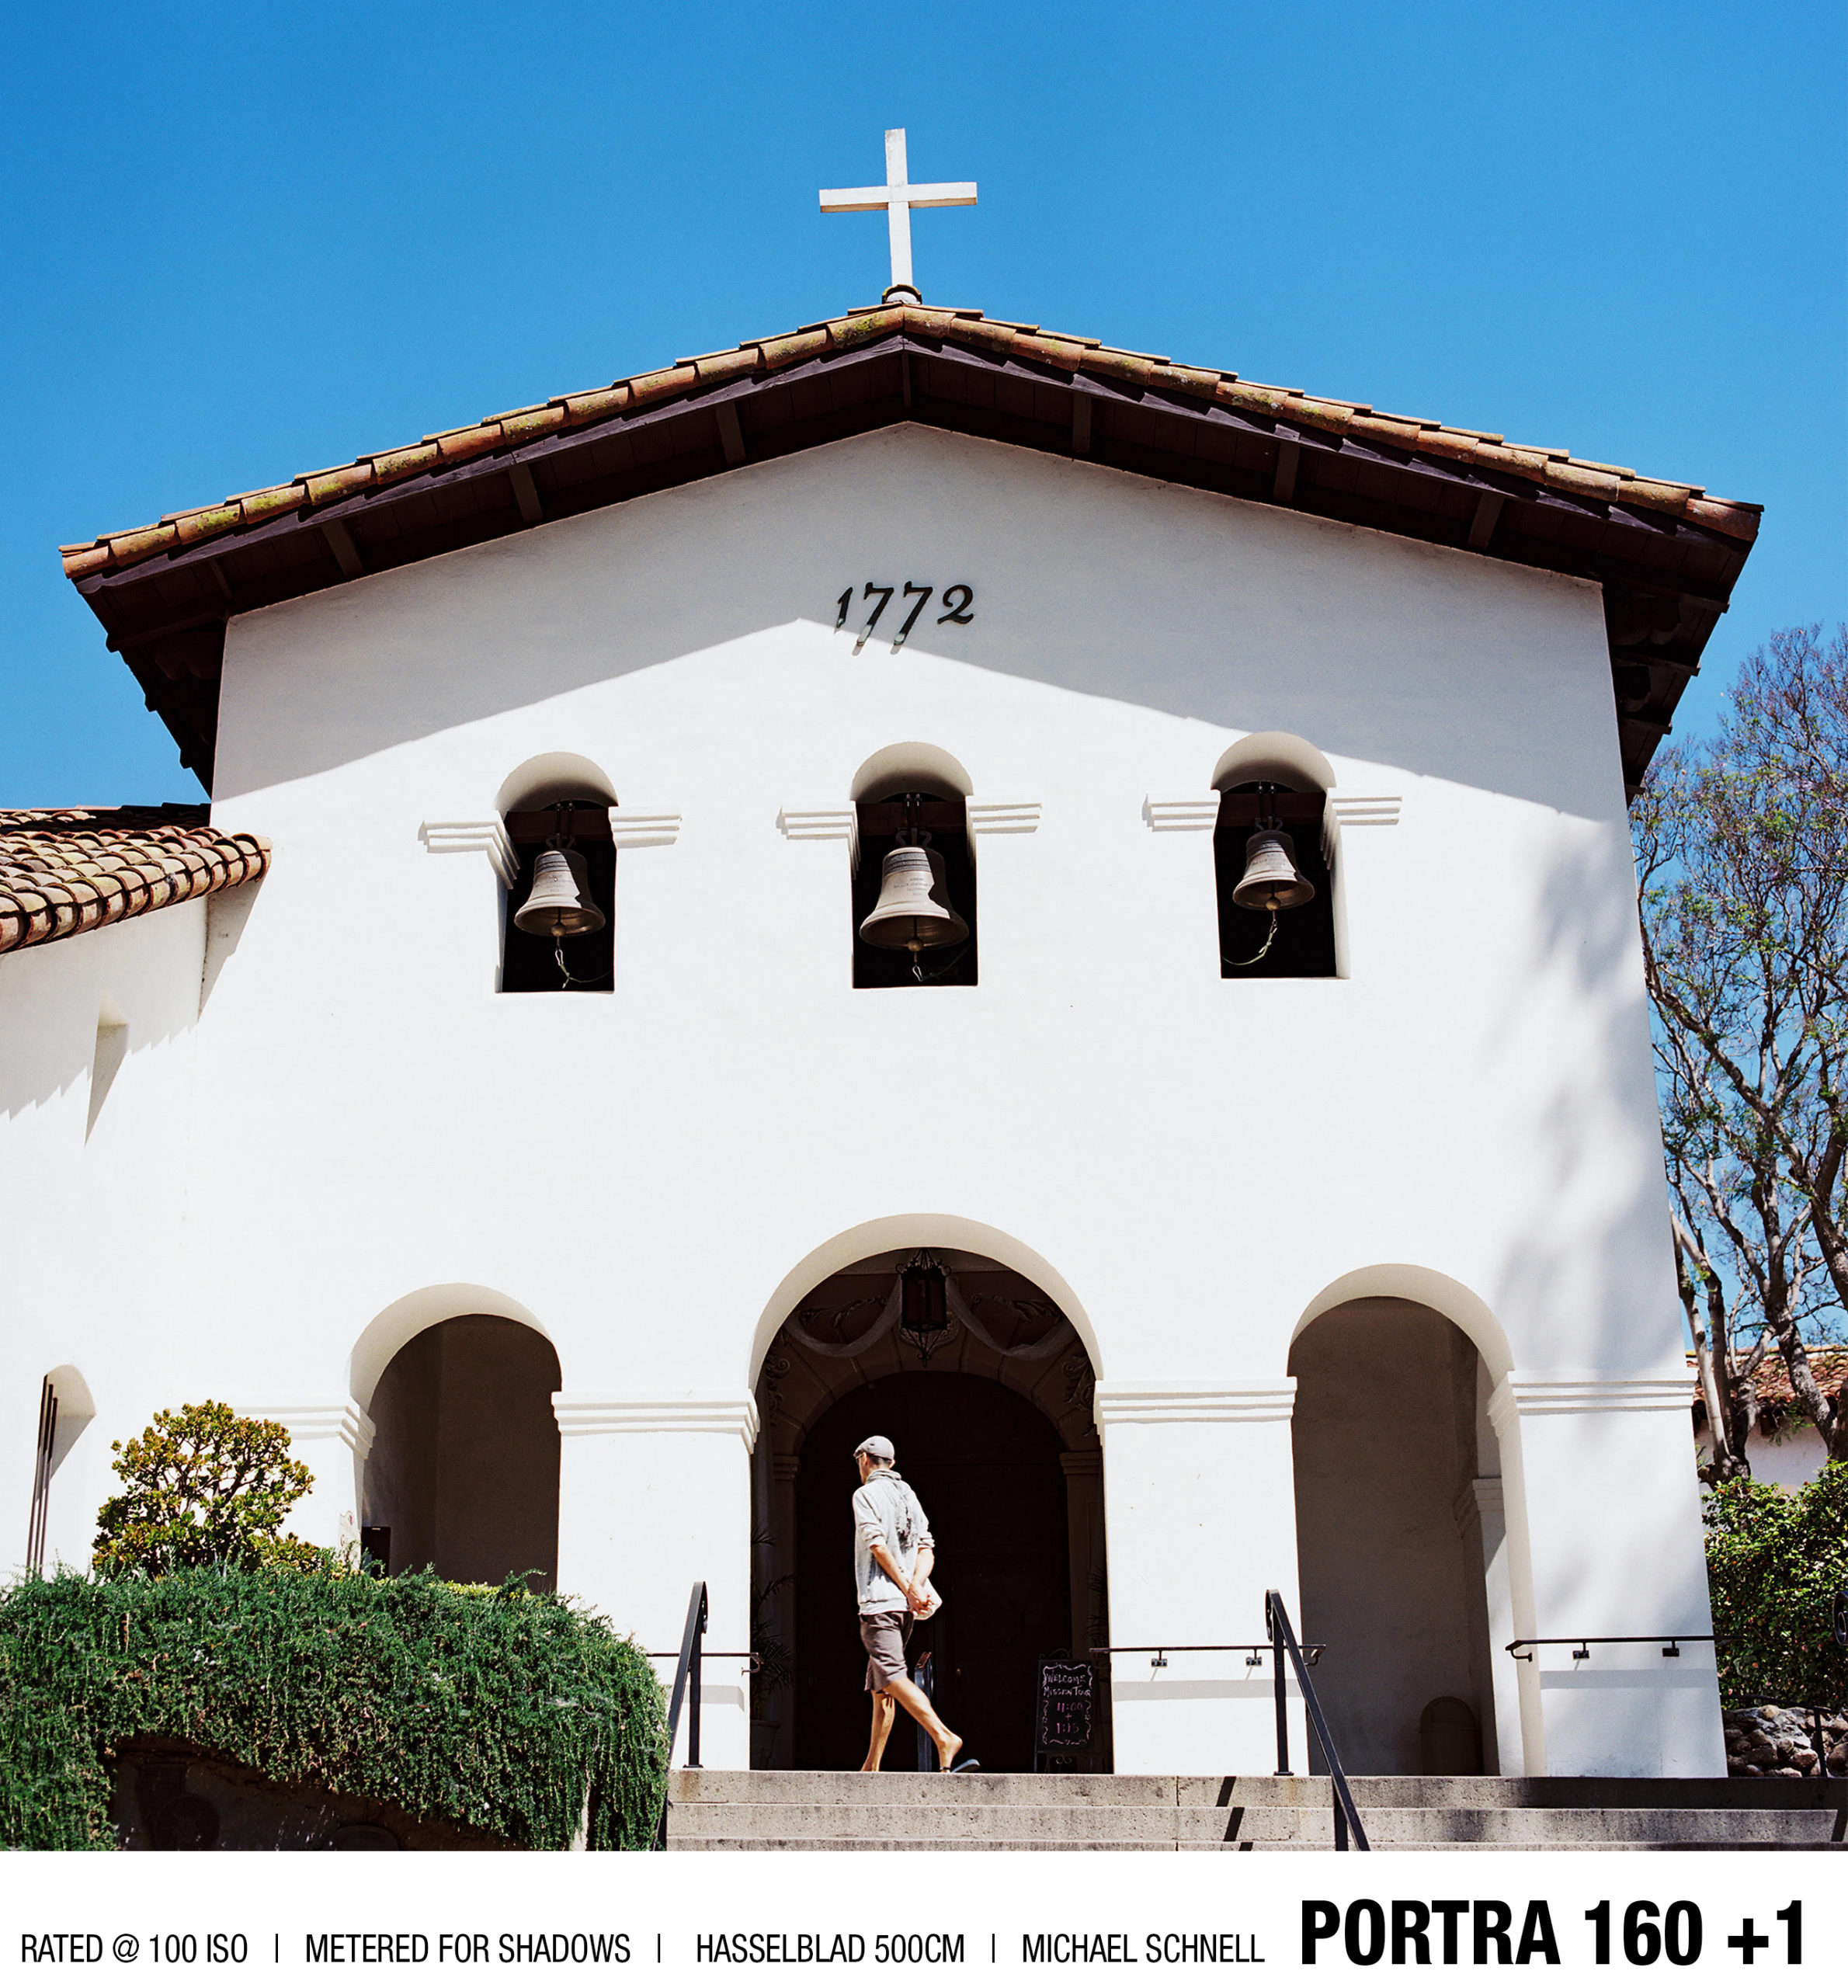
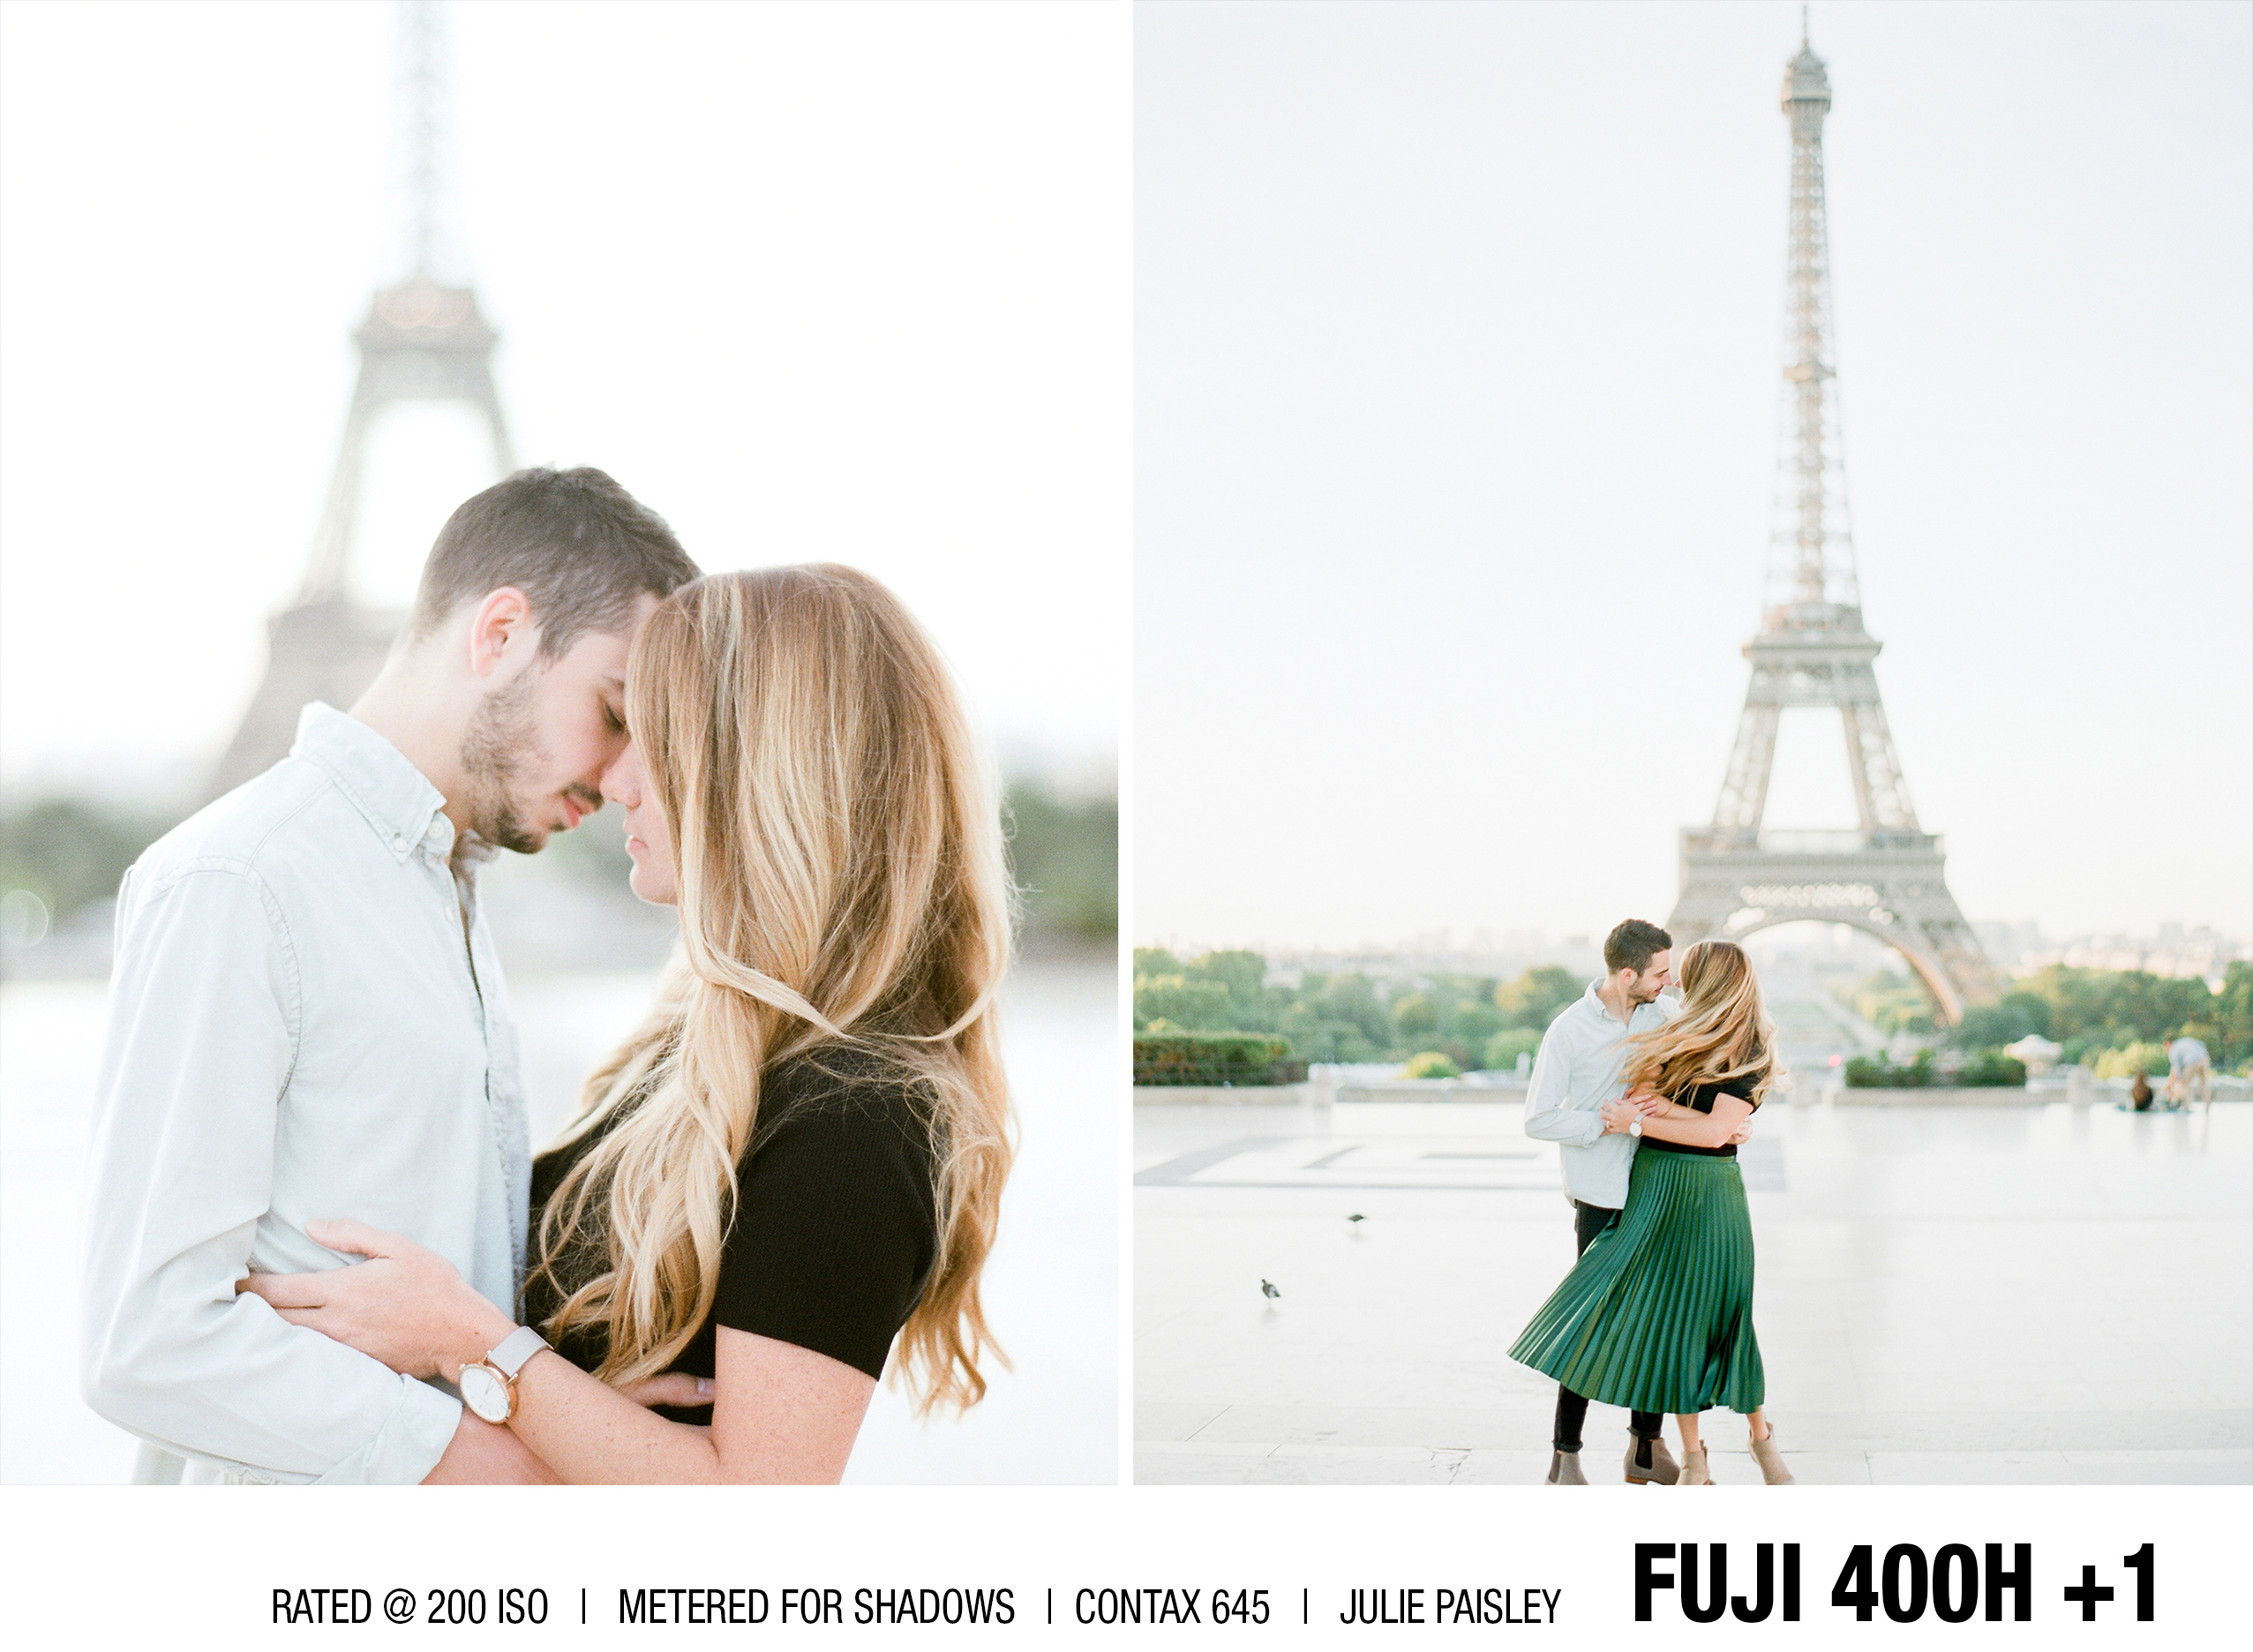
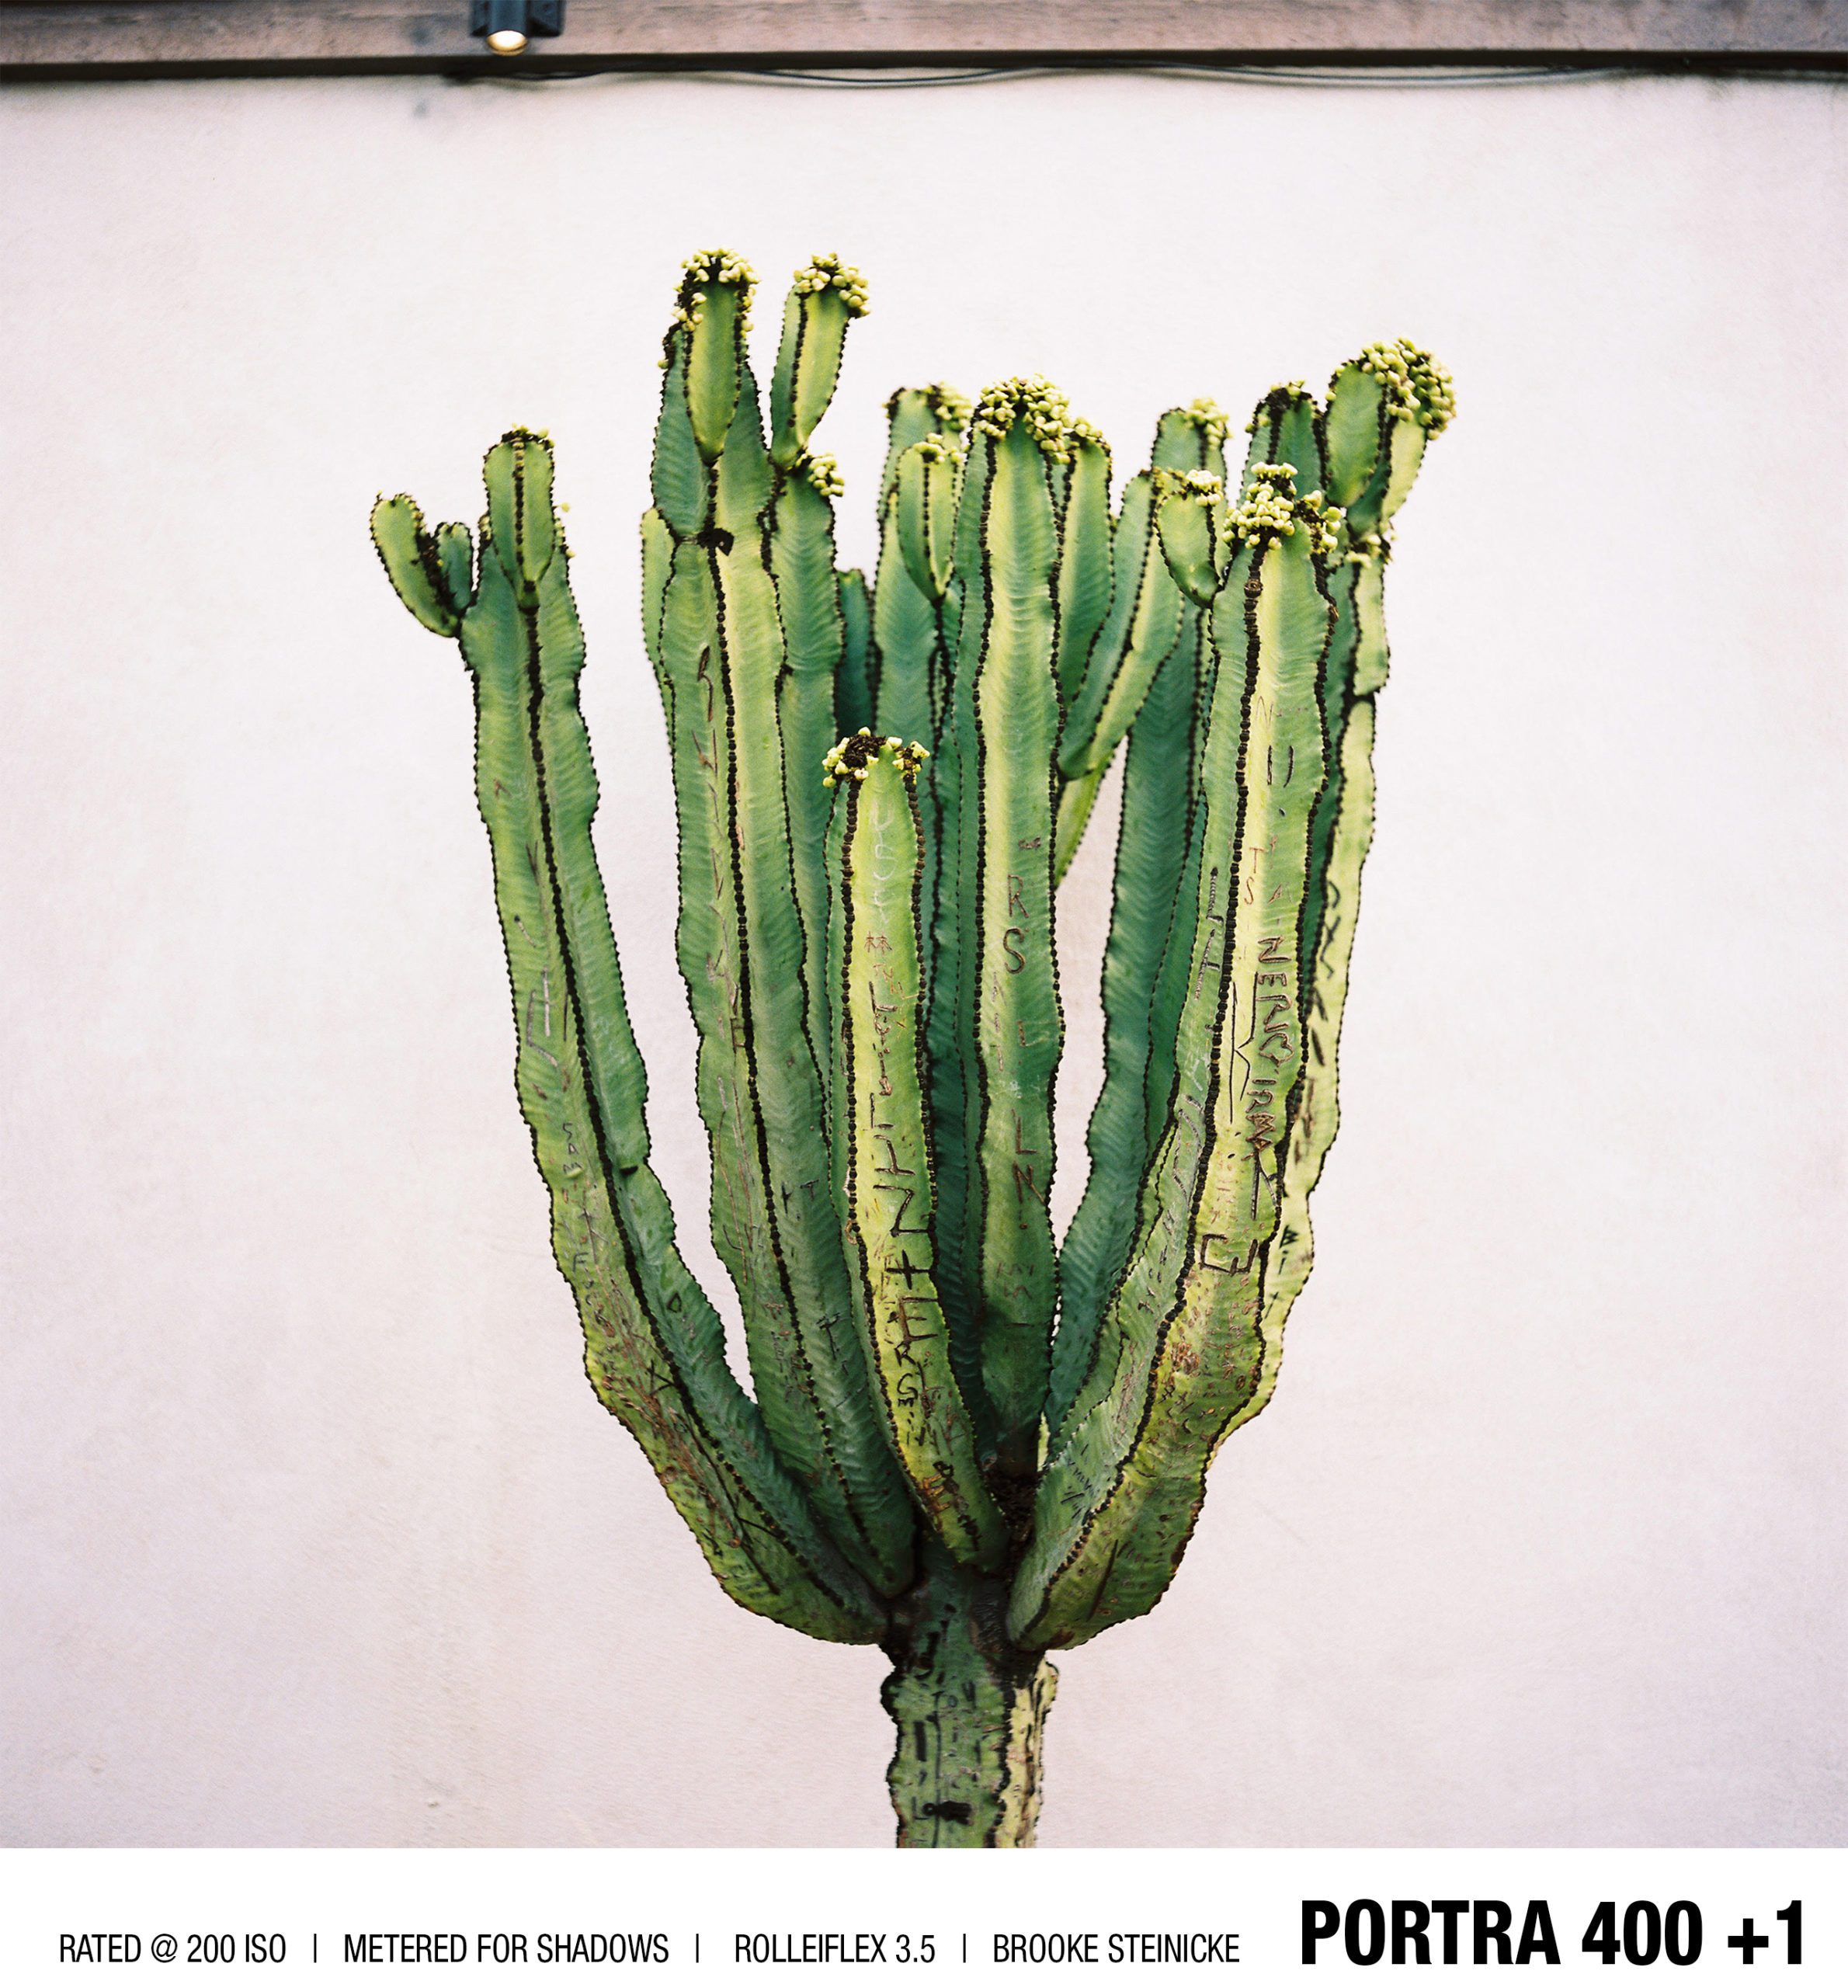
Pushing film affects the highlights and shadows. It makes the whites whiter and blacks blacker, but will not affect your mid-tones. It is still crucial to light your scene and subject and expose correctly in camera. If you’re shooting at night and there is no light falling on your scene, pushing your image will only make it darker and may result in no shadow detail at all. If you’re shooting right next to a really bright light source, pushing your image will only make your image become brighter and may result in no highlight detail at all. If you’re new to film, we recommend first becoming comfortable with the nuances of the film and then introducing the element of pushing. Below are some great examples of different film stocks that have been pushed:
We hope this helps you understand pushing and pulling a little better. Send us your pushed color images by email or DM for a chance to be featured! We care a lot about film education here at theFINDlab, so if you have any questions about pushing film, we are here to help!
