Backlighting can be tricky on film because we don’t have the benefit of immediate feedback. As a result, it can be difficult to know how to meter and expose in backlit scenarios. The good news is that not everything has to be left to chance! Below are a few tips to help you get your desired look in scenes with backlighting and sun flare.
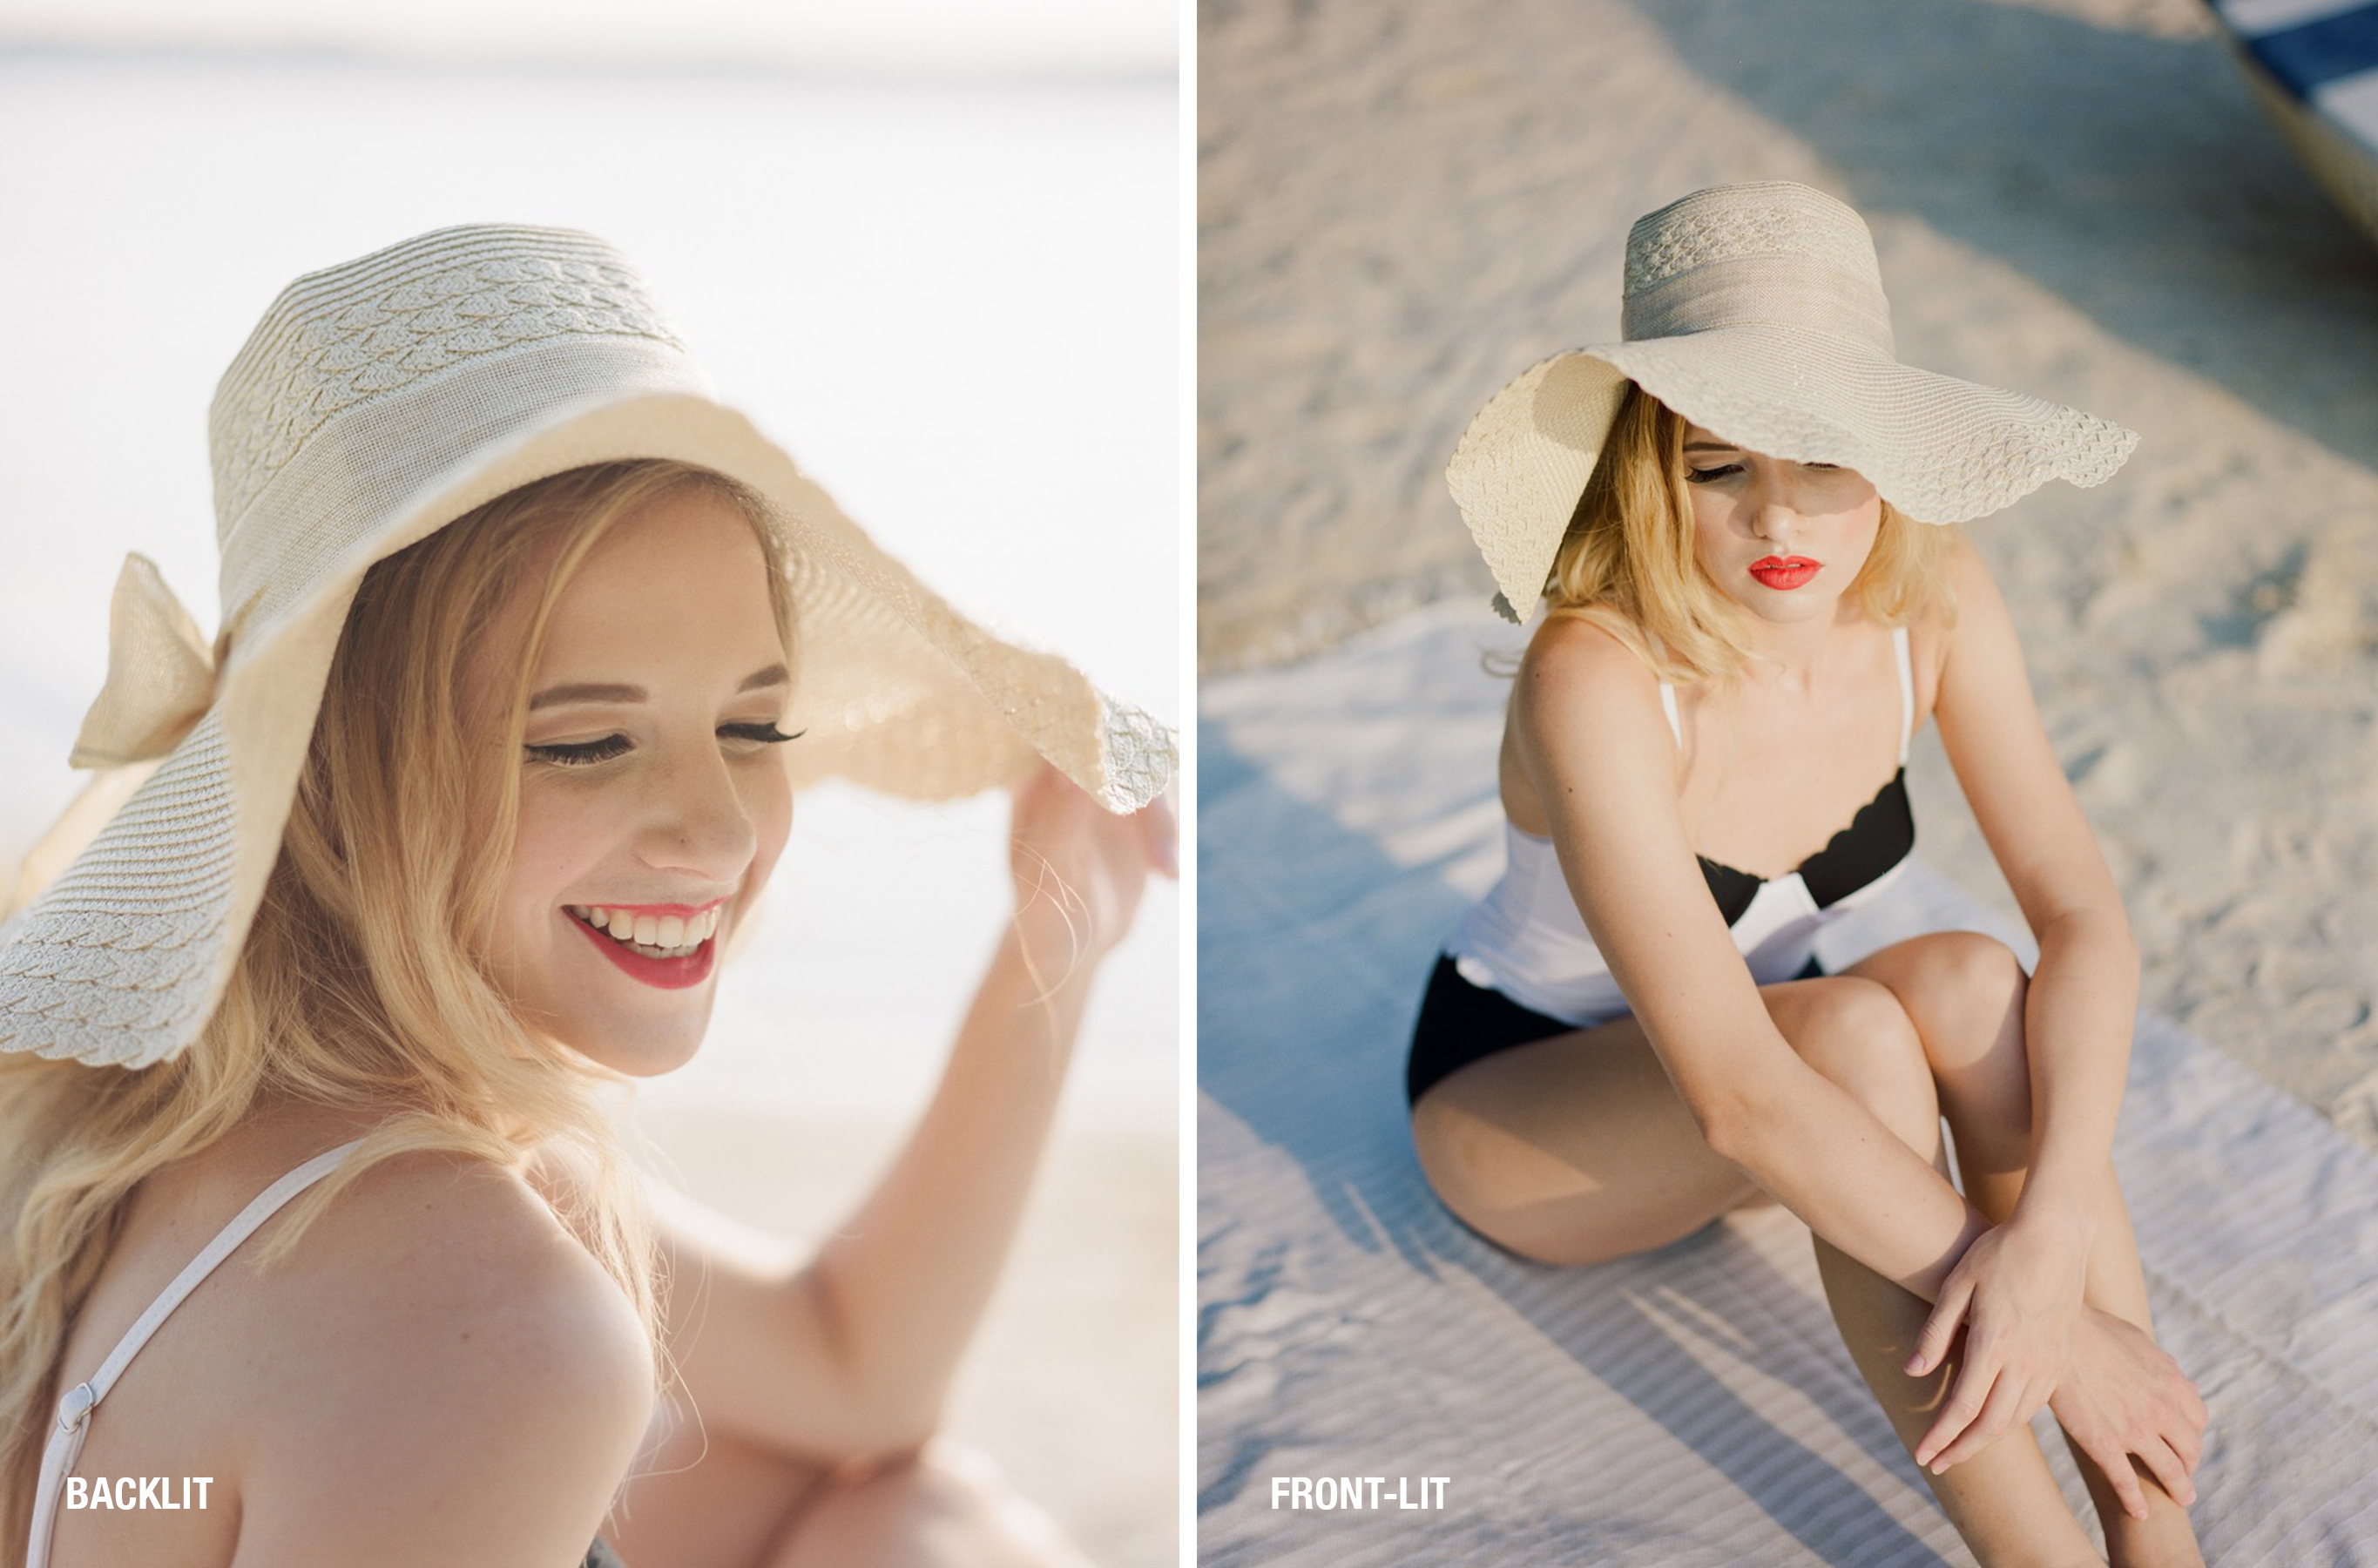
When the light source is coming from behind your subject, it’s difficult to get enough light onto the front of your subject. This makes for lower contrast, which is why you’ll notice soft contrast in backlit scenes and strong contrast in front-lit scenes. Oftentimes, backlighting can also unintentionally silhouette your image or lead to underexposure and muddy shadows. One way to increase contrast and avoid underexposure in backlit scenarios is using a reflector to bounce light back into your scene. Oftentimes, you can use natural reflectors if you don’t have an actual reflector with you. In the scene below, the white towel and white sand helped bounce clean light back onto the model, helping to open up the shadows where the sun couldn’t reach. Keeping things like a white sheet or white piece of foam core on hand can help in backlit scenarios as well:
One of the best ways to combat underexposure that comes from backlighting is to meter for the shadow of your subject and overexpose 1-2 stops. This will help open up the shadows on the front of your subject where the light from behind can’t reach. In the examples below, the first image was metered and exposed normally. In the second image, the photographer metered for the shadow and overexposed. Notice the difference in exposure between the two scenes:

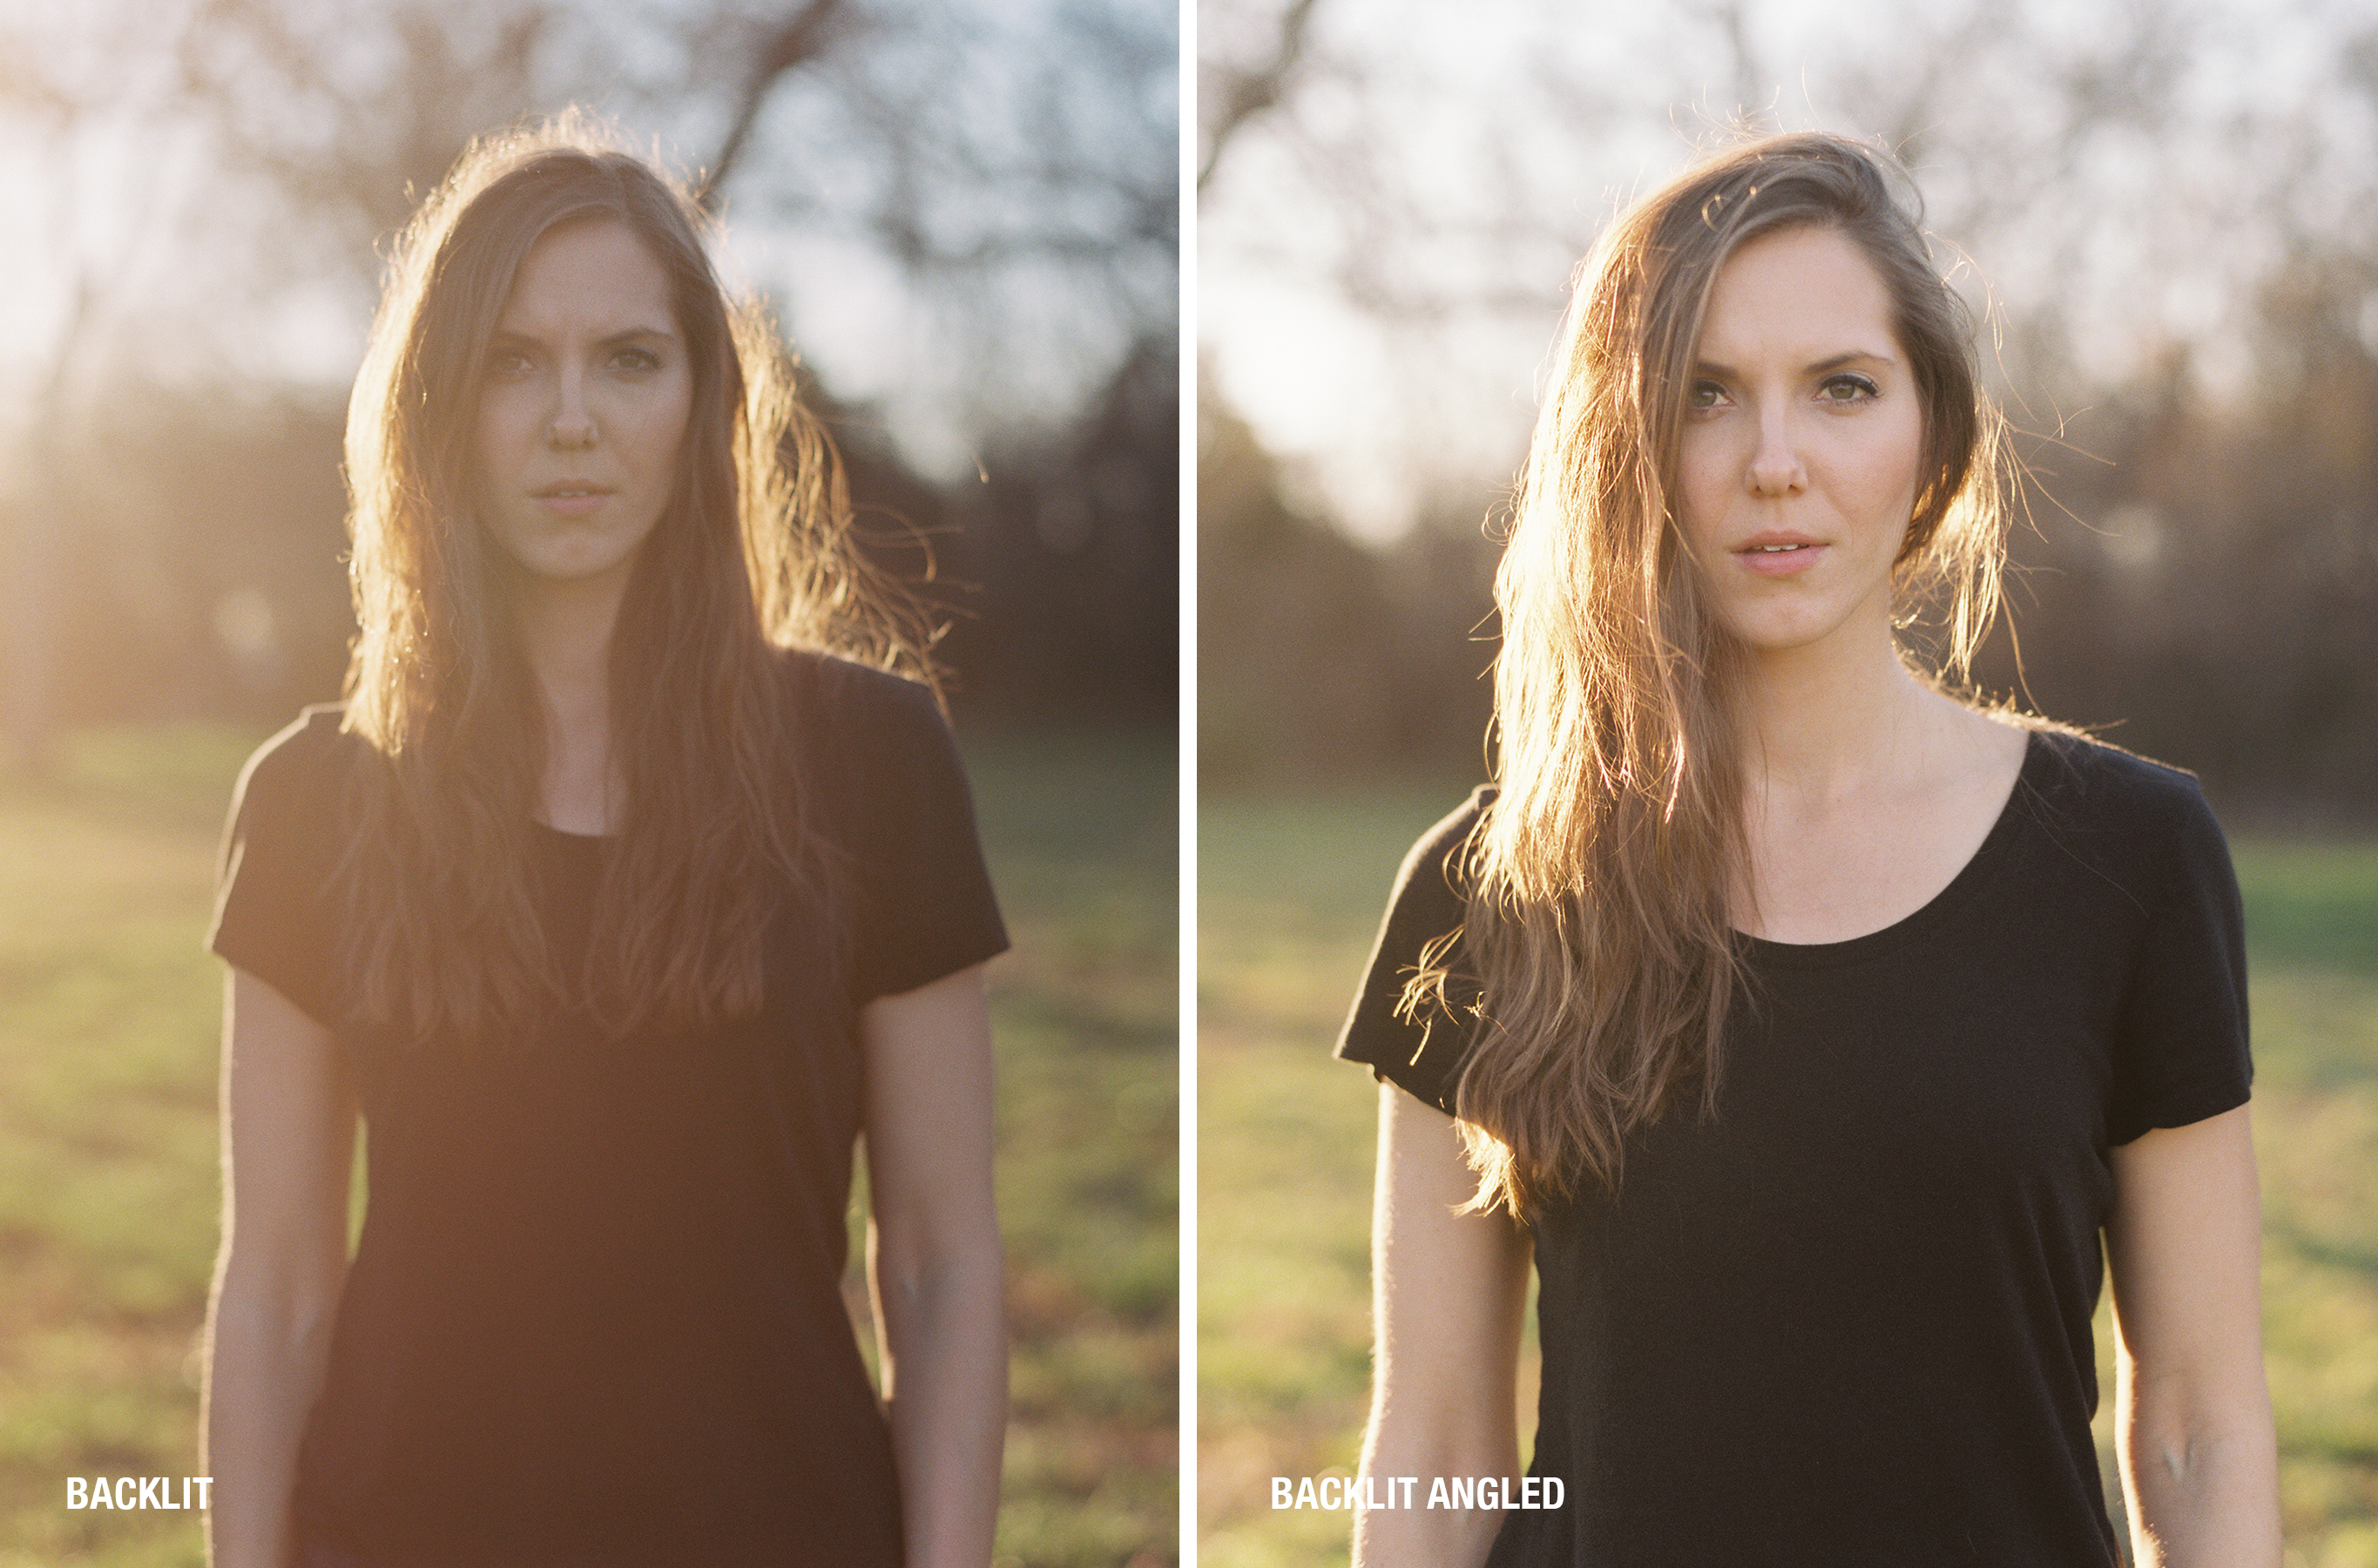
Another common problem with backlit scenarios is sun flare. Sometimes, sun flare looks amazing in photos! Other times, it can overpower the subject and we’d rather avoid it completely. In these cases, sun flare can be minimized by shielding your lens with your hand, using a lens hood, or moving yourself or your subject so that the light isn’t directly hitting your lens. In the example below, the first frame had a lot of backlighting, which washed out the image. In the second frame, the photographer angled herself and moved her subject slightly so that the sun was out of the frame. Notice that it only took a small adjustment to achieve the desired look. You don’t have to change your location or make extreme changes in positioning to minimize the effects of sun flare:
Another way to minimize sun flare is to diffuse your light. In the examples below, the couple in the first image is washed out by the sun flare. In the second image, the photographer diffused some of the sun through the trees, so that the sun flare didn’t overpower the couple:
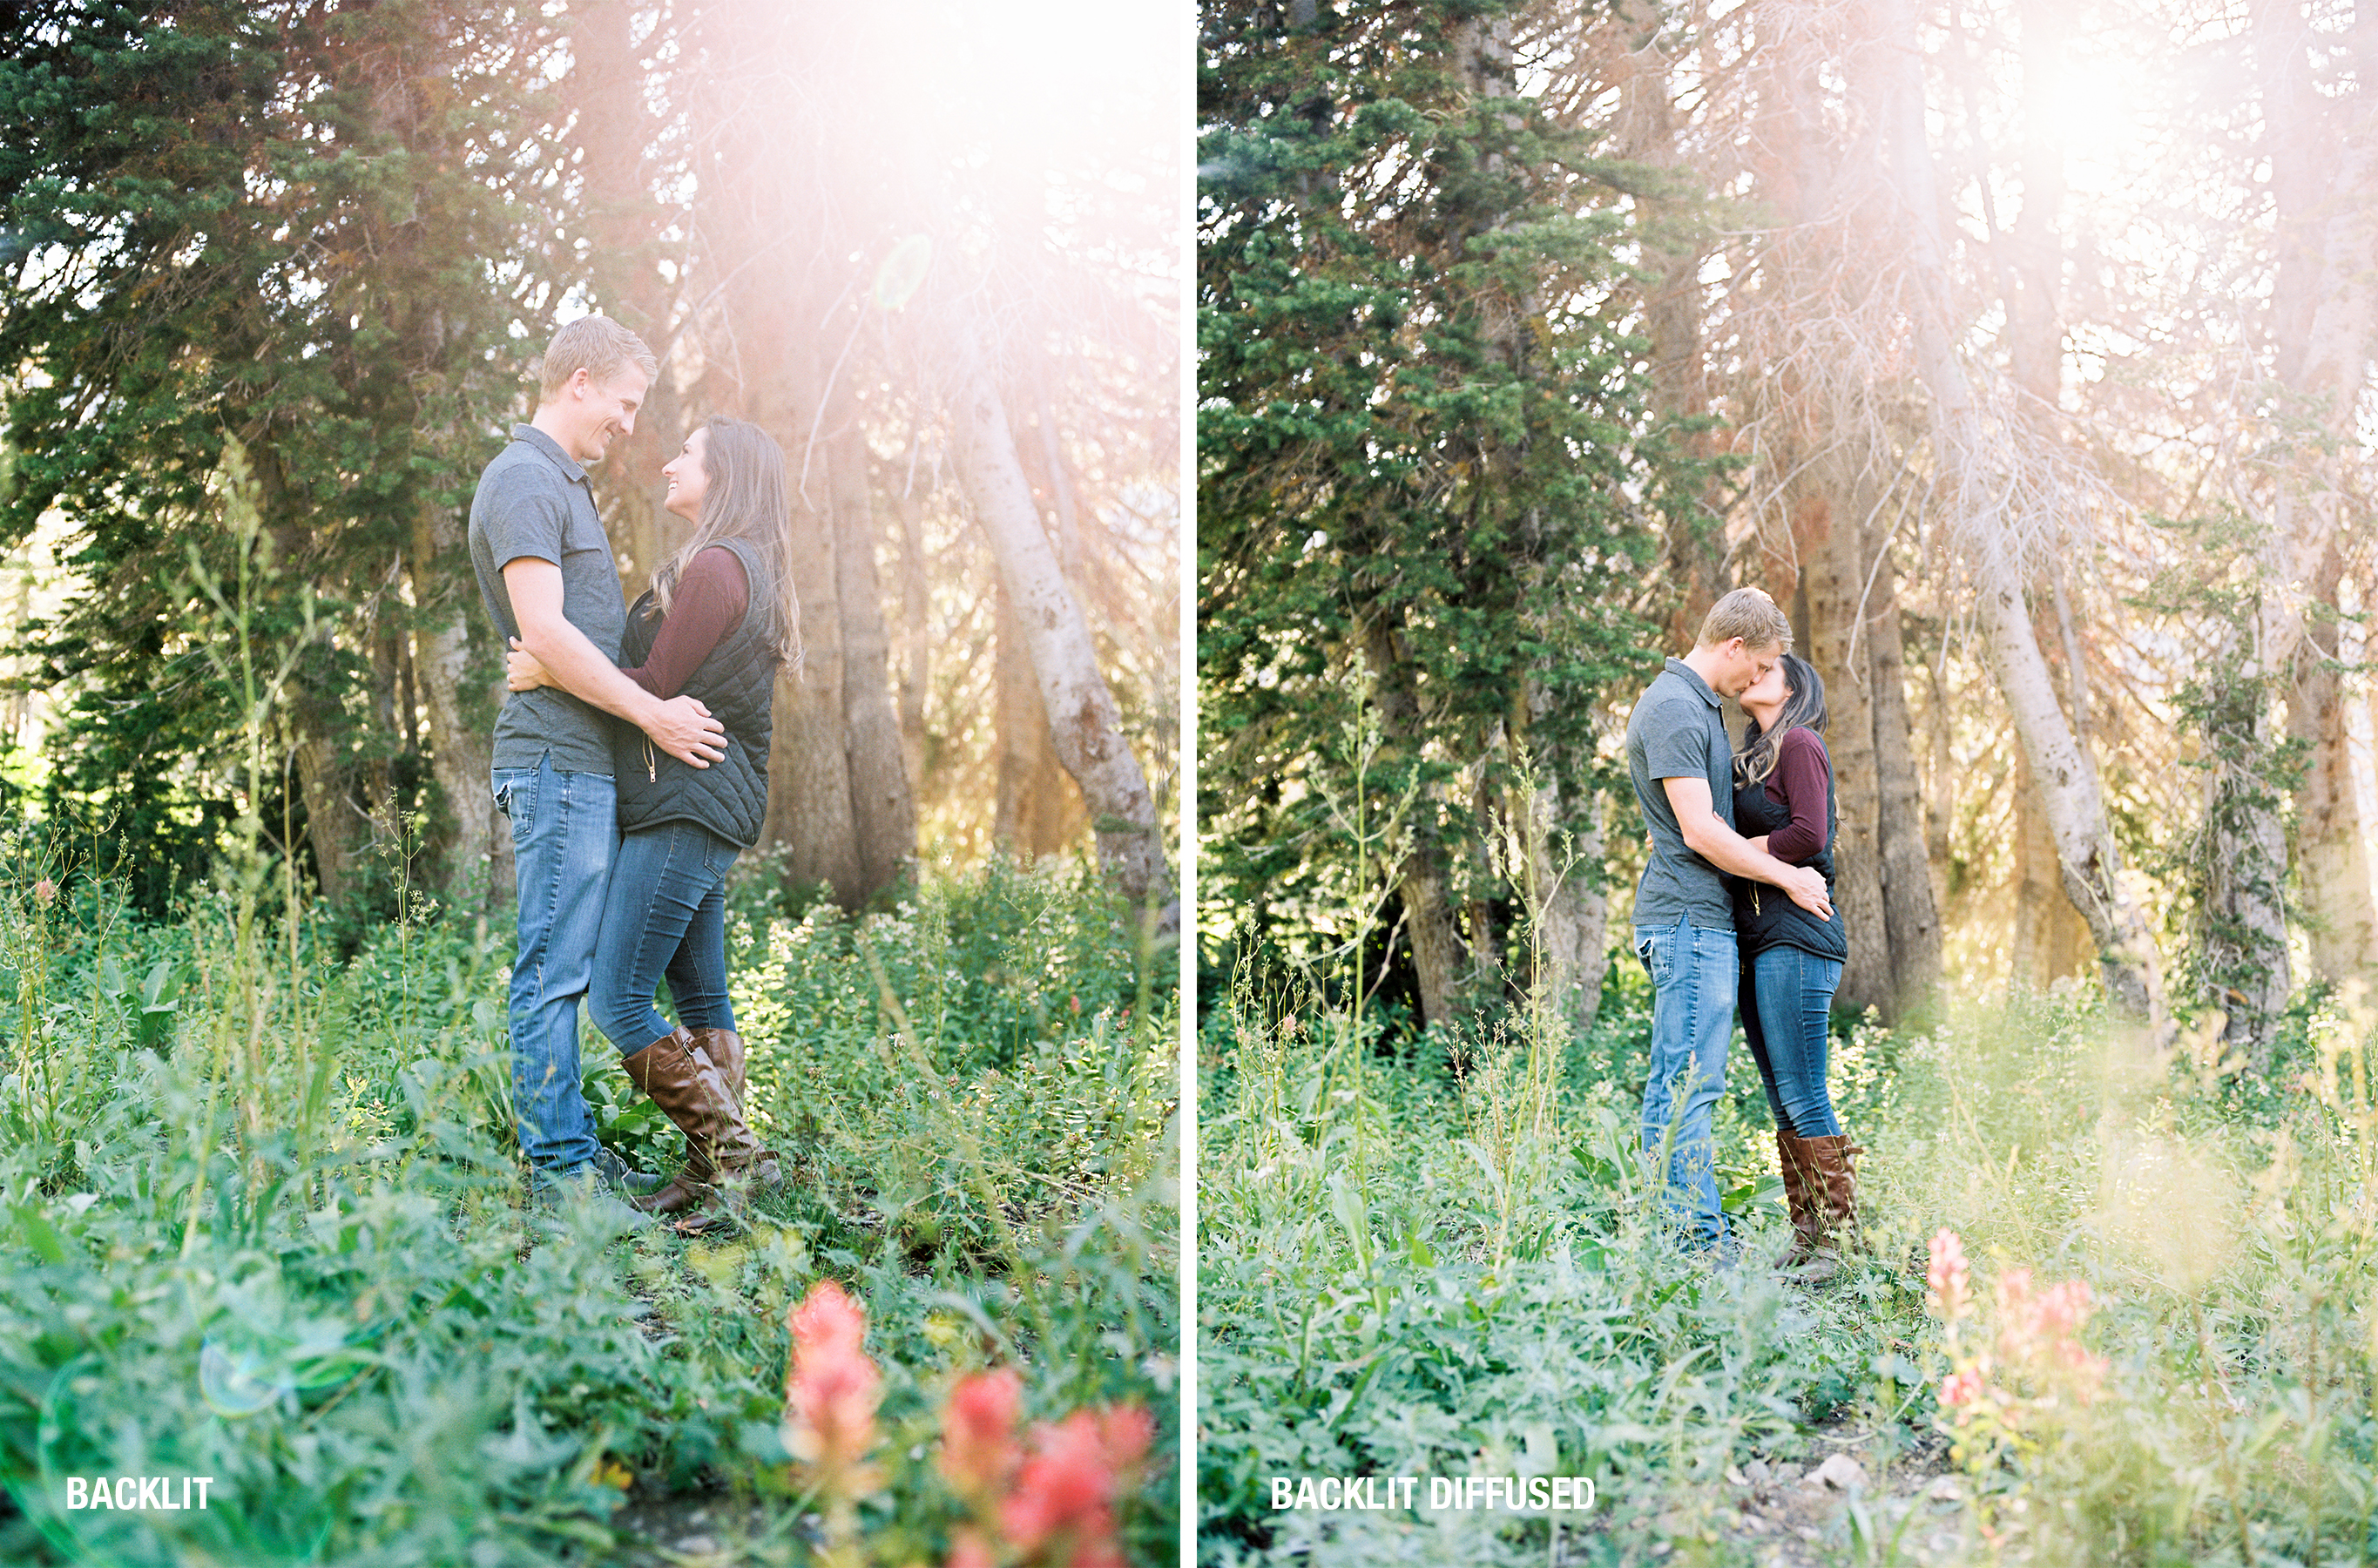
Emily Stewart | Portra 160+1 | Pentax 645n
Like we always say, the more you practice, the better you become! Practicing in a variety of lighting situations will help you learn when and how to adjust the way you meter or position your subjects in difficult lighting scenarios.
